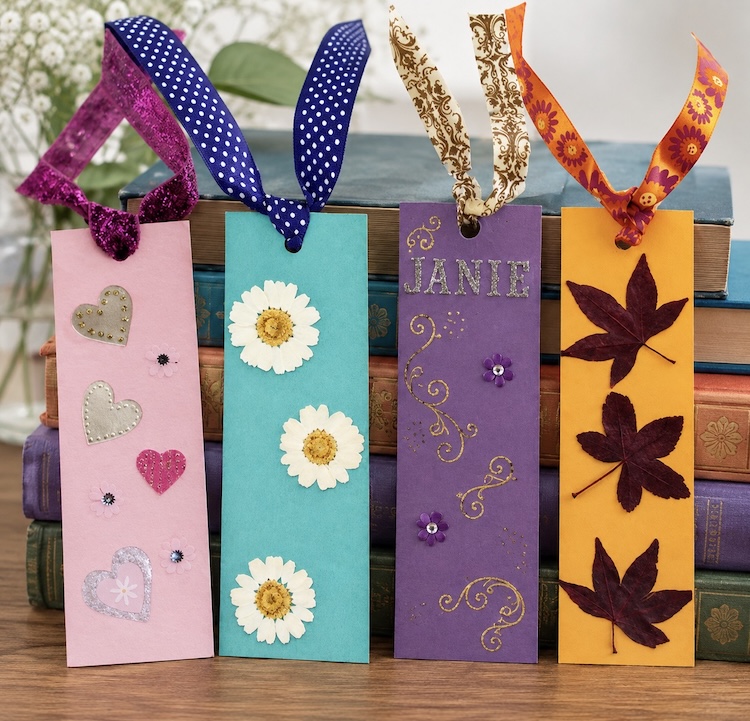
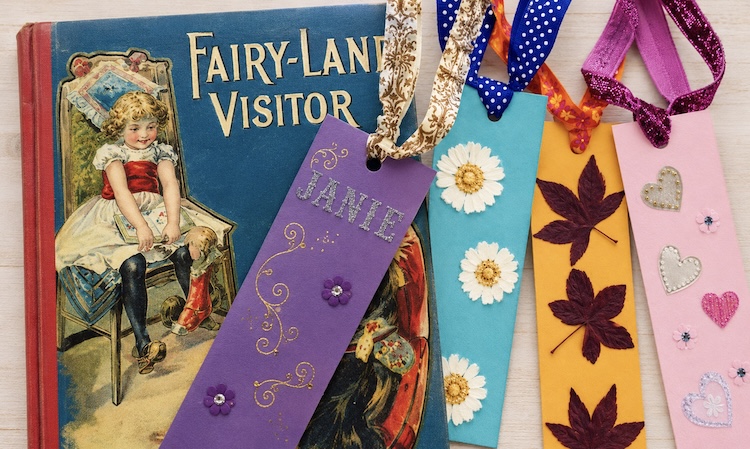

Never lose your place in a good book again with these easy DIY paper bookmarks! They’re fun for both kids and adults to make and are a great way to get creative with colors, names, favorite characters, or fun themes. They also make thoughtful handmade gifts for teachers, moms, grandparents, classmates, or any book lover. Follow this simple step-by-step tutorial to create personalized paper bookmarks that are as fun to make as they are to use.
Materials Needed
- Card stock
- hole punch
- ruler
- pencil
- ribbon
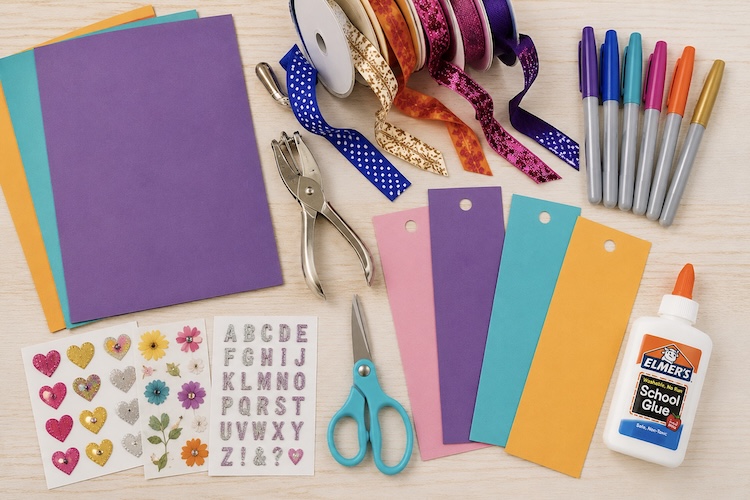
- items for decoration such as stickers, dried flowers, markers, construction paper, etc.
Instructions
1. Start by creating a bookmark template. I happened to have some plain white 2″ × 6″ bookmarks from Hobby Lobby that I bought years ago, so I simply traced one onto colorful cardstock. If you don’t have a bookmark to trace, no worries! Just measure and cut a 2″ × 6″ rectangle (or any size you prefer) from a piece of sturdy cardstock or thick paper, then use it as your template for the rest of your bookmarks.
2. Once you’ve cut your cardstock to size, use a hole punch to make a single hole near the top, leaving about ¼ inch of space from the edge to help prevent tearing. Next, thread a 6–12 inch piece of ribbon through the hole and tie it securely with a knot. The ribbon adds a decorative touch and makes it easy to find your place in your favorite book.
3. Now, decorate! In the examples shown above, we used stickers and dried flowers, but get creative and decorate your one-of-a-kind bookmarks however you’d like! Consider using watercolors, stencils, stamps, glitter, photos, or even calligraphy pens to write special messages or quotes.