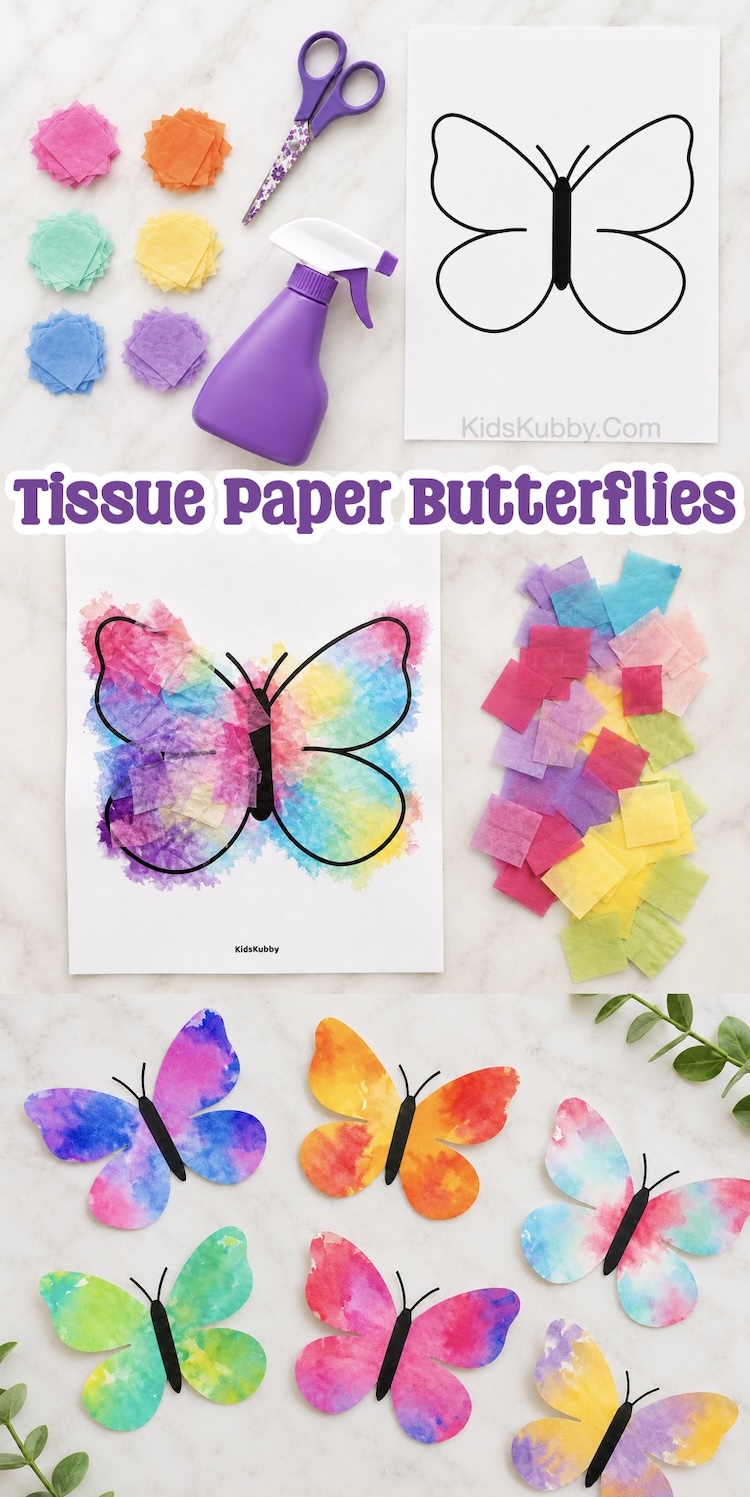
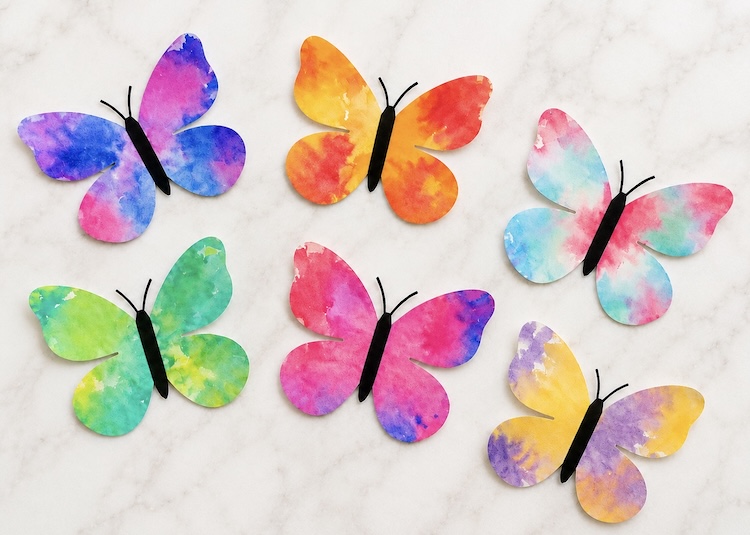

If your house is anything like mine, the words “we’re doing a craft!” are usually followed by glitter in someone’s hair, paint on the carpet, and sticky stuff all over the place. Luckily, this adorable butterfly craft is surprisingly low on the chaos scale while still delivering a big “WOW!”. Kids get to spray colorful tissue paper with water and watch the colors magically bleed onto their butterfly wings. It’s basically science, art, and pure kid excitement all rolled into one.
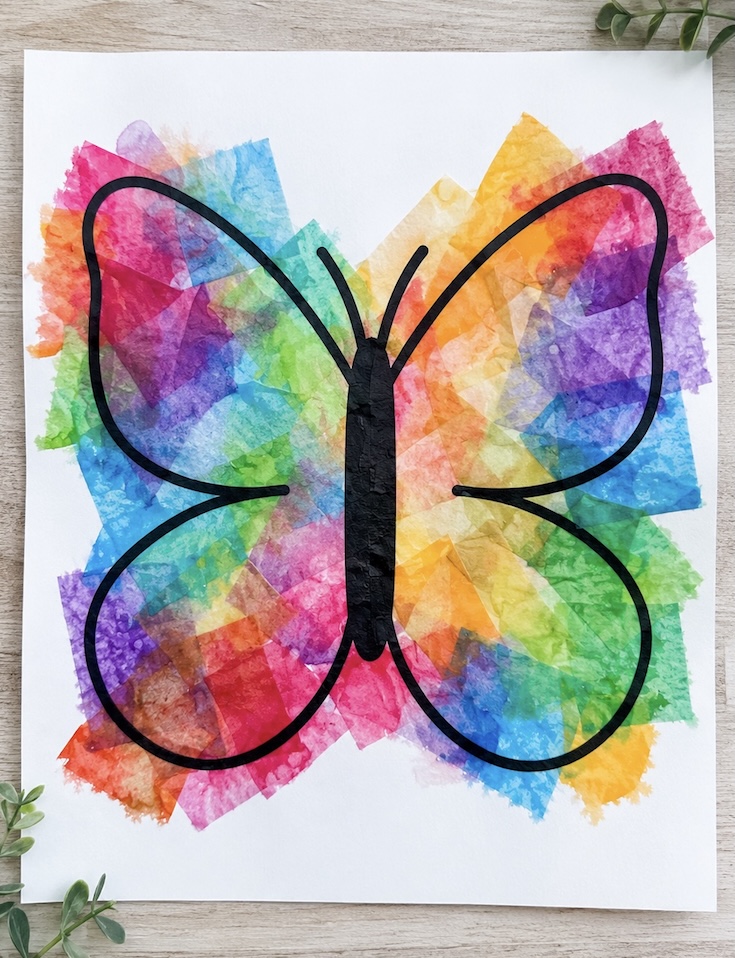
The best part? This butterfly craft comes with a free printable butterfly template, so there’s no need to worry about drawing the perfect wings yourself. Just print the template, cover the wings with small pieces of bleeding tissue paper, give everything a few spritzes of water, and let the magic happen.
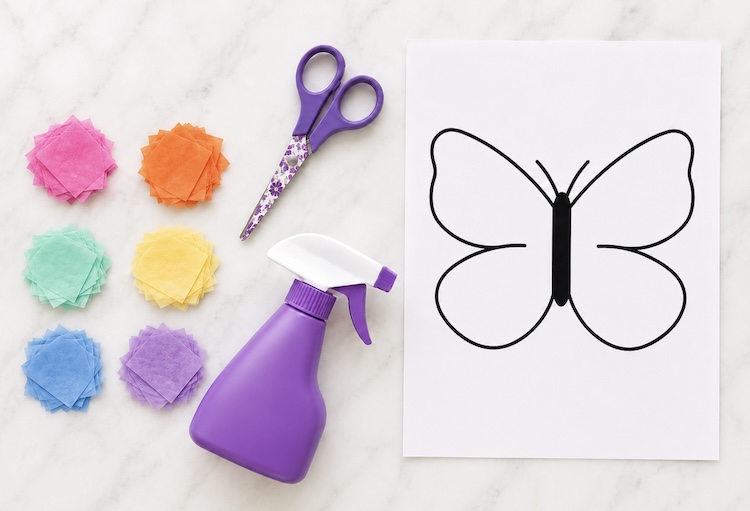
Supplies Needed
- This Free Butterfly Template
- cardstock printer paper
- scissors
- a spray bottle
- bleeding tissue paper (you can easily find it on Amazon)
I don’t recommend using regular tissue paper for this craft. As you can see in the photo below, it simply doesn’t produce the same bright, vibrant colors as bleeding tissue paper. If you want those beautiful watercolor-style butterfly wings, bleeding tissue paper is definitely the way to go!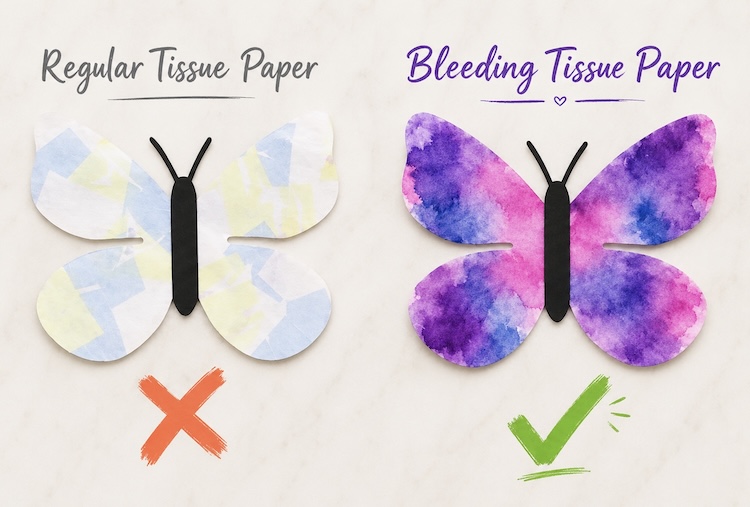
How To Make Tissue Paper Painted Butterflies
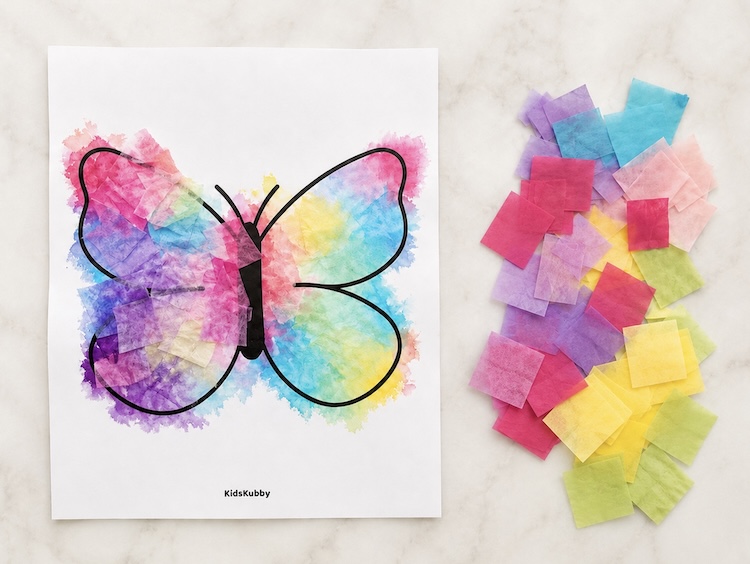
- Once your butterfly template is printed, lightly mist the butterfly with water using a spray bottle.
- Next, completely cover both wings with pieces of bleeding tissue paper. Once the wings are fully covered, give the tissue paper another light spray to help activate the color transfer.
- Let everything sit for about 10 minutes while the magic happens! As the tissue paper gets wet, the vibrant colors will bleed onto the butterfly wings, creating a beautiful watercolor effect.
- Once the tissue paper has sat for about 10 minutes, carefully peel it away to reveal the colorful butterfly underneath. Allow the butterfly to dry completely before cutting it out.
This is one of those wonderful spring crafts that works for just about everyone. Toddlers love spraying the water bottle (perhaps a little too much), preschoolers enjoy choosing colorful tissue paper designs, and older kids can experiment with different color combinations and patterns. It’s a simple art project that encourages creativity without requiring a cabinet full of expensive craft supplies. Yay!
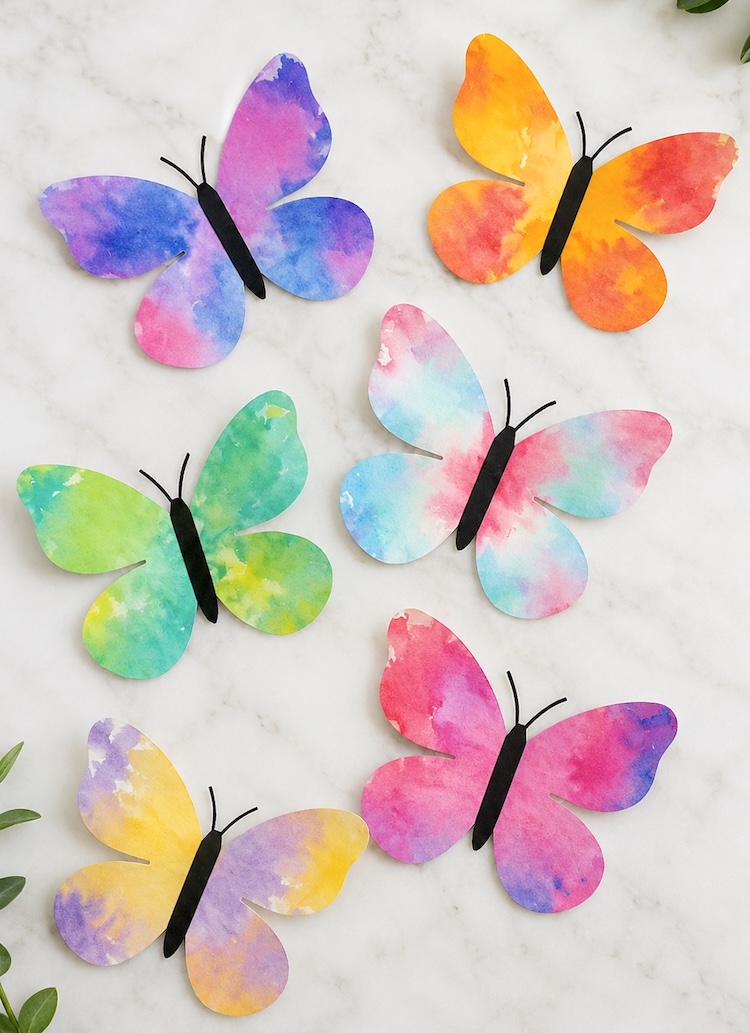
Whether you’re looking for a rainy-day activity, a classroom art project, an Earth Day craft, or simply a fun way to celebrate spring, these colorful butterflies are sure to brighten everyone’s day. Hang them in the windows, string them into a cheerful garland, or proudly display them on the refrigerator—because every masterpiece deserves a place of honor!