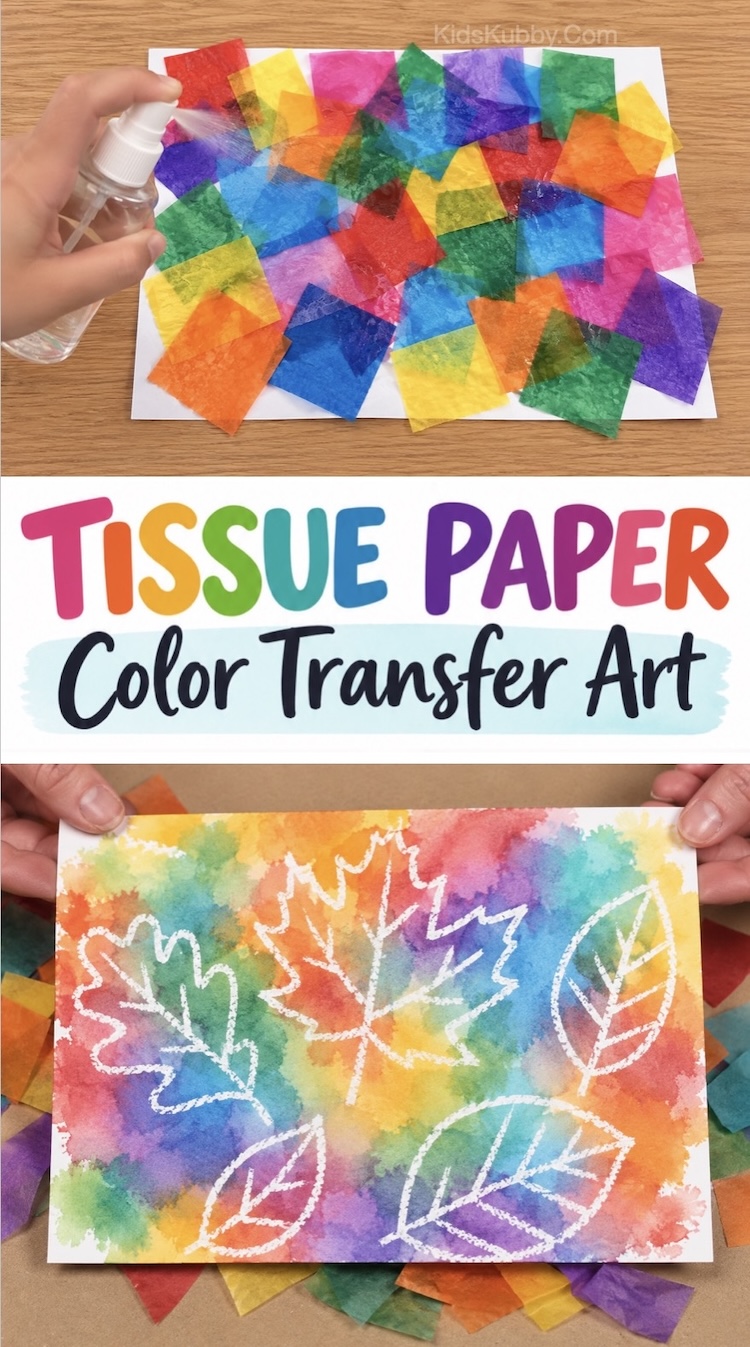
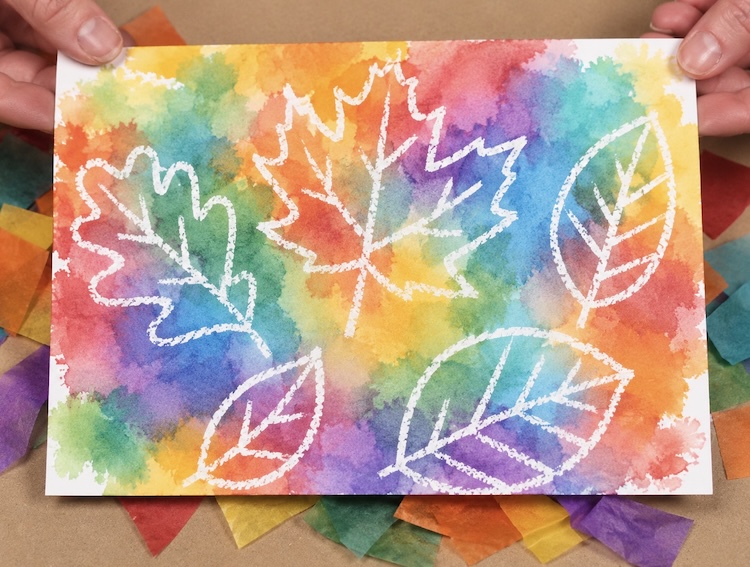

Bleeding tissue paper art is one of those magical crafts that’s just as much fun to make as it is to reveal! Kids simply arrange colorful pieces of tissue paper over white cardstock, give everything a good spritz of water, and watch as the colors begin to bleed and blend together. Once the tissue paper is removed, it leaves behind a beautiful watercolor-like masterpiece with a fun mix of bright colors.
And what kid doesn’t love a spray bottle? Spritzing the paper is half the fun, making this an easy art project for kids of all ages. Every creation turns out completely different, and there’s really no wrong way to do it. Just layer the colors, overlap the squares, and see what happens!
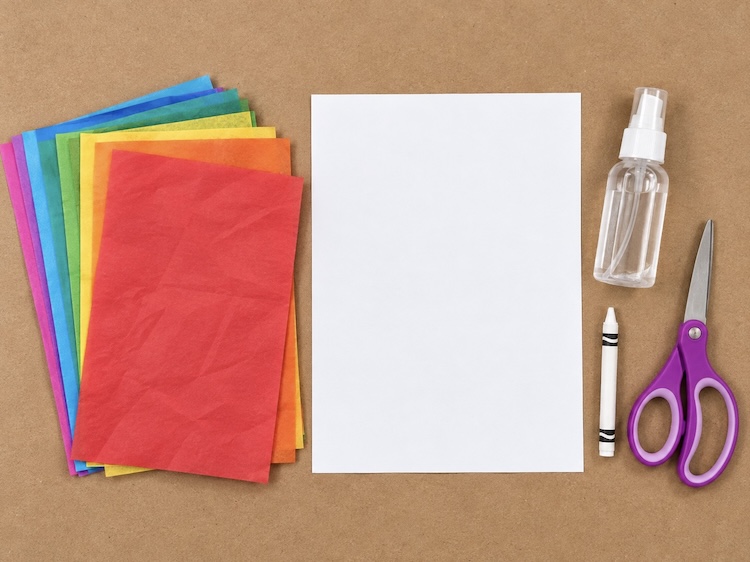
Supplies Needed
- bleeding tissue paper
- white cardstock
- a white crayon
- scissors
- spray bottle
Bleeding tissue paper creates vibrant colors that are intended specifically for this kind of project. I don’t recommend using regular tissue paper.
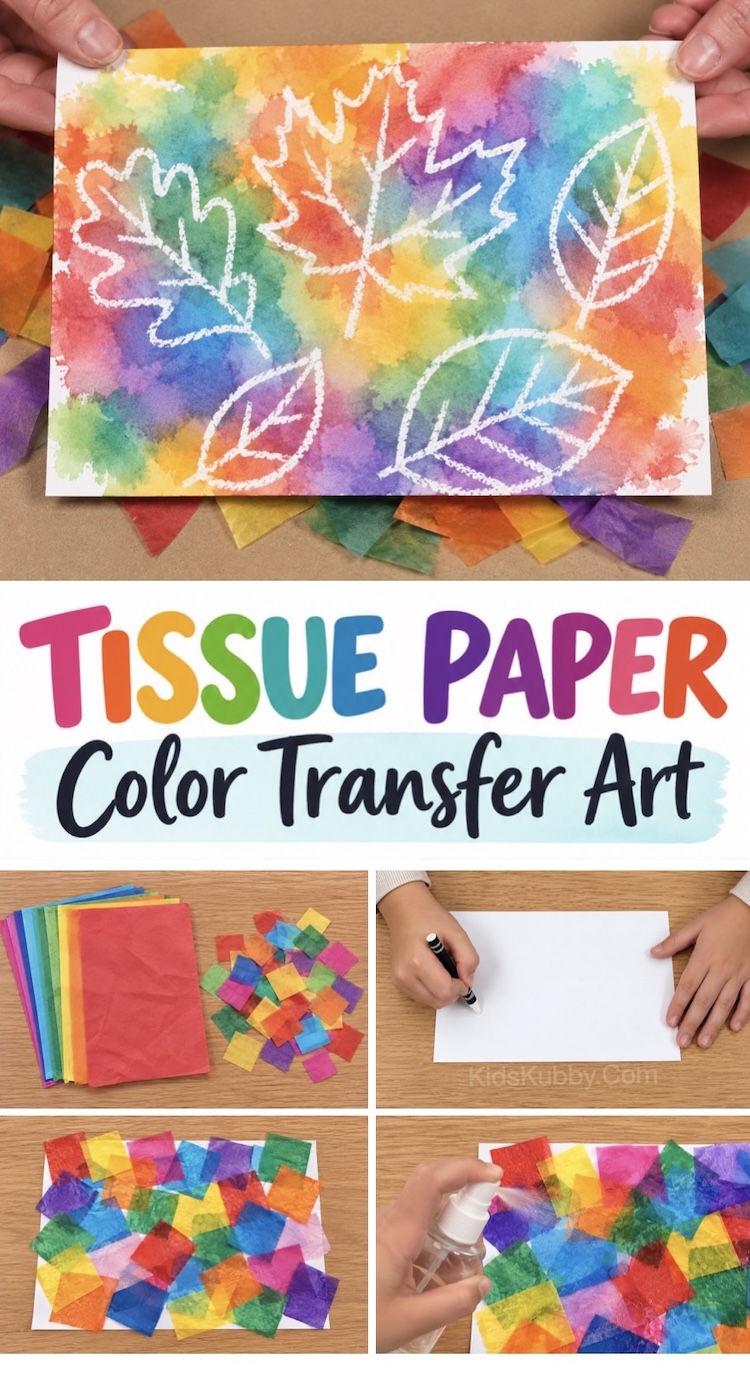
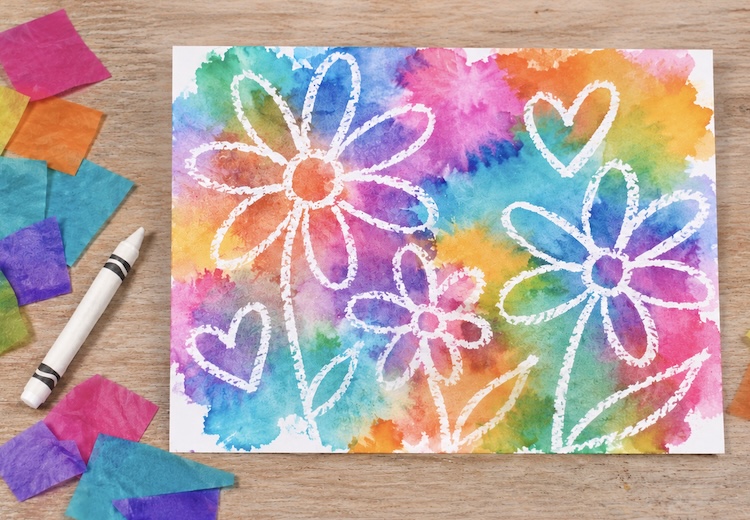
Step 1For an extra little surprise, draw on the white paper with a white crayon first. The wax resists the transferred color, revealing the hidden design when the tissue paper comes off. This step is totally optional, but it’s a fun way to customize the project for any season. Try fall leaves, spring flowers, Valentine’s hearts, stars, simple patterns, names, or just about any easy drawing you can imagine!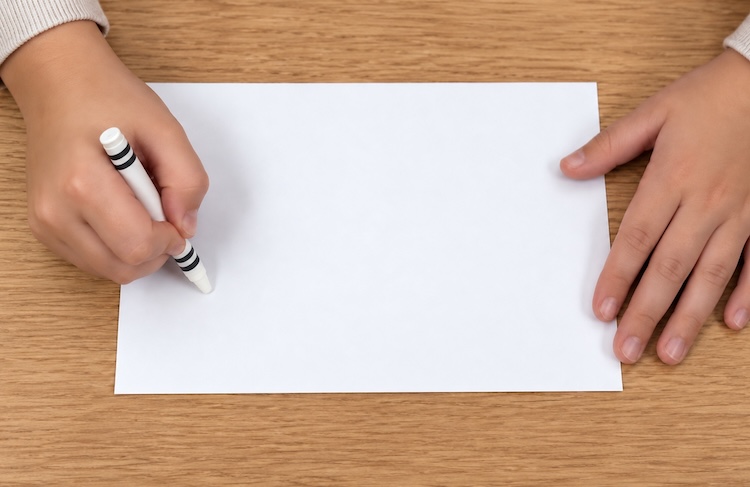
Step 2You can buy bleeding tissue paper in full sheets or pre-cut squares in a variety of vibrant colors. If using sheets, simply cut your favorite colors into small squares or other shapes and sizes to create the look you want.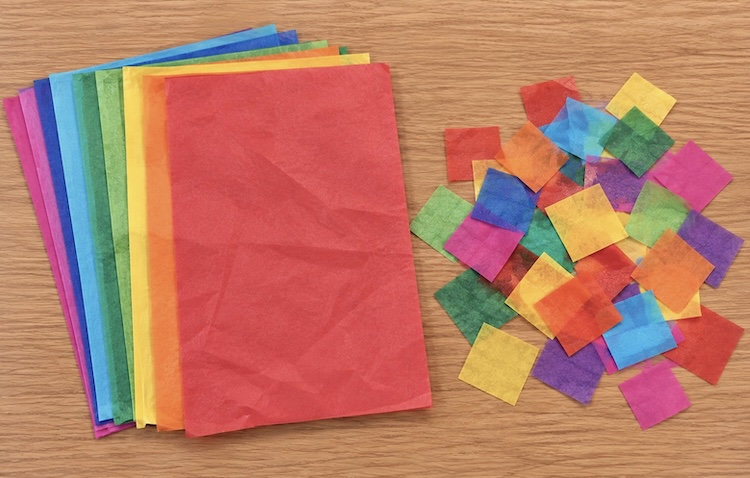
Step 3Give the cardstock a good spray of water until it’s evenly damp. Next, arrange the tissue paper pieces over the entire surface, gently pressing them flat if needed so that they make full contact with the wet paper, preventing any empty white spaces when finished.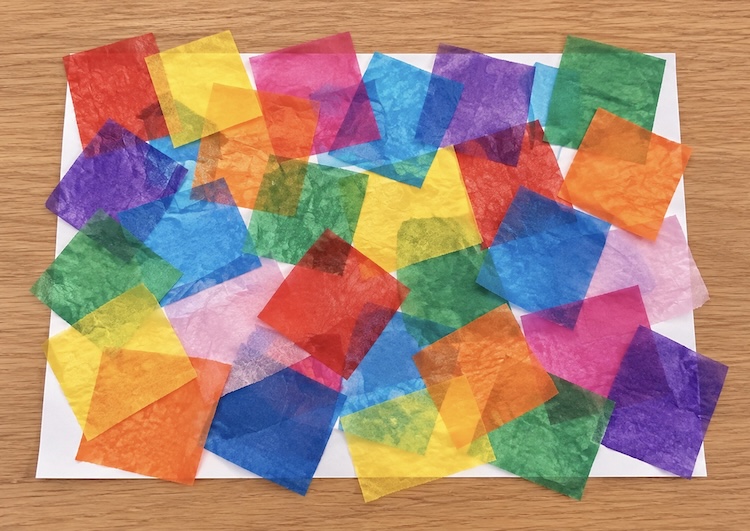
Step 4Once the tissue paper is arranged, give everything another good spritz of water to help the colors bleed and transfer onto the paper.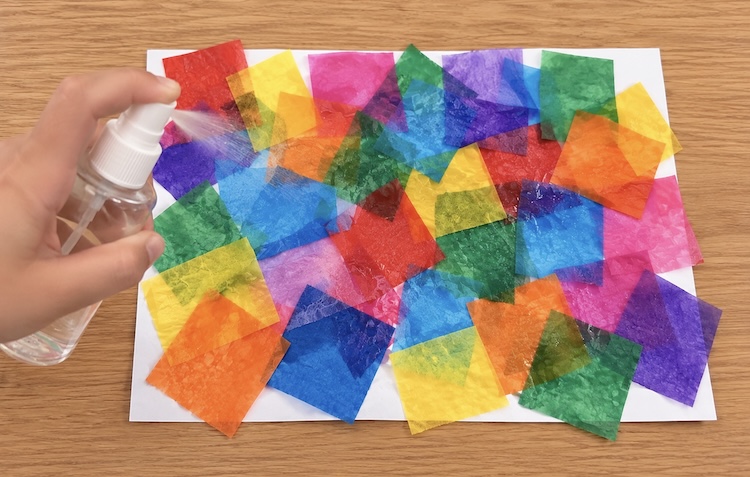
Step 5Wait at least 10 minutes for the colors to fully transfer, then peel away the tissue paper to reveal your colorful masterpiece! This is when the hidden white crayon resist designs that you couldn’t see before really come to life.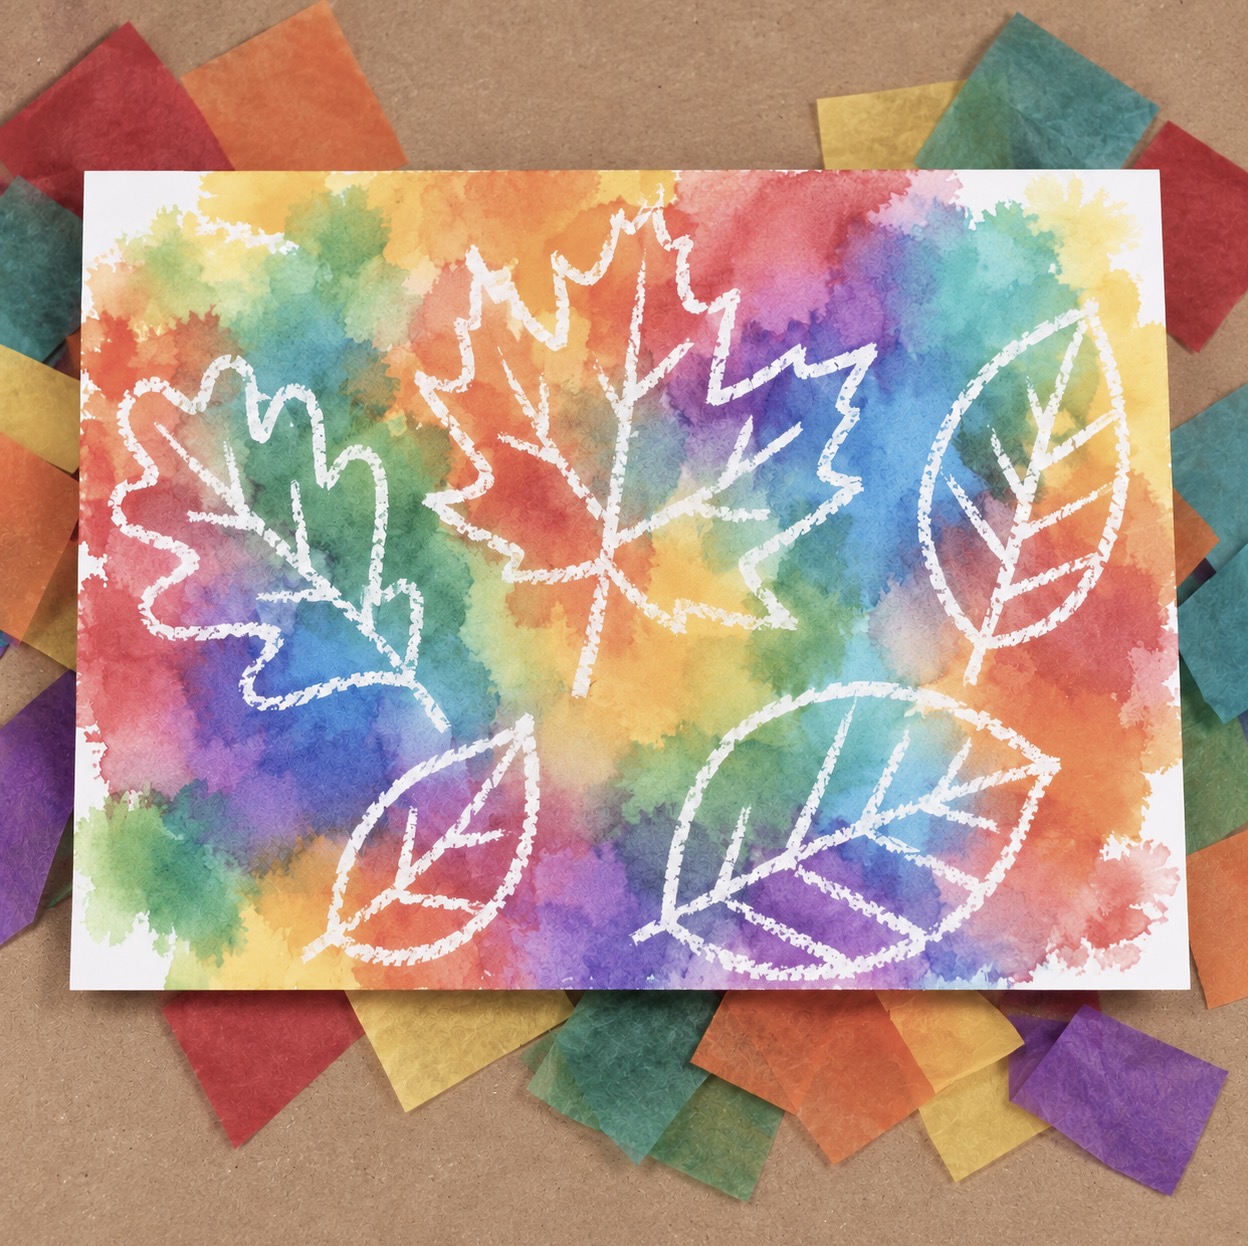
You can easily customize this art project for just about any season or holiday by changing up the crayon designs and tissue paper colors! Try drawing leaves with warm fall colors for Autumn. Create flowers and rainbows with bright colors for spring. For winter, draw snowmen or snowflakes paired with red, green, and blue. You could even make pumpkins for Halloween or hearts for Valentine’s Day. There are so many fun combinations to try, making this an easy art project kids can enjoy all year long!
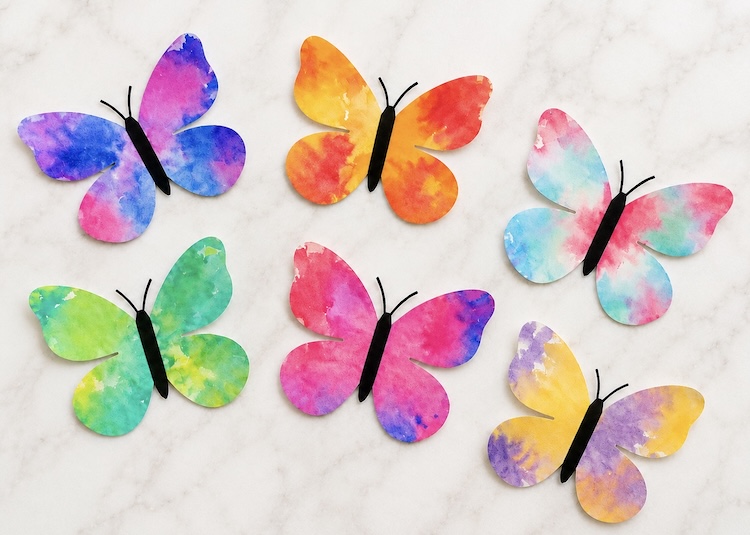
There are so many fun art projects to make with bleeding tissue paper! It’s a great investment for all sorts of kids’ crafts. If you’re looking for more inspiration, check out these gorgeous Tissue Paper Butterflies that include a free printable template.