
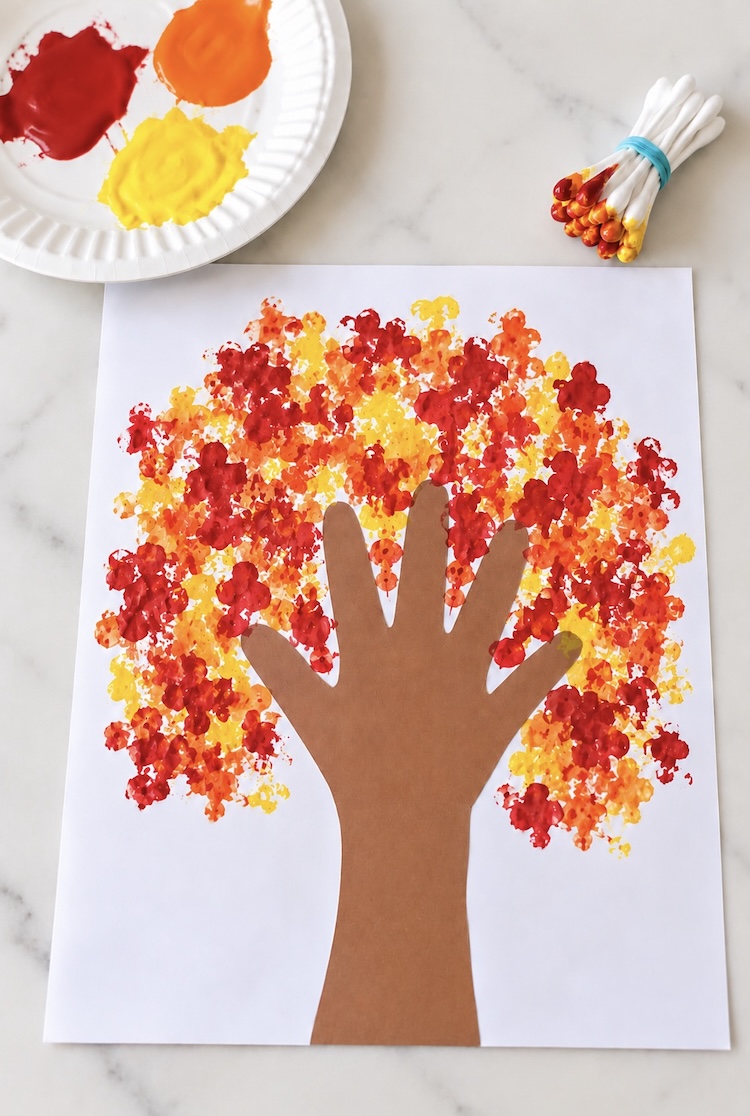
Who knew a handful of Q-tips could make such beautiful trees? This easy handprint tree craft is a fun way for kids to get creative with paint while making something special with their very own handprint! All you need is a little construction paper, washable paint, and a bundle of cotton swabs to create a colorful piece of artwork that’s different every time.
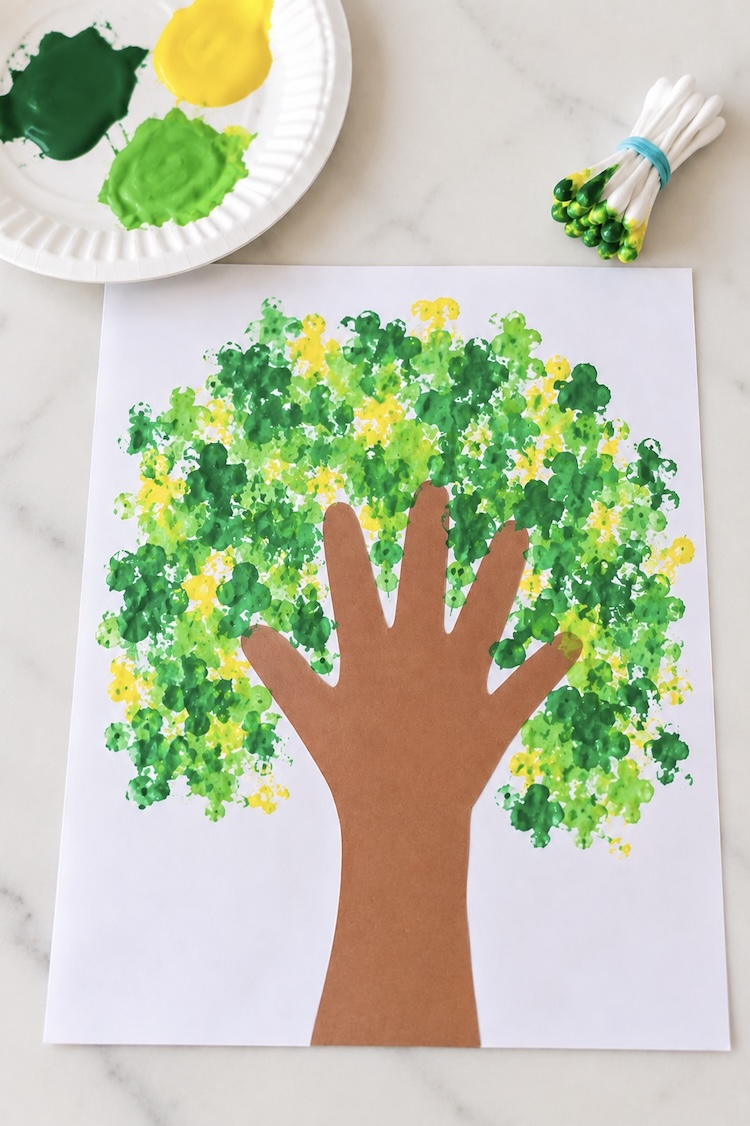
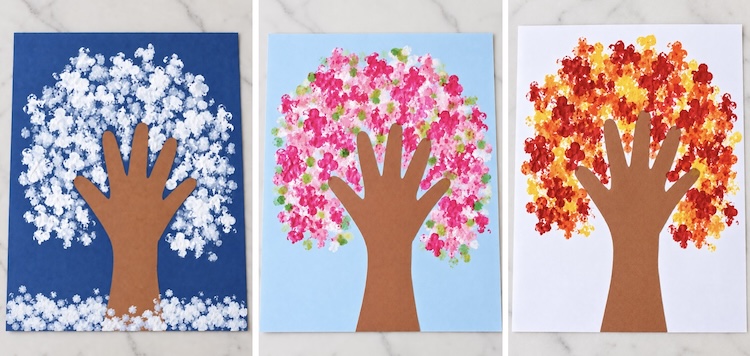
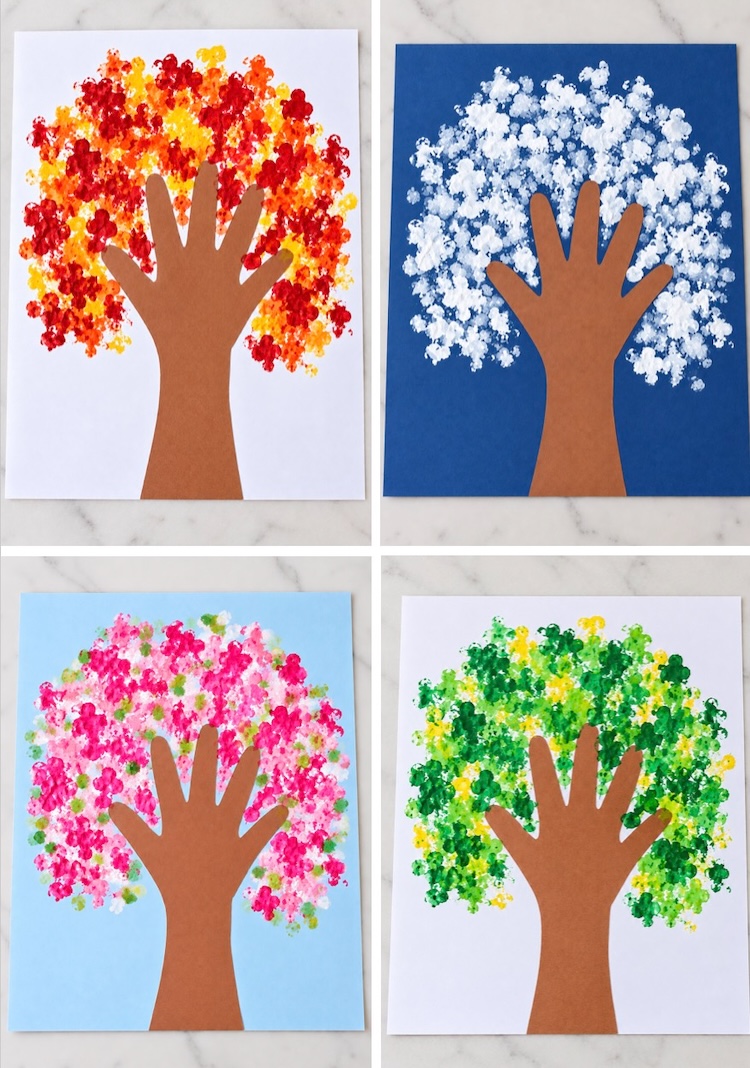
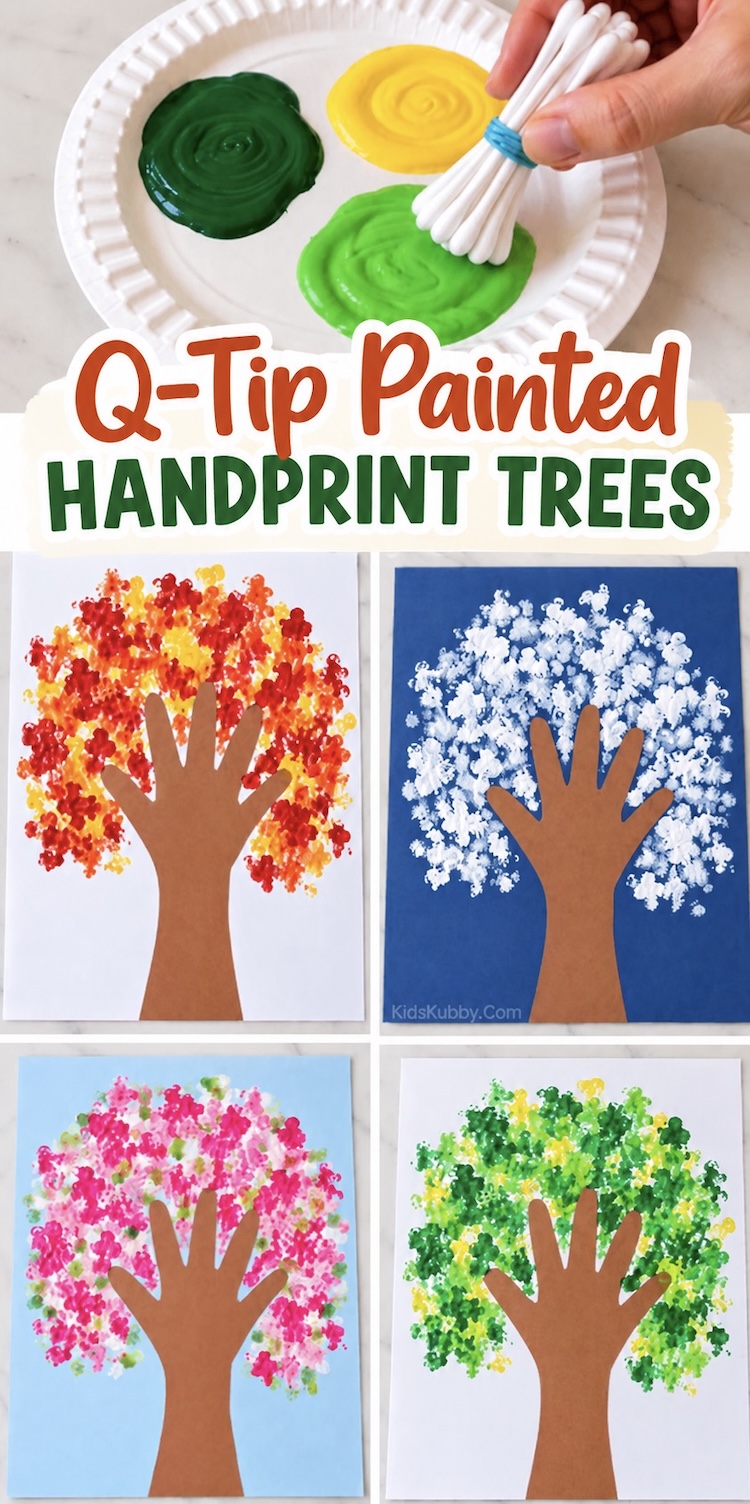
The best part? You can make one for every season! Try different shades of green for a lush summer tree, warm reds, oranges, and yellows for fall, bright pastels for spring blossoms, or white paint for a snowy winter tree. You could even make all four and display them together.
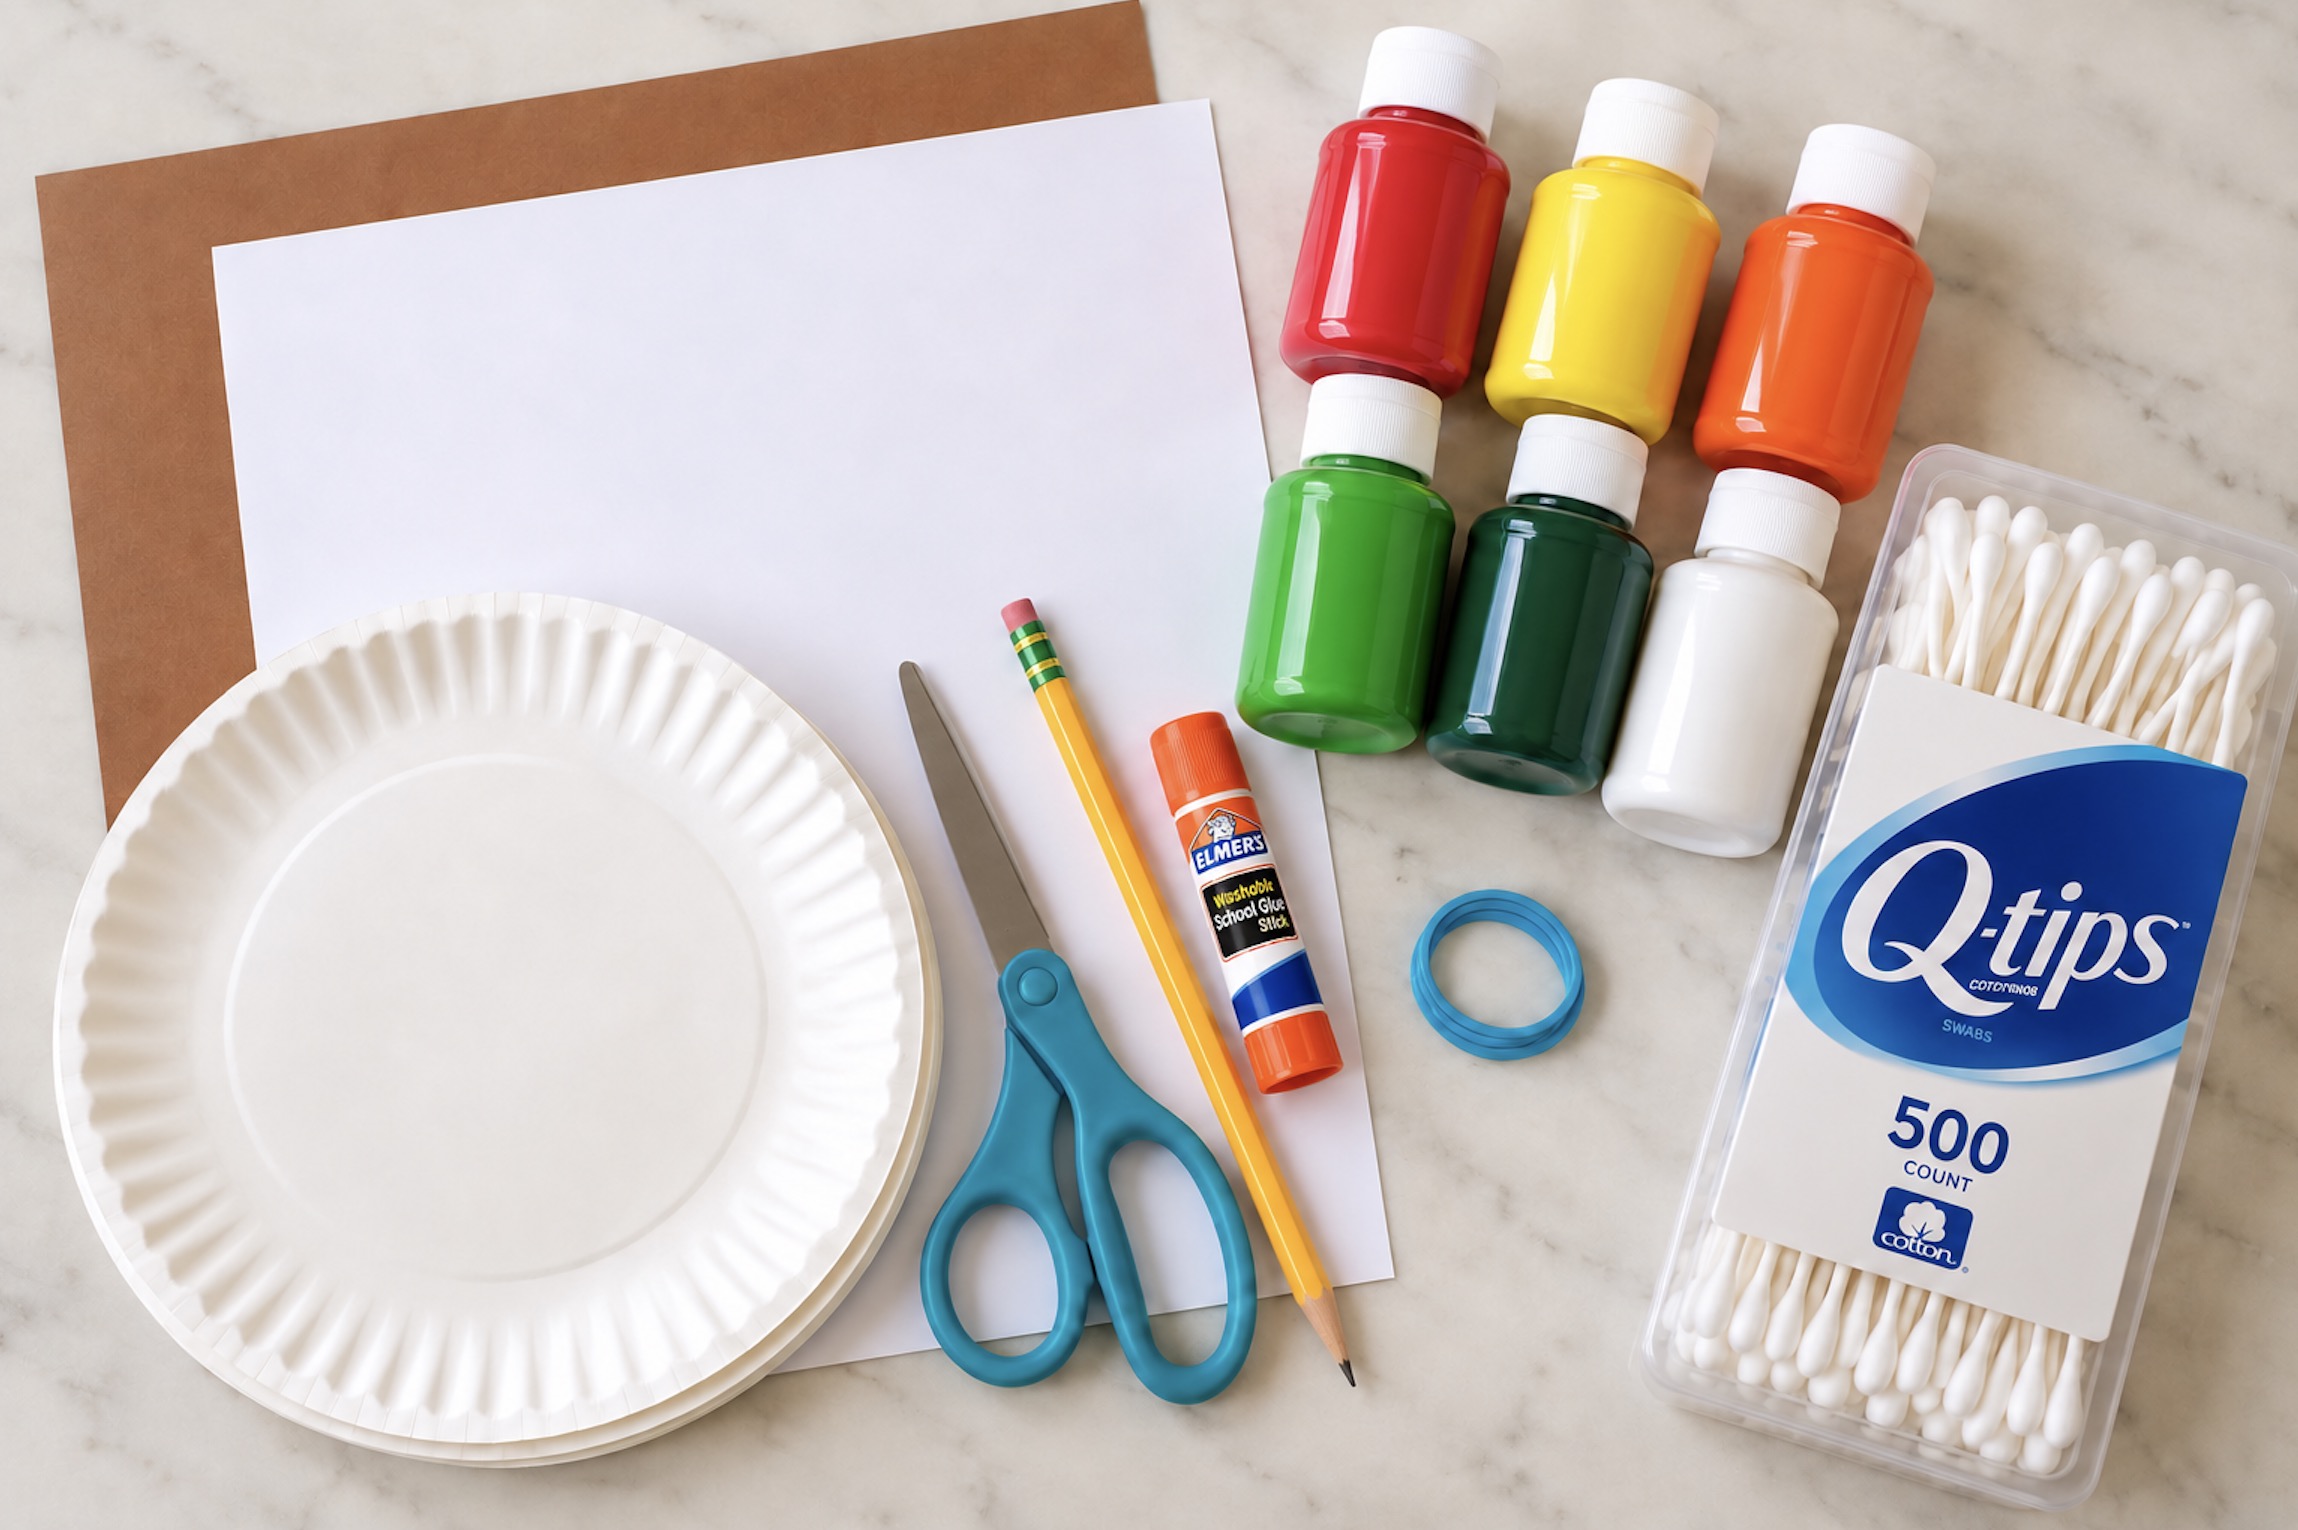
Supplies Needed
- construction paper
- variety of paint colors
- q-tips
- small rubber band
- scissors
- pencil
- glue stick
- paper plates (for the paint)
Step 1Start by tracing your child’s hand and forearm onto brown construction paper, then cut it out to make the tree trunk and branches. Glue it onto a sheet of paper, leaving plenty of room at the top where the tree leaves will be stamped on.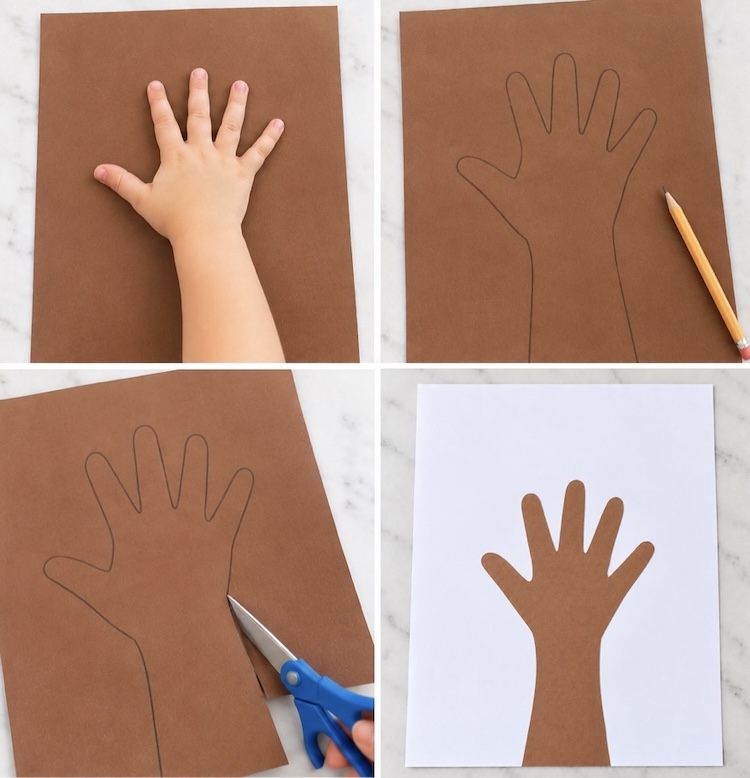
Step 2Bundle 6–10 Q-tips together with a rubber band and add your paint colors to a paper plate. Keep a second plate or scrap piece of paper nearby to dab off any excess paint when your Q-tip bundle gets too saturated.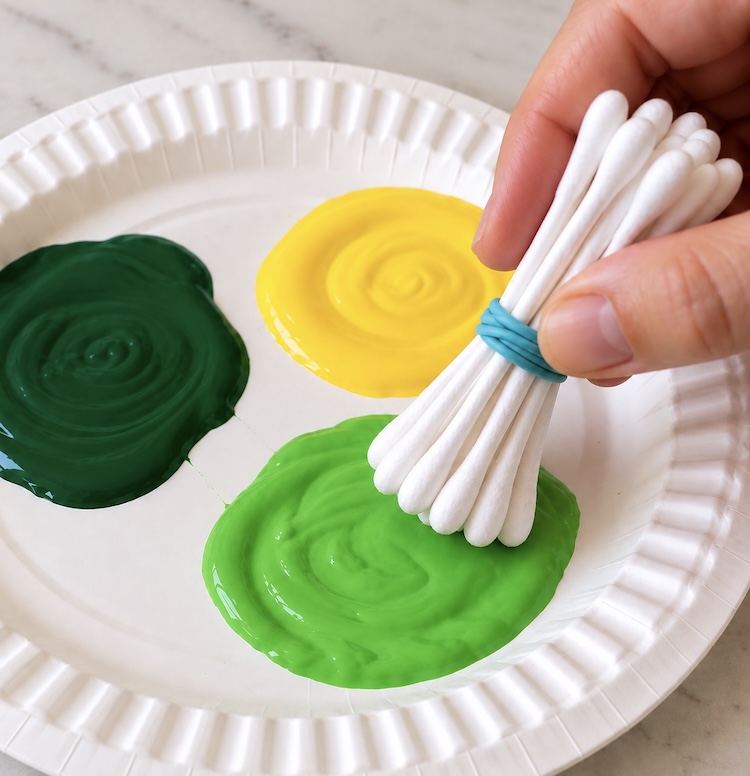
Step 3Let the painting begin! Kids can dip their homemade paintbrush into different colors and stamp away to create a beautiful tree full of leaves. If using multiple colors, try stamping one color at a time, allowing the paint to dry a little in between. You can also use individual Q-tips to fill in smaller spaces between the branches or add fun little details like flowers!
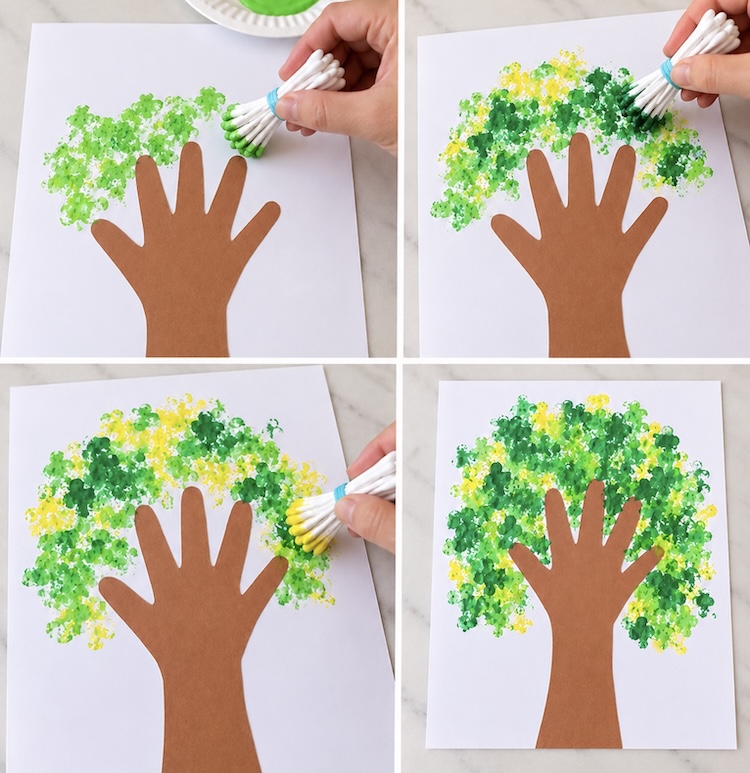
This simple painting activity is great for toddlers, preschoolers, and older kids, too. It’s inexpensive, easy to set up, and a fun way to learn about the changing seasons while getting a little creative. Plus, those little handprint trunks make such sweet keepsakes to look back on as your kids grow!
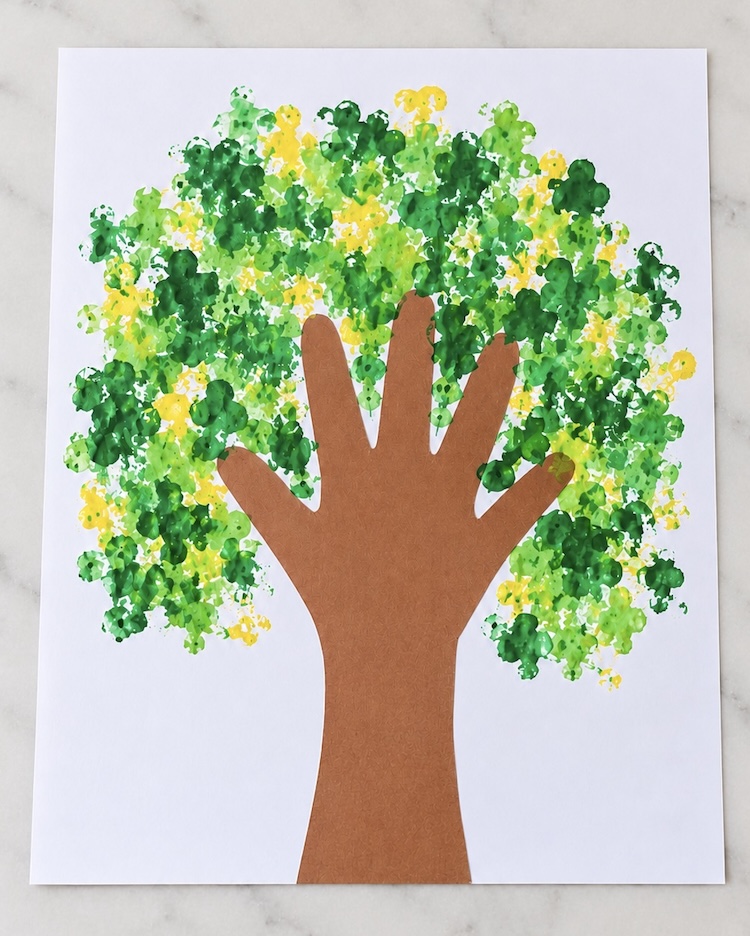
One of my favorite things about this awesome tree art is that it can be made for just about any season! Have fun choosing a background color that complements your paint colors. You don’t have to stick with traditional white paper—try something a little more festive to match the season and make your tree really stand out!
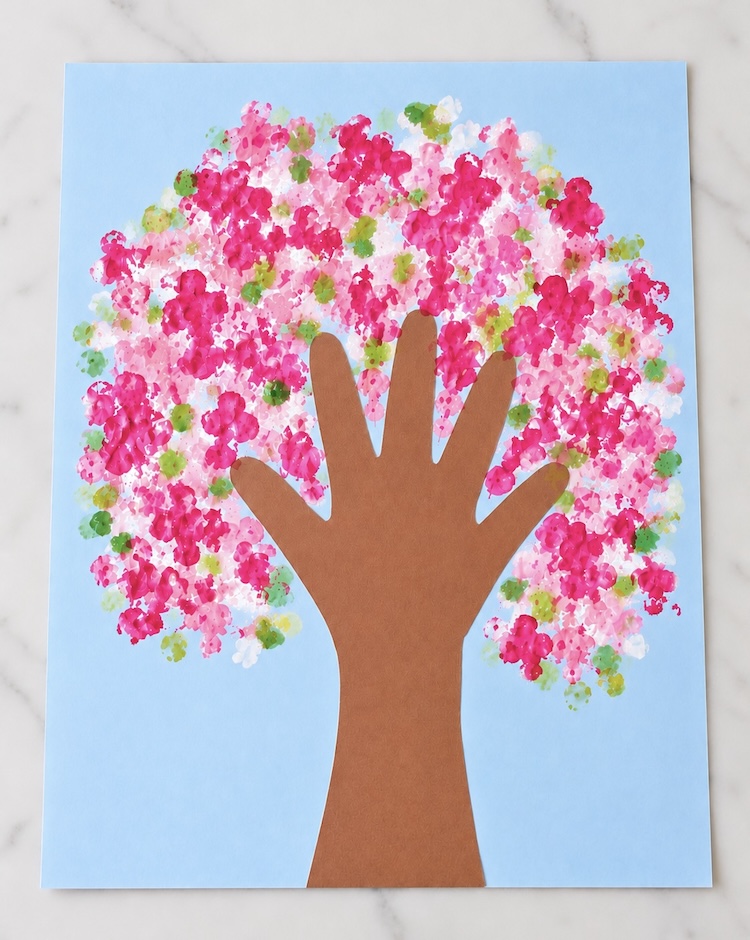
For spring, try making a colorful cherry blossom tree with pink, white, and light green paint. In winter, use white paint on dark paper to create snowy branches, and when fall rolls around, bring out those beautiful autumn shades of red, orange, and yellow.
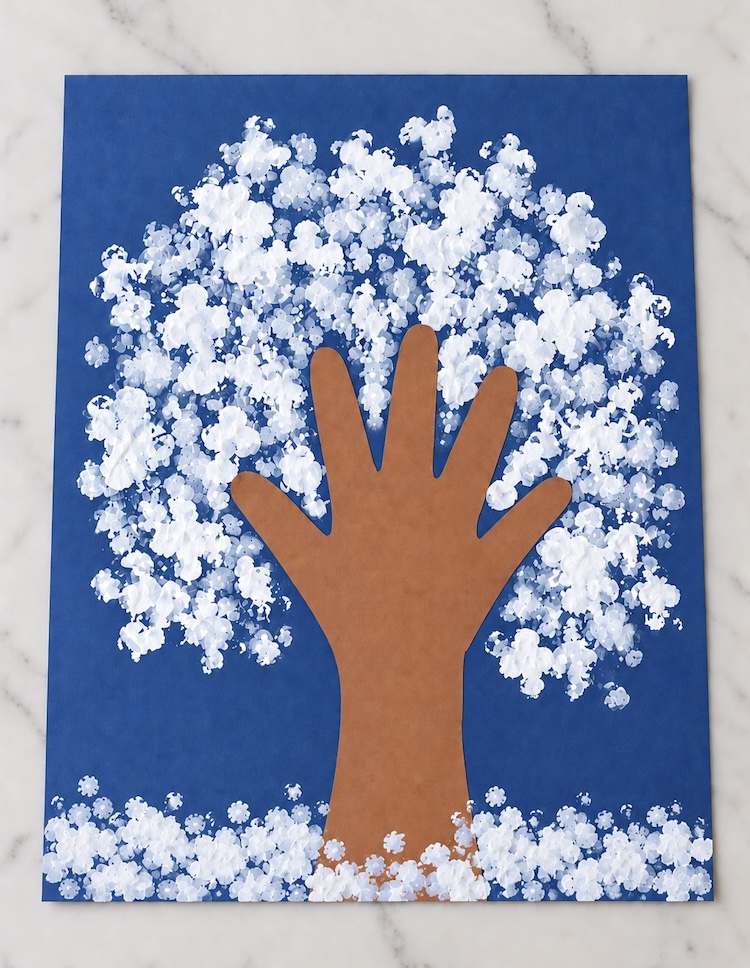
I just love how simple yet impressive this tree art turned out! Younger kids can have fun stamping away with their homemade Q-tip paintbrushes, while older kids can get creative with different colors and little details. It’s an easy craft to enjoy any time of year, and the handprint trunk makes it extra special.
Helpful TipThere are so many fun ways to make homemade paintbrushes for kids using clothespins as a clever handle. Simply clip on everyday items like pom-poms, cotton balls, leaves, foil, plastic wrap, feathers, yarn, pipe cleaners, or felt. Each one creates a different texture and painting effect, many of them perfect for making tree leaves and foliage!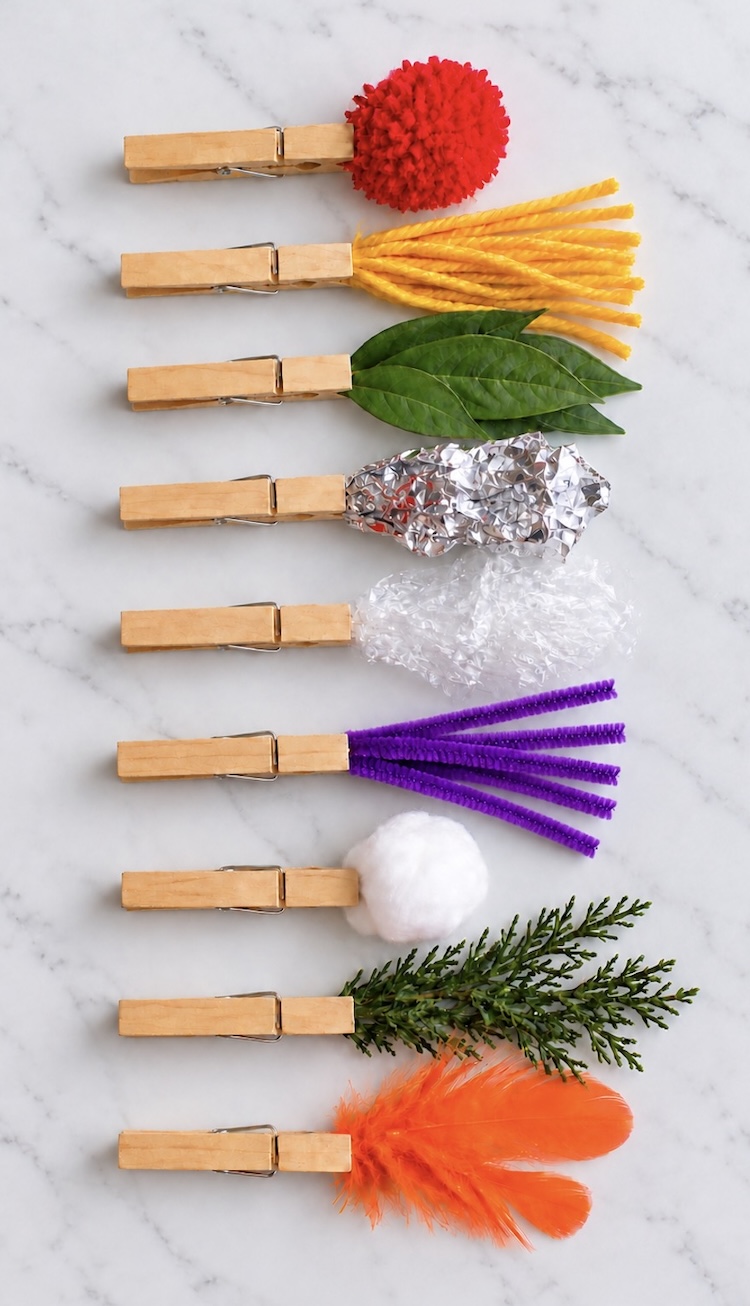
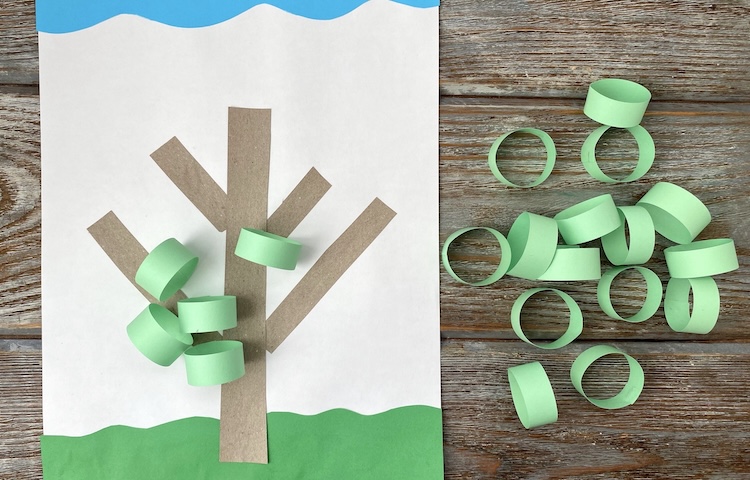
If you like this fun art project, check out this 3-D Construction Paper Tree Craft! It’s a great low mess craft for your next rainy day at home with the kids.
And if you’re looking for something that also includes an outdoor adventure, try this unique Build-A-Tree Nature Craft