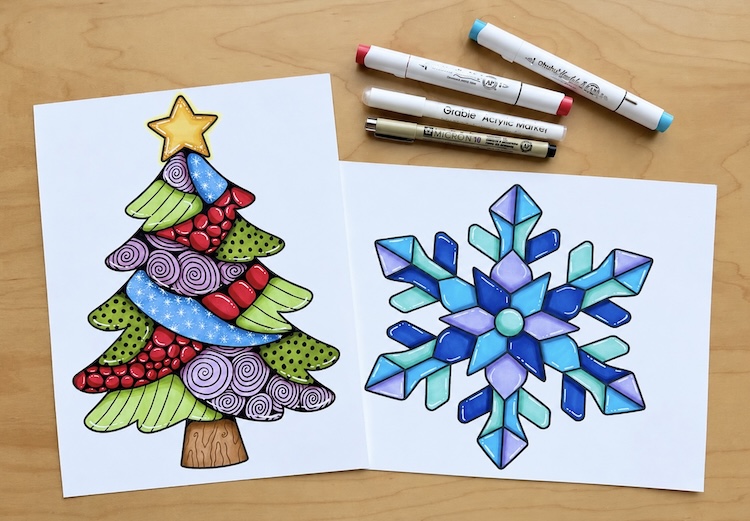

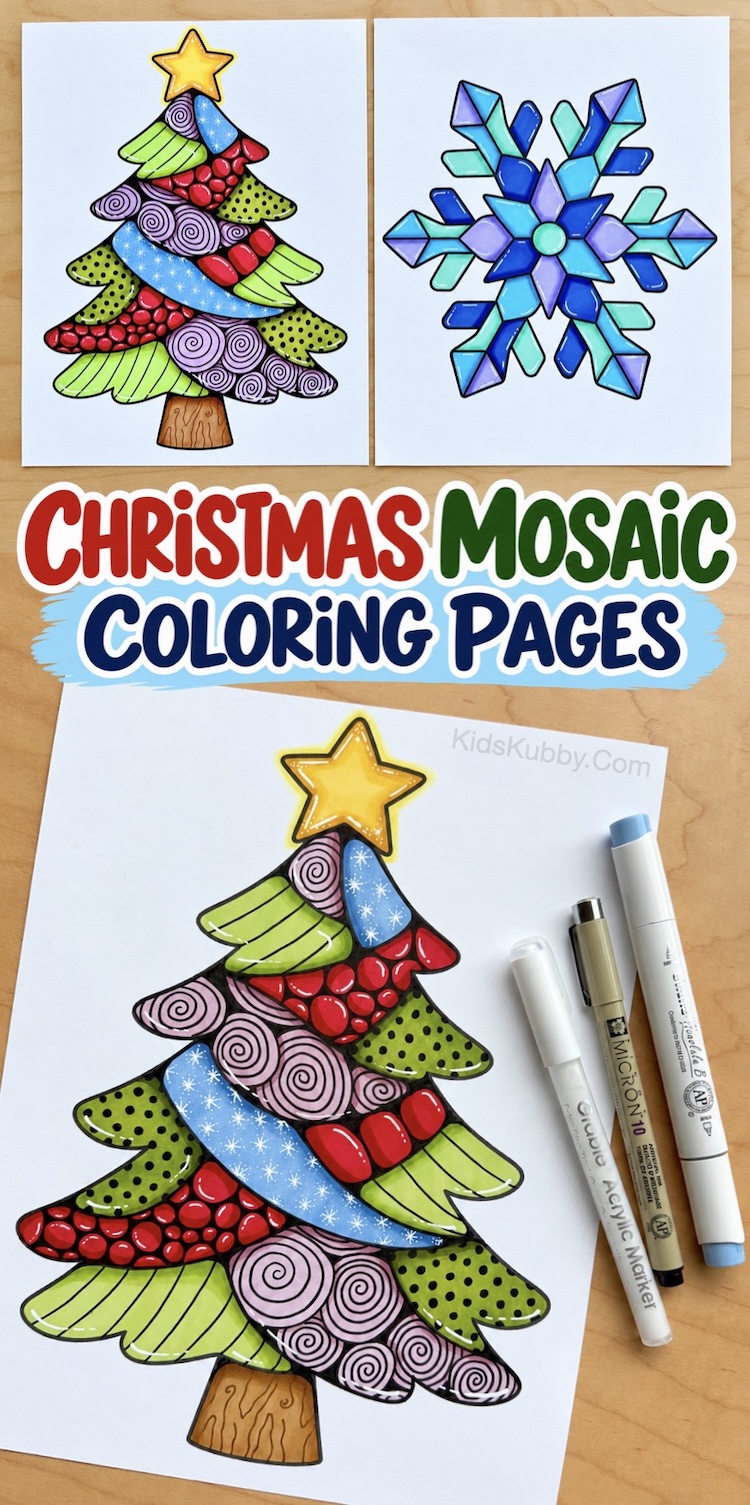
Looking for a fun and relaxing Christmas art project that all skill levels and ages can enjoy? These free printable Christmas mosaic coloring pages are such a creative way to get into the holiday spirit! Each coloring page is divided into little sections just waiting to be filled with bright colors, playful patterns, and fun details. There are no rules! Grab your favorite markers, crayons, or colored pencils and let your imagination do the decorating.
Instead of coloring each section a solid color, have fun experimenting with different patterns and designs! Fill some spaces with polka dots, stripes, swirls, bubbles, zigzags, or tiny doodles. Mix and match unexpected colors, add shading for dimension, or stick with traditional Christmas colors like red, green, and gold. Every little section is an opportunity to try something new, making each finished piece of art completely unique.
Supplies Needed
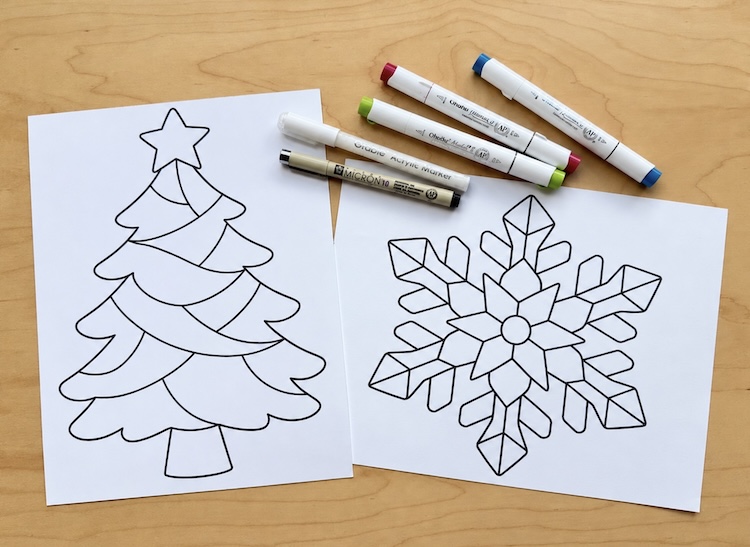
- Printer paper (preferably cardstock if using markers)
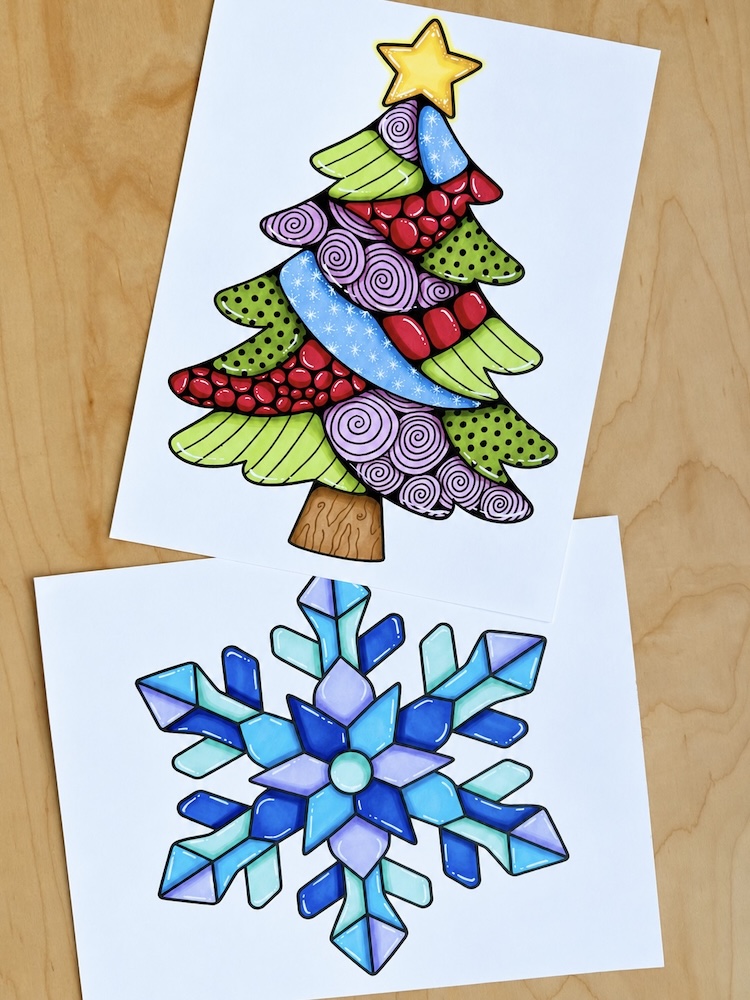
- Mosaic Christmas Tree Coloring Page (Print Here)
- Mosaic Snowflake Coloring Page (Print Here)
- Markers, crayons, or colored pencils to decorate
This is what I use! Ohuhu Alcohol Markers (with the brush & fine tip). They are exceptional for blending and shading and very popular for adult coloring. These black pens (10 point size). Acrylic paint or gel white pens for adding highlights.
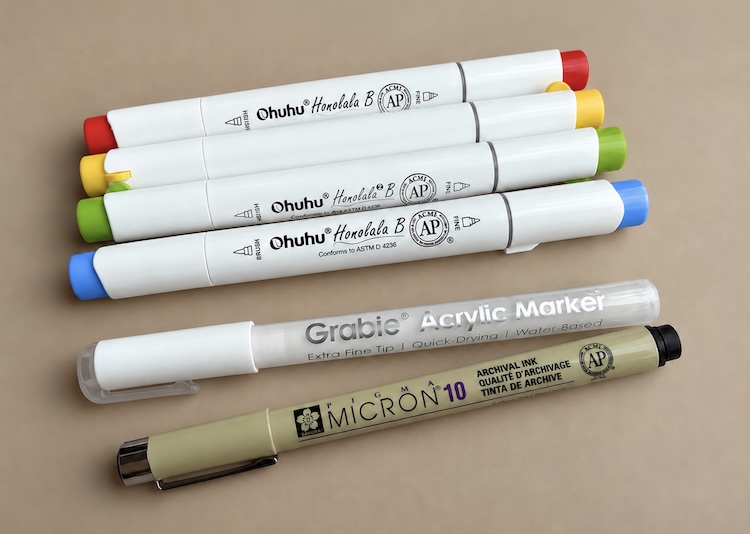
I’ve included lots of helpful tips and tricks below for coloring with alcohol markers, including how to blend colors, add highlights, and create a beautiful stained glass effect. Alcohol markers are especially fun for these mosaic designs because you can layer different shades to give each section a vibrant, almost three-dimensional appearance. But don’t worry if you don’t have fancy markers! Regular washable markers, crayons, and colored pencils work just as well for creating colorful Christmas masterpieces.
Easy Mosaic Snowflake Coloring Page
This simple snowflake coloring page is divided into little sections, making it fun and satisfying to fill each one with your favorite colors. I’ve kept this one simple without any doodles, but the shading and highlights alone make it look awesome!
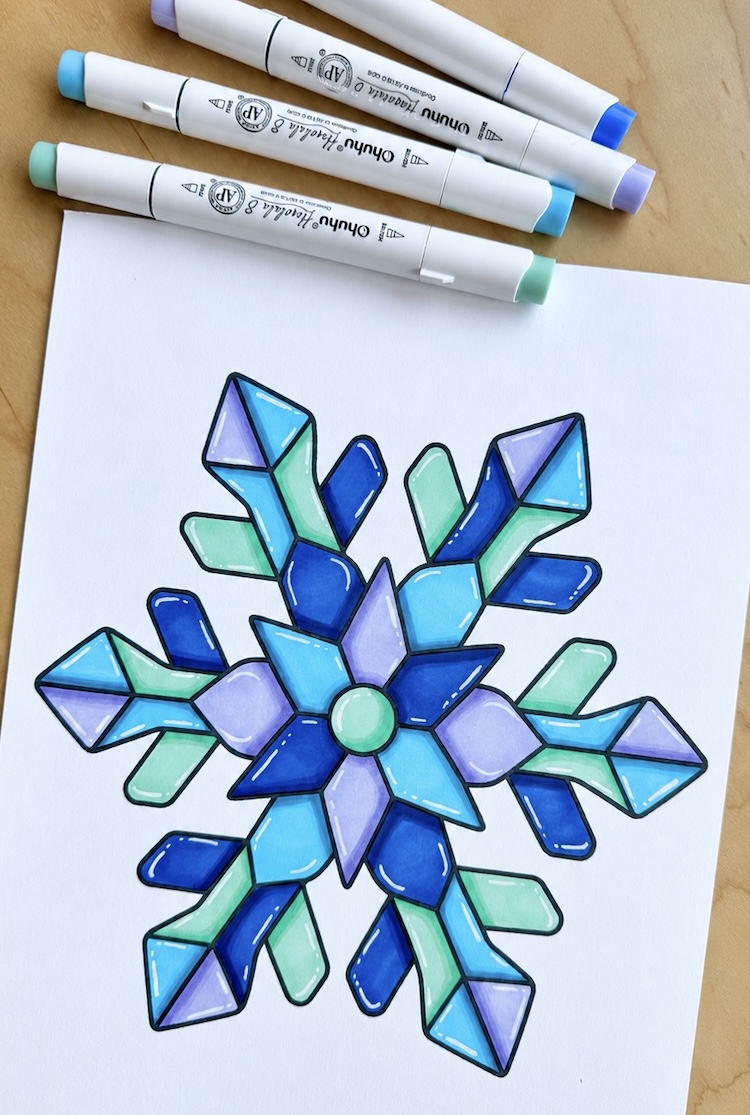
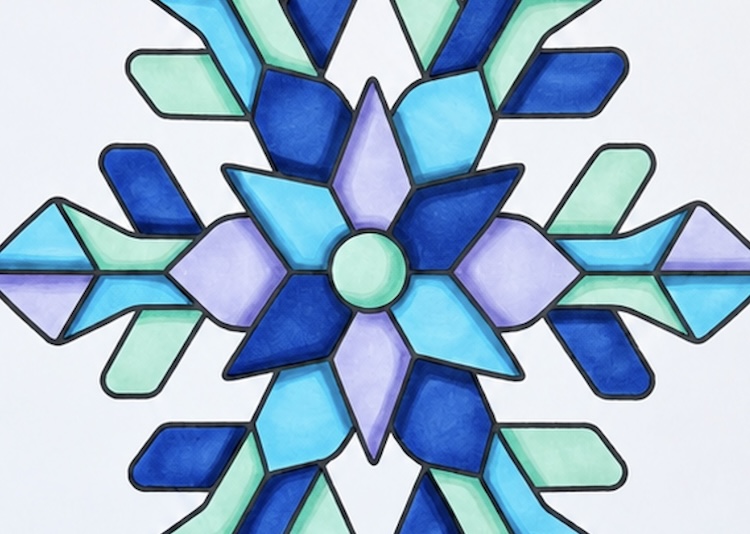
Step 1Start by filling in each section with a variety of fun colors. You can go wild with every color of the rainbow for a bright and playful design, or stick with a handful of coordinating shades. I chose four different shades of blue and purple for a frosty winter theme!
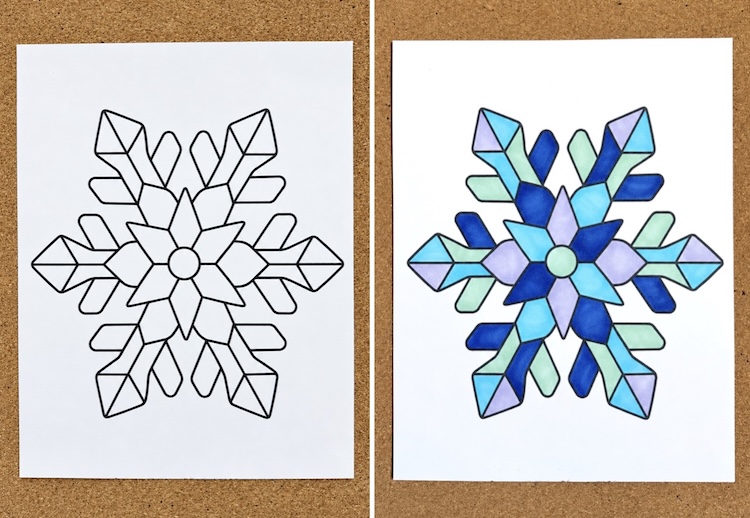
Step 2Now for the fun part—adding dimension with shading! Make your colors really pop by using a marker that’s a shade or two darker than your base color. Simply trace along one side of each section to create a shadow. If you’re using alcohol markers, you can blend the colors by going over the edge of the darker shade with your lighter marker. It takes a little practice to get the shadows just right, but it’s easier than you think!
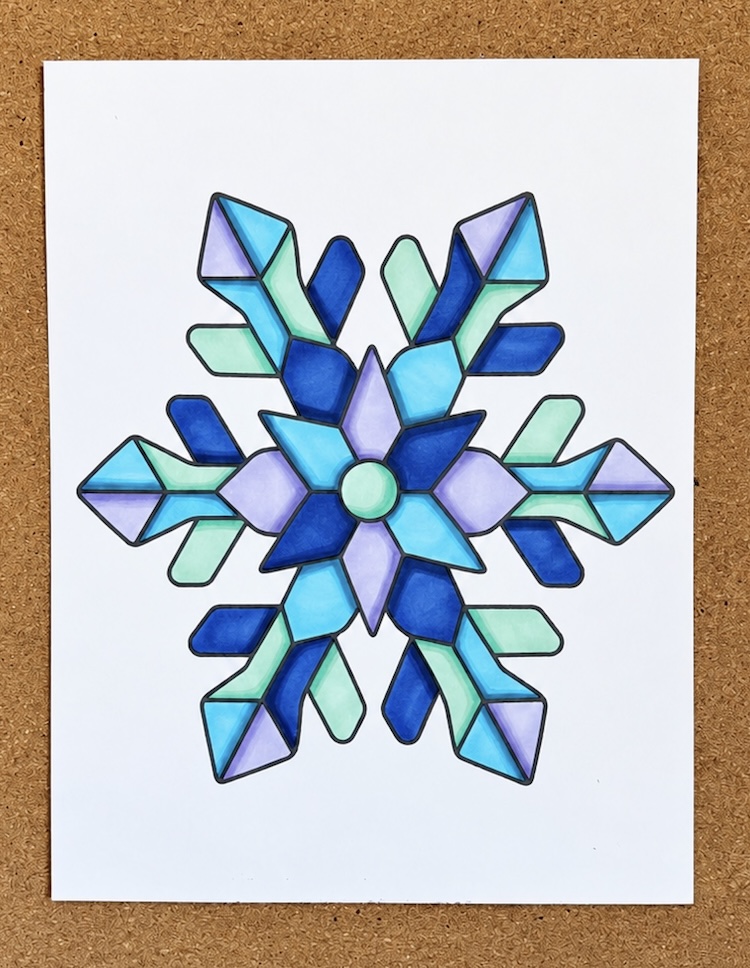
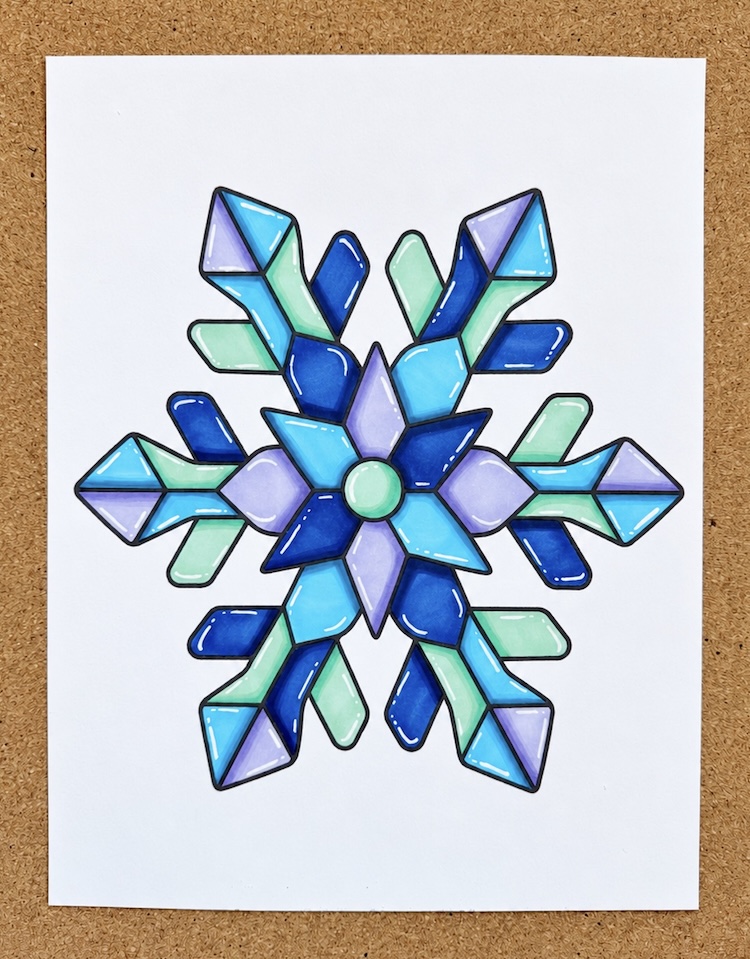
Step 3The finishing touch is adding white highlights to give your artwork a shiny, stained glass effect. Simply use a white acrylic paint marker or gel pen to draw small highlights along the opposite side of your shadows. It takes a little practice, but these tiny details make a huge difference! Just be sure to let the white ink dry completely to avoid smudging it with your hand as you work.
Mosaic Christmas Tree Coloring Page
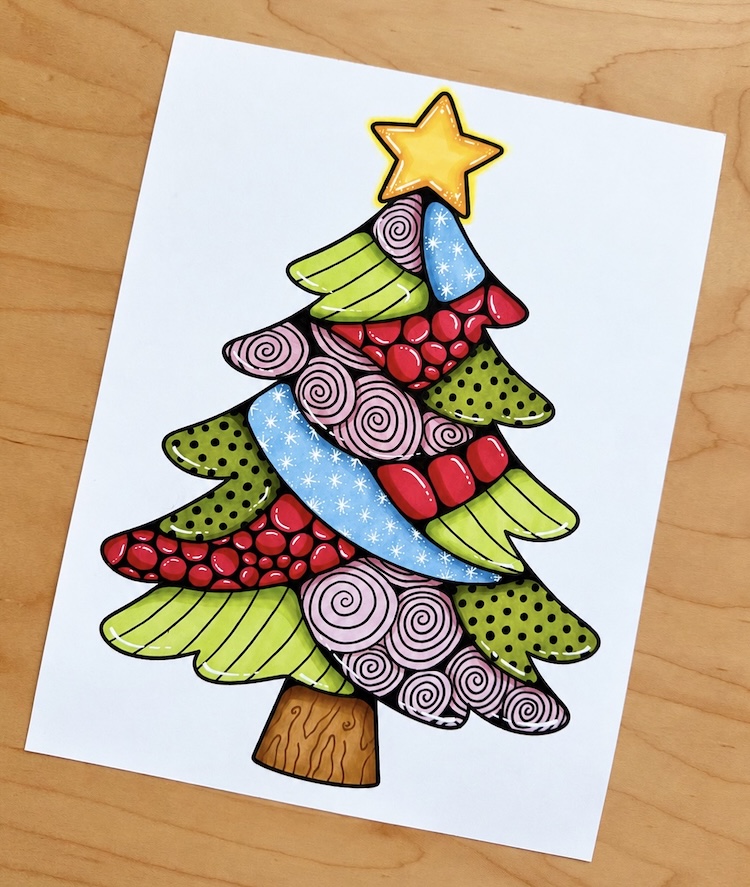
For this Christmas Tree Coloring Page I had a little extra fun experimenting with simple doodles, playful patterns, and different coloring techniques to make the design really stand out. The sections are a little bit larger for getting creative with!
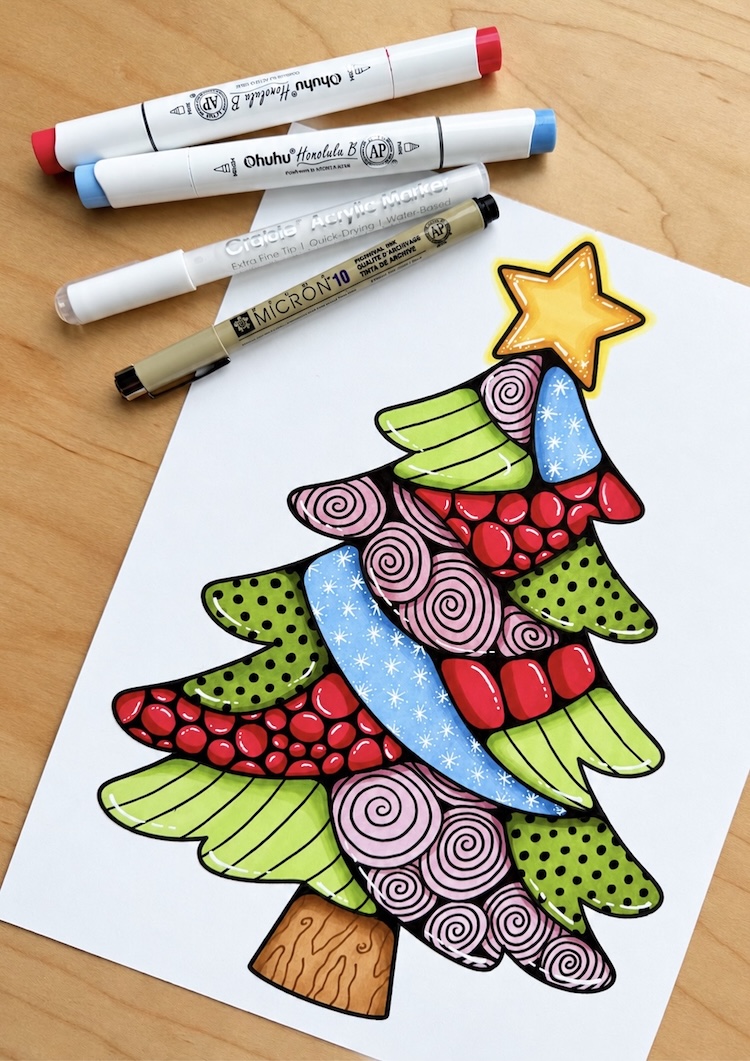
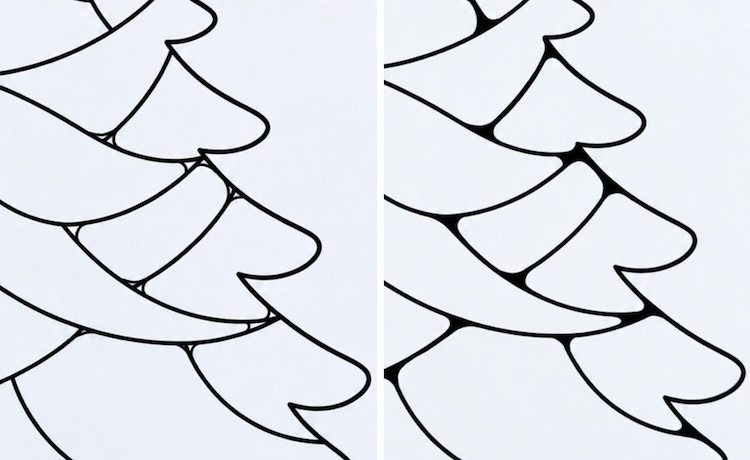
Step 1This step is optional, but it really helps create that beautiful mosaic or stained glass effect. Simply use a black pen to slightly round the corners of each section, then fill in the tiny gaps with black ink, as shown below.
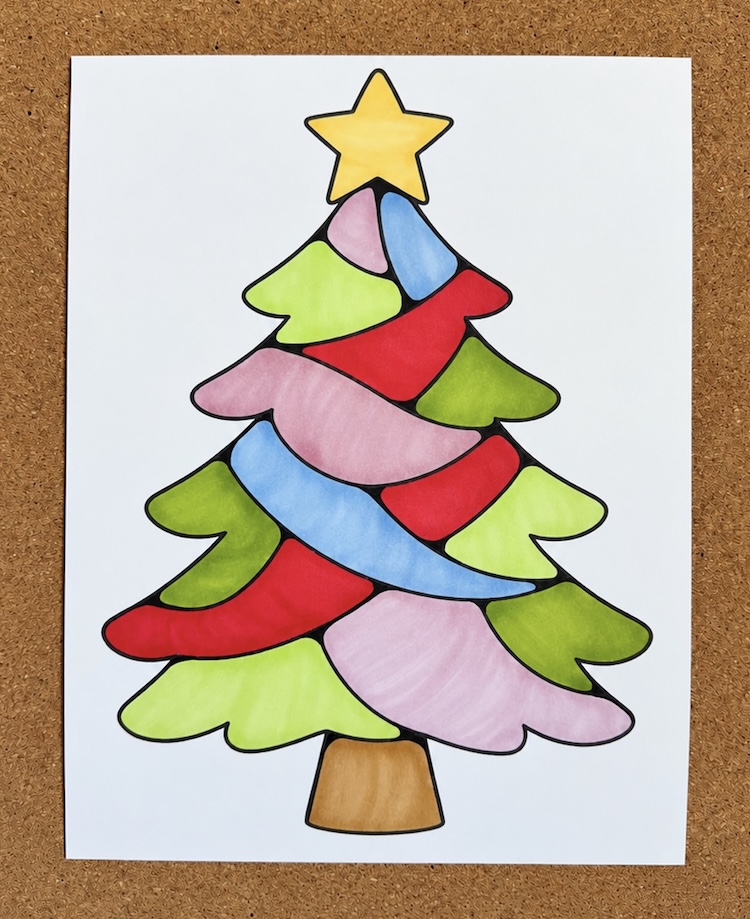
Step 2Time to choose your colors! I stuck with traditional Christmas colors for mine, but you can mix and match any shades you like. Try experimenting with different color combinations, or even blend two or more colors within the same section for a little extra dimension and detail.
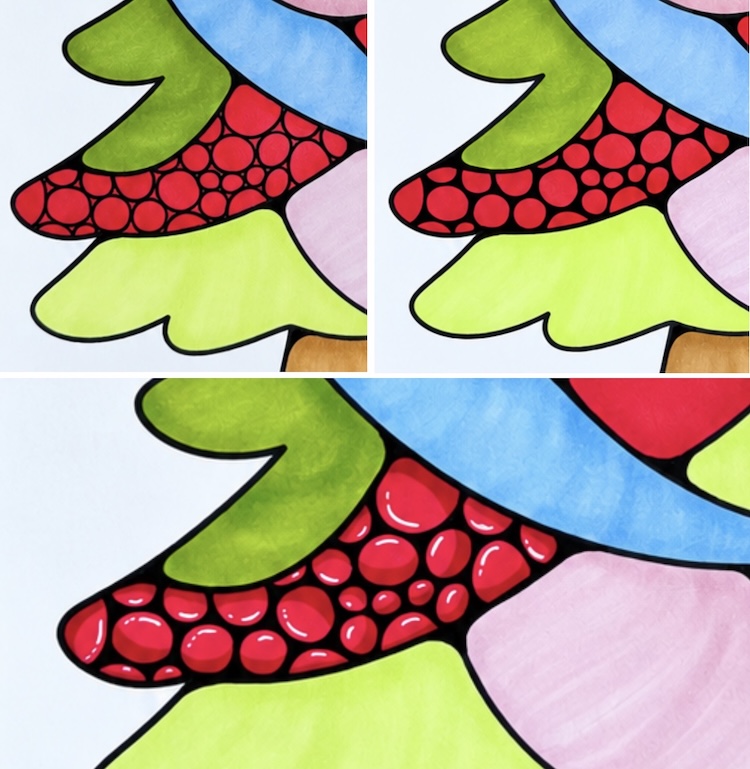
Step 3Want to add a fun pebble-like pattern to your design? It’s surprisingly easy! Just draw circles in a variety of sizes, then fill in the spaces between them with a black pen, as shown below. Add a darker shade along one side of each circle and a few white highlights to make them look three-dimensional. The technique with the spirals is virtually the same. Draw your design, and then fill in any empty gaps with black ink.
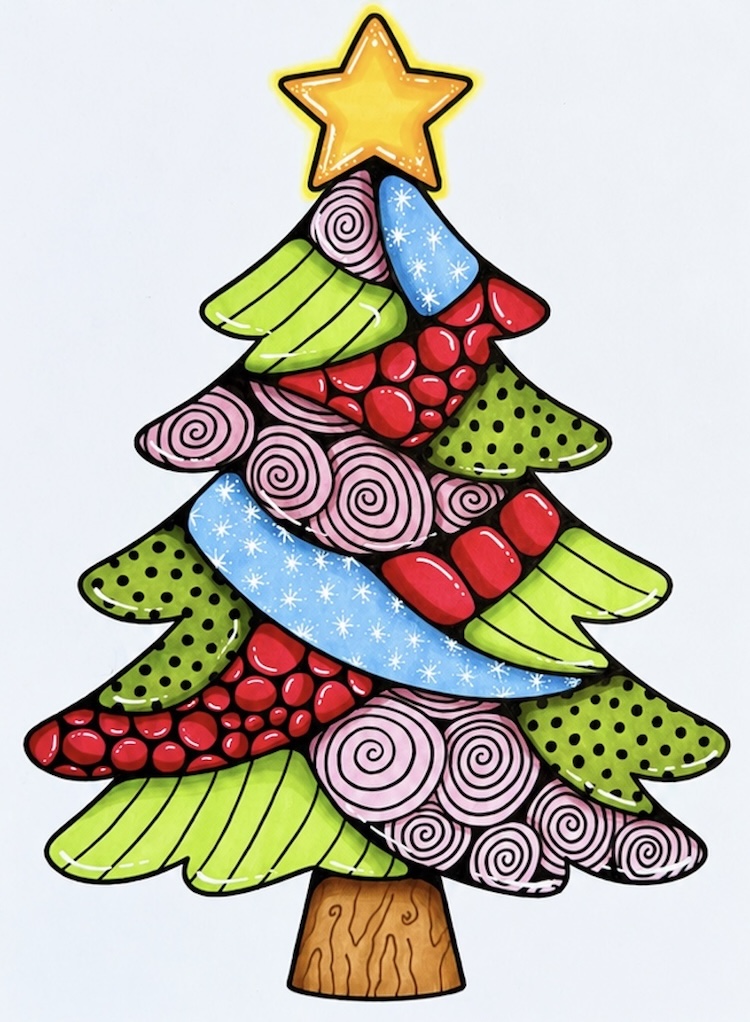
Step 4Keep filling in each section of your tree with fun doodles and patterns, from simple polka dots and stripes to more detailed designs. Once you’re happy with your artwork, add shading along one side of each section with a darker marker, followed by white highlights to make everything pop! I also used my white pen to draw tiny snowflakes in the blue sections for an extra festive touch.
Coloring isn’t just for kids! There’s something incredibly satisfying about filling in all those little spaces, one pattern at a time. It’s a relaxing, screen-free activity that lets you slow down, get creative, and enjoy a little quiet time during the busy holiday season. These printable Christmas coloring pages are great for older kids, teens, and adults, whether you’re looking for an easy classroom art project, a cozy afternoon activity, or something fun to do together as a family.
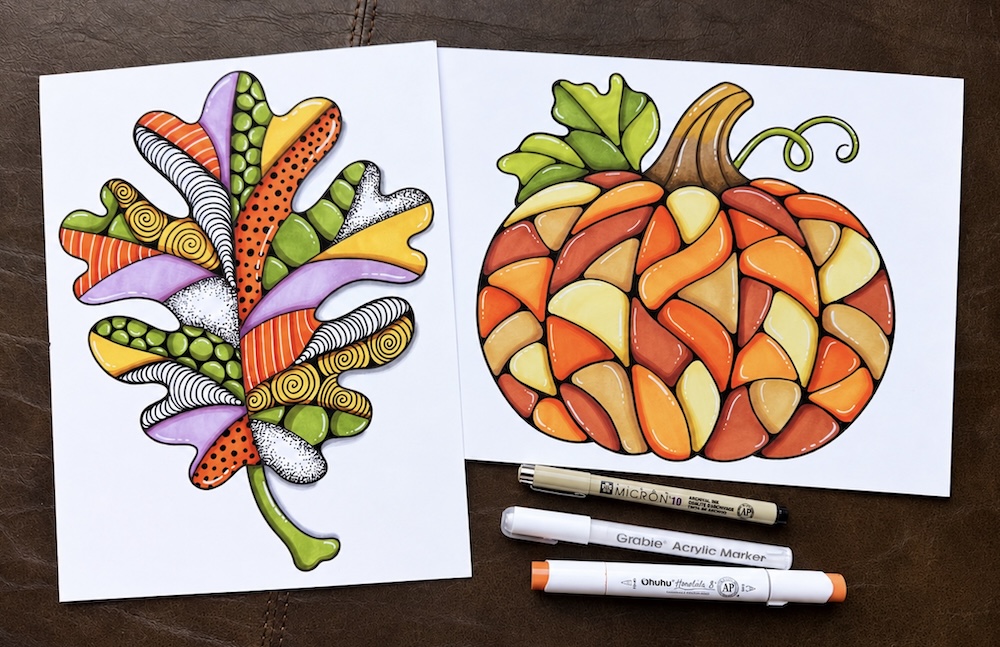
If you like these fun holiday coloring pages, check out these Fall Themed Mosaic Printables including a beautiful pumpkin and oak leaf!