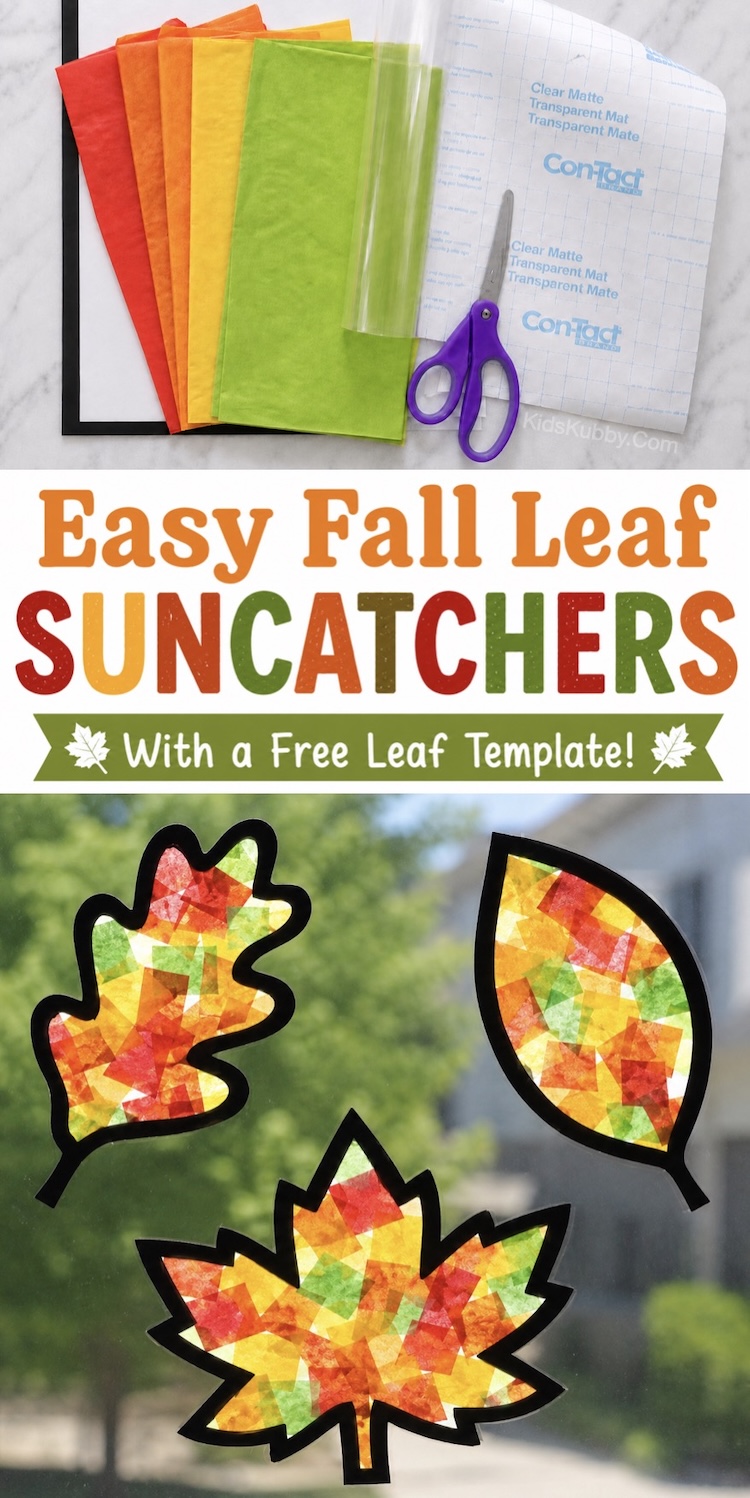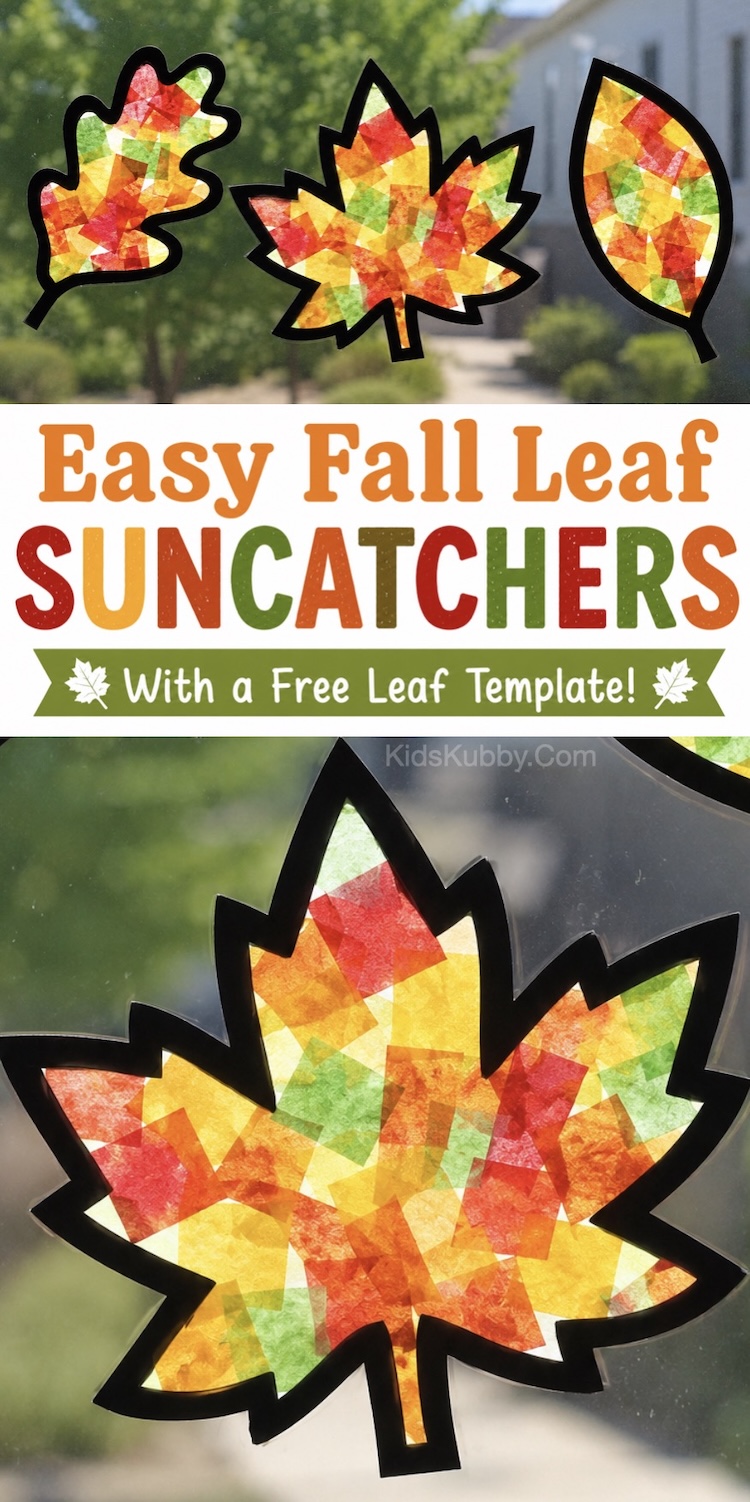
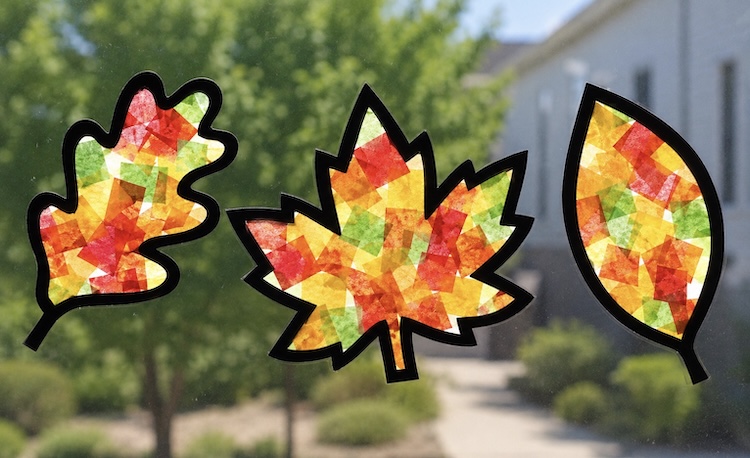

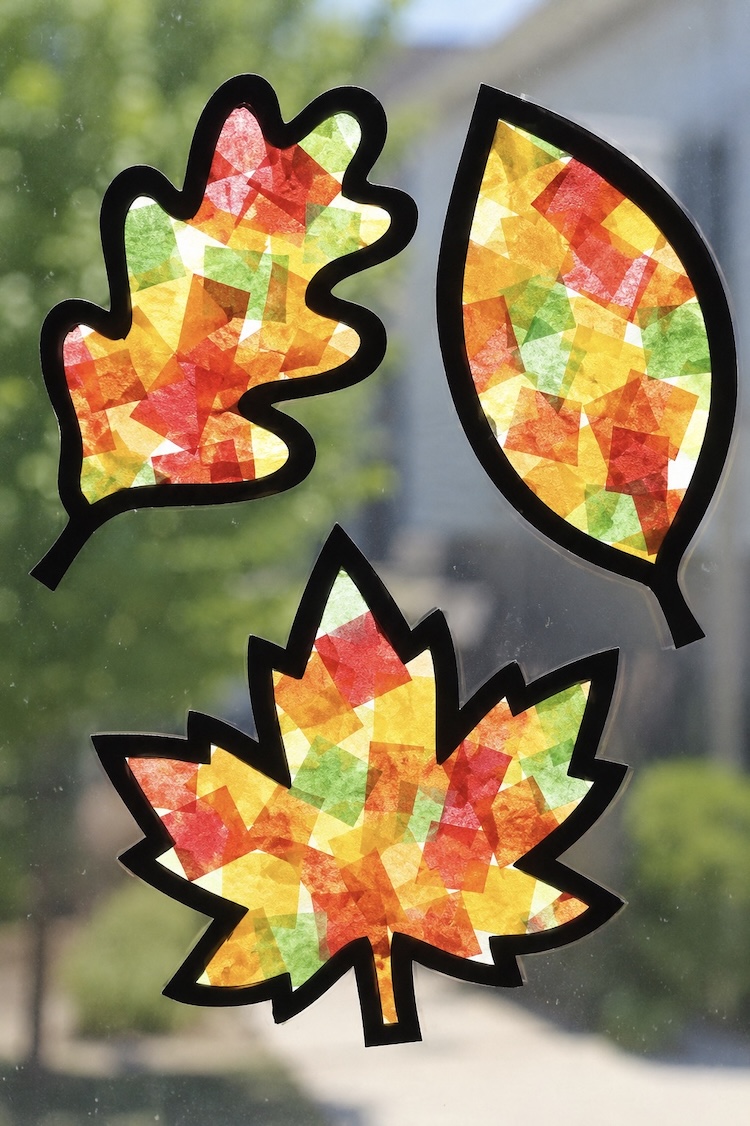
This easy fall leaf suncatcher craft is such a fun way for kids to bring the beautiful colors of autumn indoors! Made with colorful tissue paper, black cardstock, and clear contact paper, it’s a simple fall craft that looks surprisingly impressive when it’s finished. Hang your colorful leaves in a sunny window and watch the light shine through the tissue paper for a warm and cozy fall glow.
To make this craft even easier, you can use the free printable leaf template to create the black leaf outline. Kids can fill the inside with little pieces of red, orange, yellow, green, and brown tissue paper, overlapping the colors to create a pretty stained-glass effect. There’s no need to make it perfect—the different shapes, colors, and overlapping pieces are what make every leaf unique!
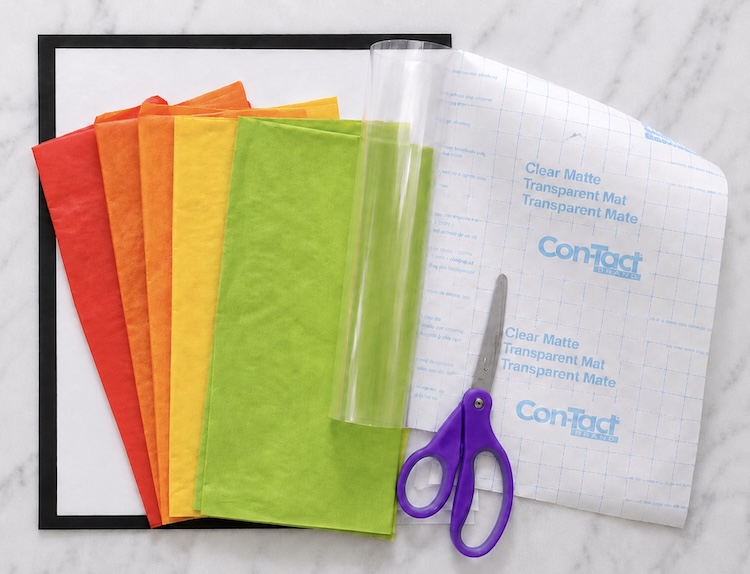
Craft Supply List
- clear contact paper (like this)
- variety of tissue paper (fall leaf colors)
- white cardstock
- black cardstock (or construction paper)
- scissors
- Printable Leaf Template (optional)
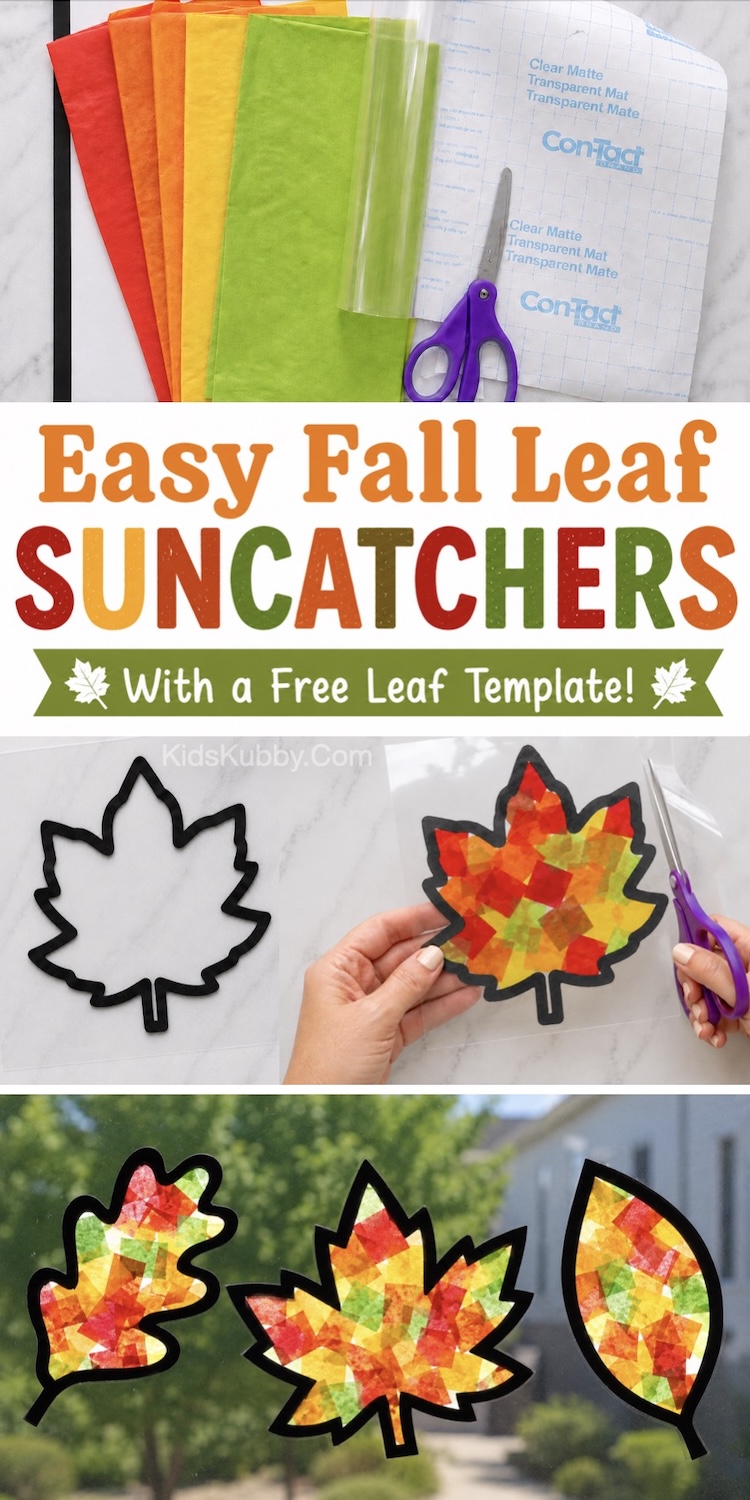
Step 1Print the leaf template on white cardstock and cut it out. Trace the template onto thick black paper, or draw your own leaf shape if you prefer. Then, draw a second line around the outside of the traced leaf to create a thick border for the suncatcher frame.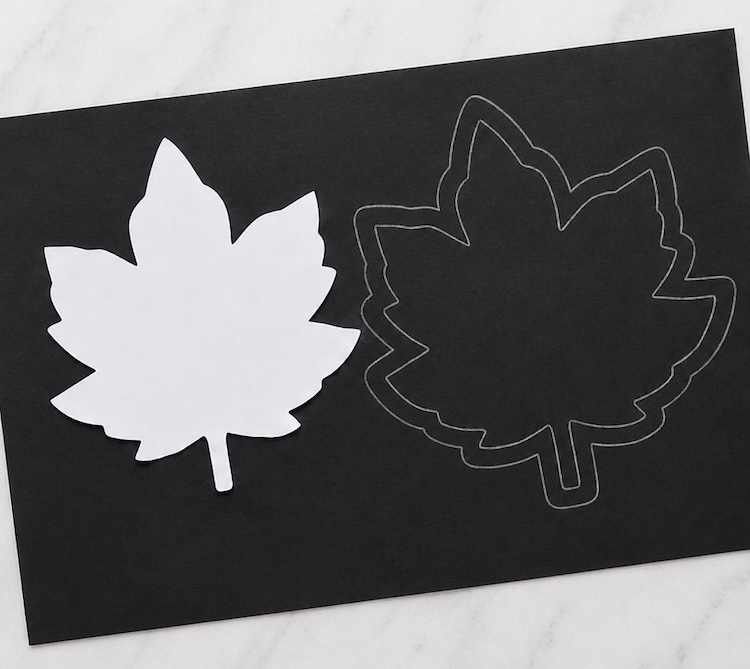
Step 2Cut out the leaf frame, then place it onto a piece of clear contact paper with the backing removed and the sticky side facing up.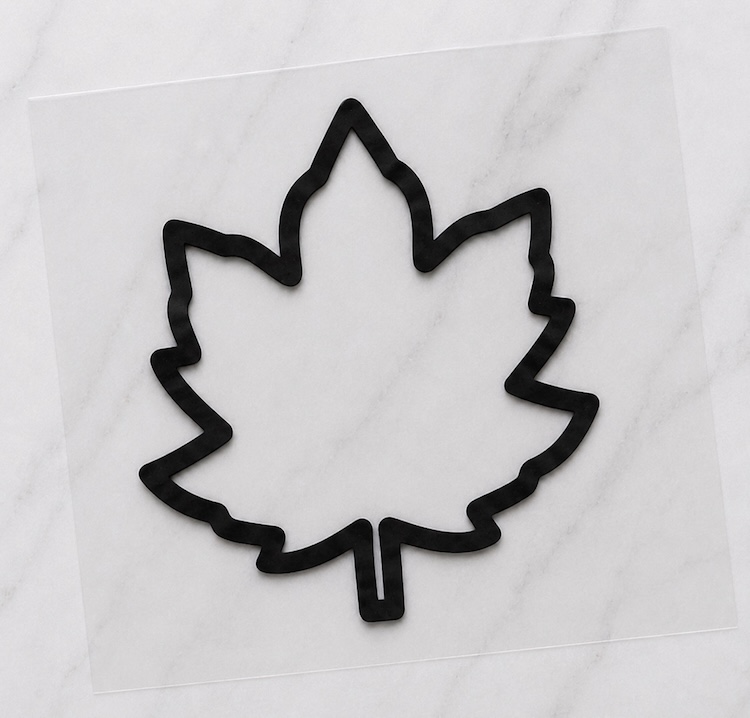
Step 3Cut or tear the tissue paper into small pieces, then arrange them on the sticky contact paper inside the leaf frame. It’s perfectly fine if some of the pieces overlap the black frame a little—this will be the back of your suncatcher, so it won’t show when you’re finished!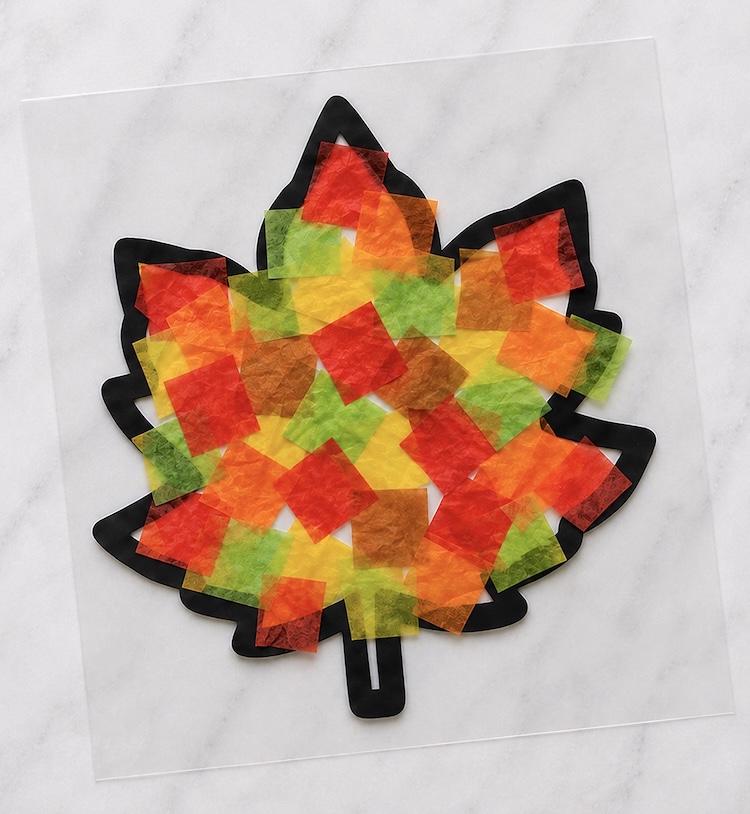
Step 4Place another piece of clear contact paper over the tissue paper-covered leaf, sticky side down, to sandwich everything securely together. Then, carefully cut around the outside edge of the leaf frame to remove the excess contact paper and reveal your finished suncatcher!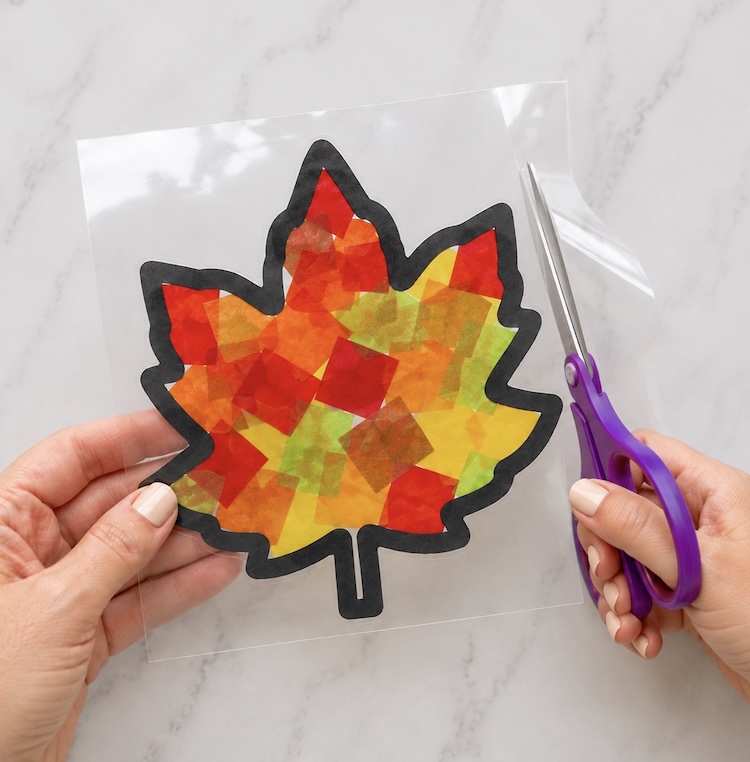
Step 5Hang your suncatcher in a sunny window using double-sided tape and watch it come to life! The light shining through the colorful tissue paper creates a beautiful mosaic of warm fall colors that looks absolutely magical. I recommend making a few! They look even more beautiful and impressive grouped together for a colorful fall display.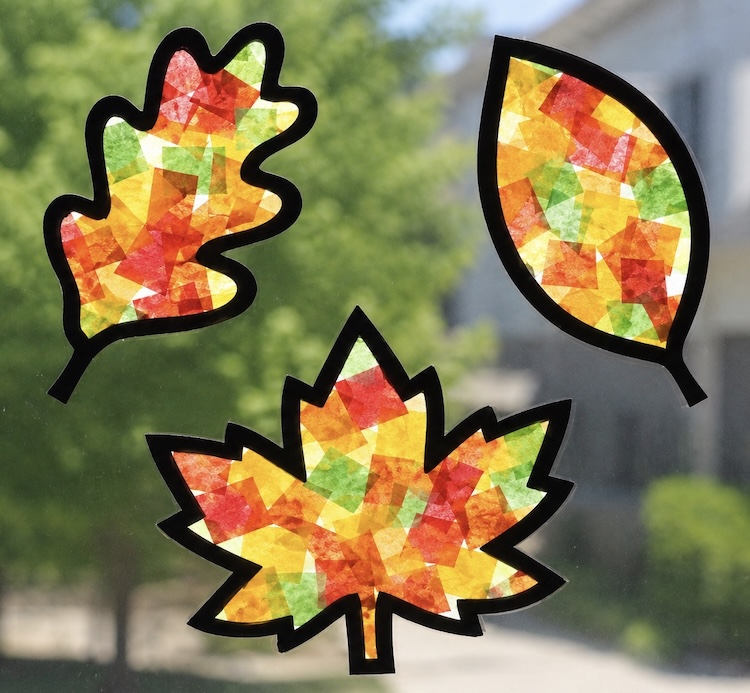
These DIY tissue paper leaf suncatchers are a great fall craft for kids and adults! They’re so easy to make yet eye-catching and beautiful to look at. They’re also inexpensive, easy to customize, and require just a handful of basic craft supplies. Make several leaves in different shapes and colors and display them together in a window for an adorable fall decoration that gives the whole house a cozy autumn feel!
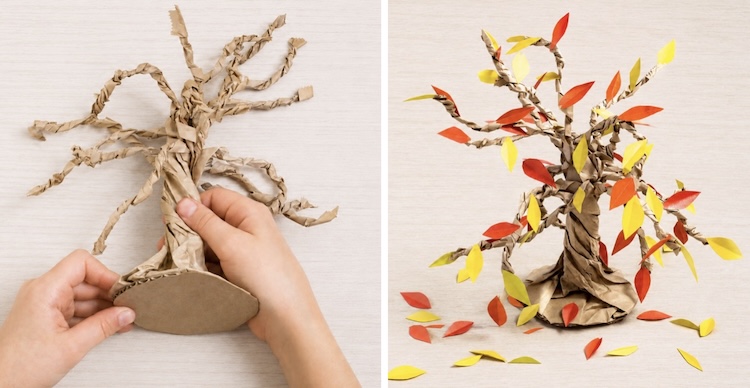
If you like this easy fall craft, check out this awesome Paper Bag Tree Craft For Kids