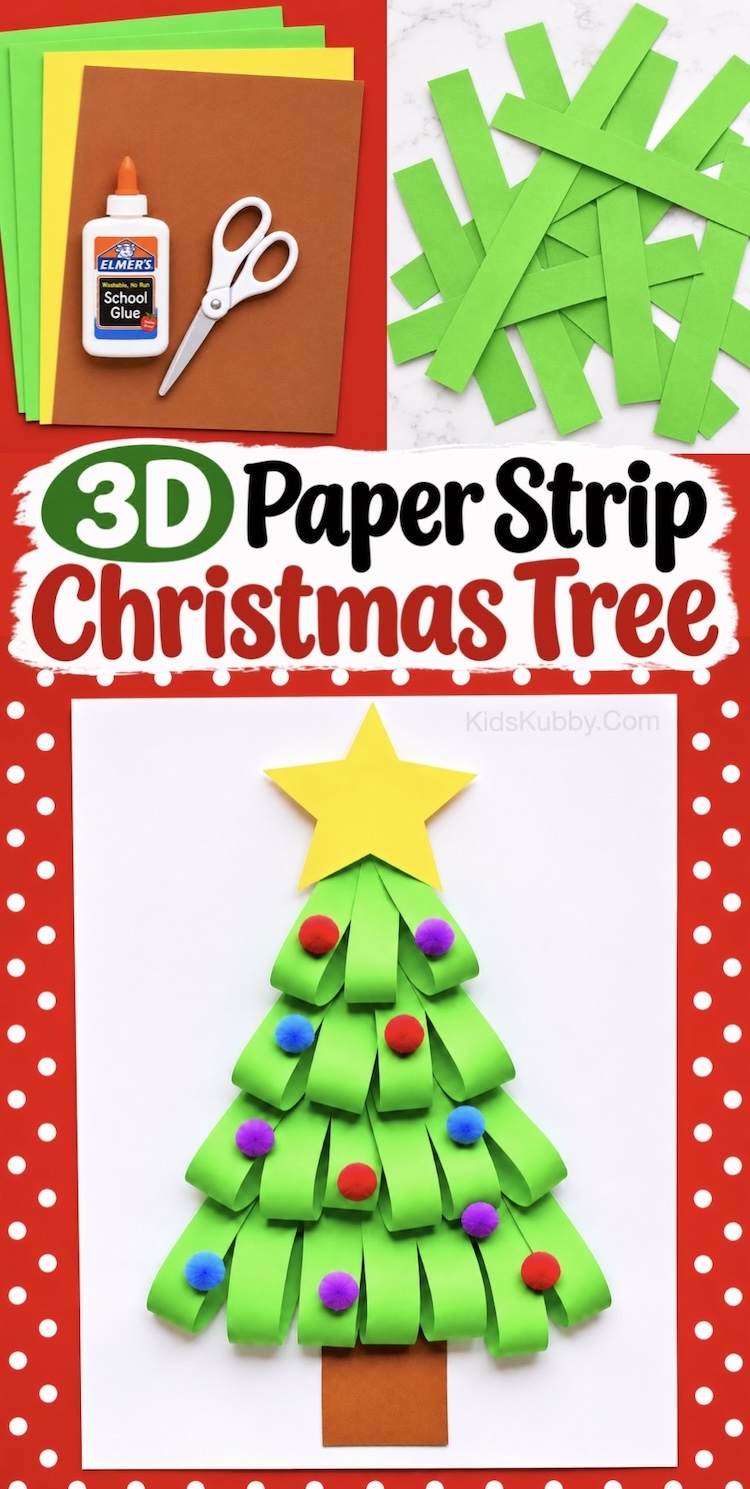
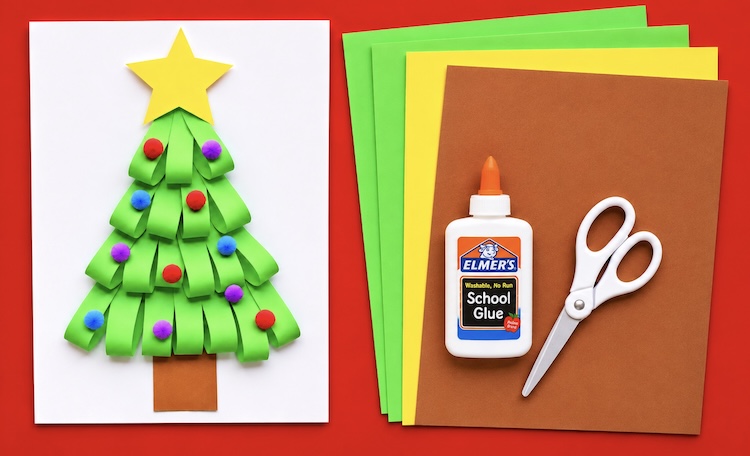

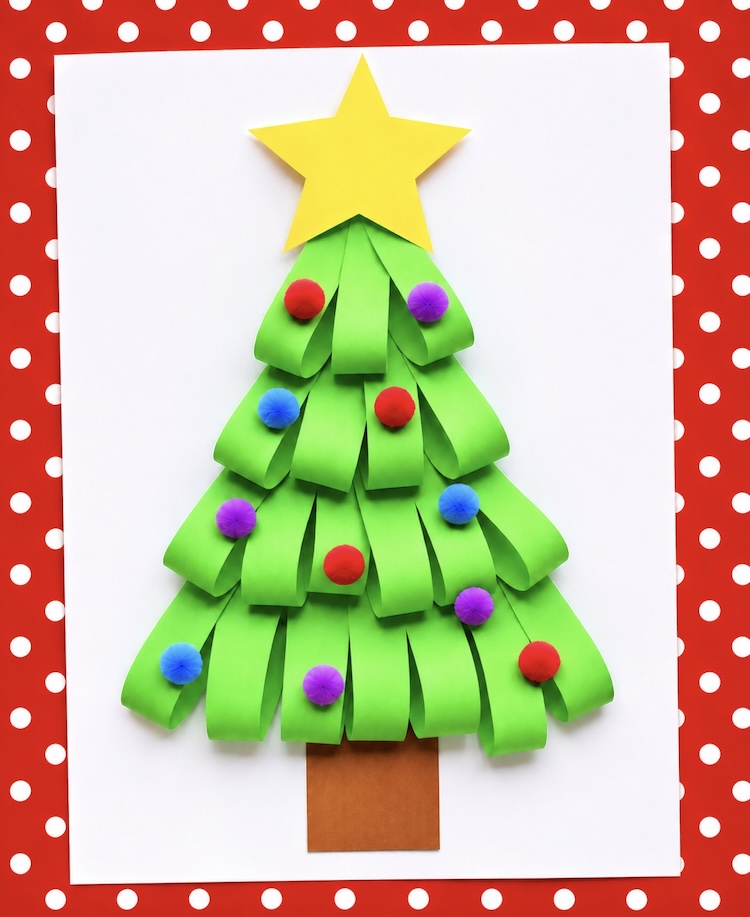
There’s something so fun about turning a few strips of construction paper into a colorful 3D Christmas tree! This easy paper craft is a cute and inexpensive holiday activity for kids to make on winter break. All you need are a few basic craft supplies, including construction paper, glue, scissors, and colorful pom poms or rhinestones to decorate your tree. The best part is how those simple little loops of paper give the tree so much dimension!
Even younger kids can get in on the fun! Preschoolers and kindergarteners will love folding the green paper strips into loops, gluing them down, and watching their Christmas trees take shape. Older kids can work on their own and get creative with different decorations and things they might want to add to the background of their tree.
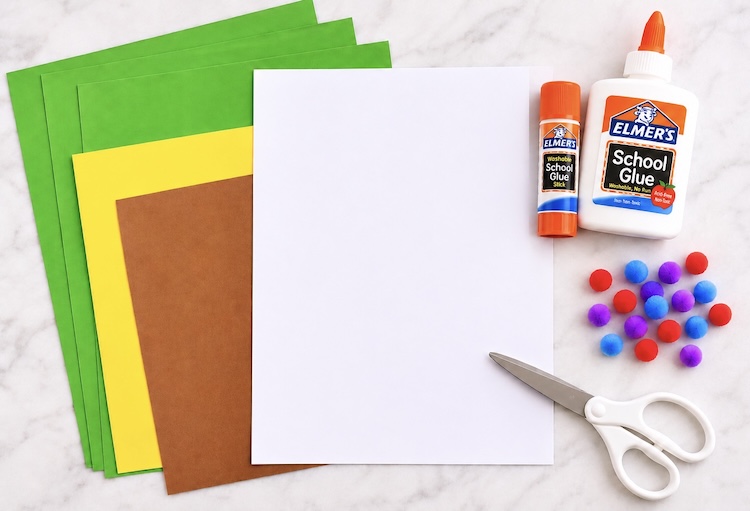
Gather Your Supplies
- white, green, yellow, and brown construction paper
- scissors
- glue
- pencil
- ruler
- optional tree decorations such as pom-poms, rhinestones, stickers, etc.
Step 1To get started, cut 20–25 strips of green construction paper, each about 6 inches long and ½ inch wide. You can use a ruler and pencil to draw straight lines before cutting if you’d like. Once your strips are ready, gently bend each one into a teardrop-shaped loop and glue the ends together to hold the shape.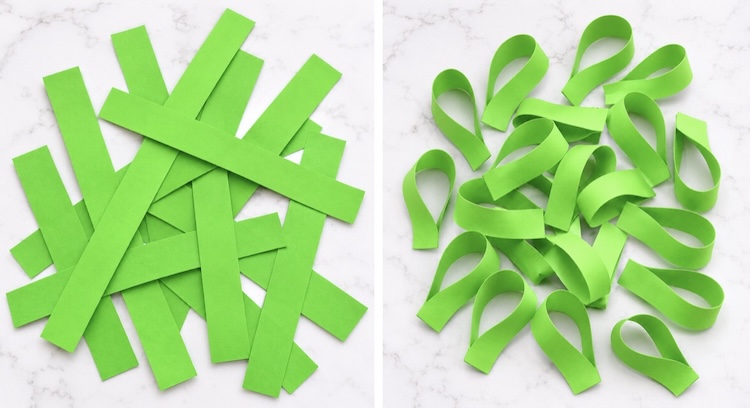
Step 2Draw a star on yellow construction paper and cut it out to use as your Christmas tree topper. Next, cut a small rectangle out of brown construction paper to make the tree trunk.
Step 3If you’d like, lightly draw an upside-down triangle on a sheet of white paper to use as a guide for your Christmas tree. This is especially helpful for younger kids when gluing the paper loops into place. Next, glue the brown paper trunk near the bottom of the page, centered underneath your triangle.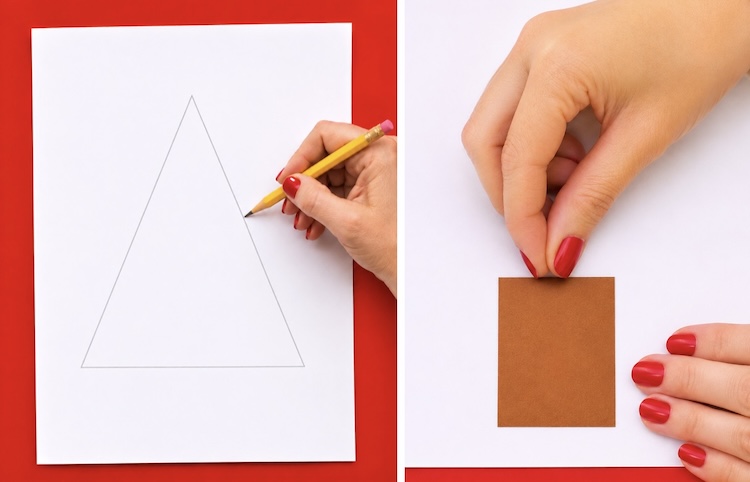
Step 4Now it’s time to put your Christmas tree together! Start by gluing a row of green paper loops along the bottom of your triangle, slightly overlapping the pencil lines. Continue adding rows as you work your way up, using the triangle as a guide. Each row should have fewer loops than the one below it, gradually creating the shape of a Christmas tree.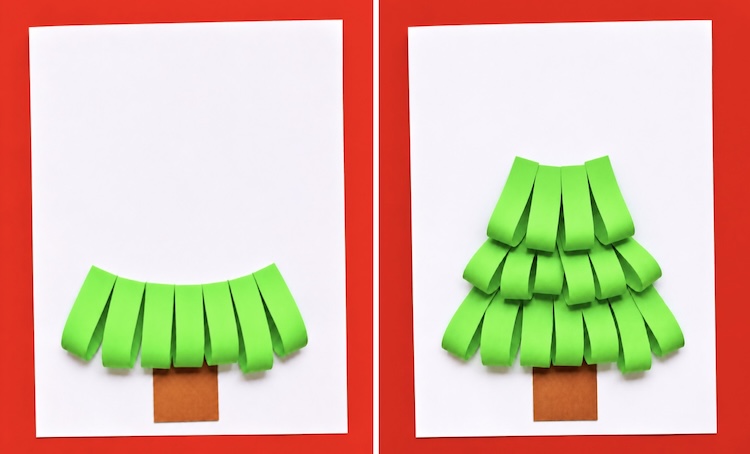
Step 5Finish your Christmas tree by gluing the yellow star to the top. Then, let your kids get creative with whatever craft supplies you already have on hand, such as colorful pom-poms, rhinestones, stickers, felt, yarn, or scraps of construction paper. There are so many fun ways to make each tree unique! You could even add some paper gifts under the tree or make your star glow using a yellow marker.
What do we love most about this easy Christmas craft? It’s a cheap, low-mess project for kids that doesn’t involve paint, glitter, or a bunch of cleanup afterward. A total parenting win! It’s a fun holiday activity to make at home on winter break or in a classroom with a group of students. Once finished, these adorable little paper Christmas trees make festive homemade decorations that kids will be proud to show off!