This May Be The Perfect Art Project For Spring!
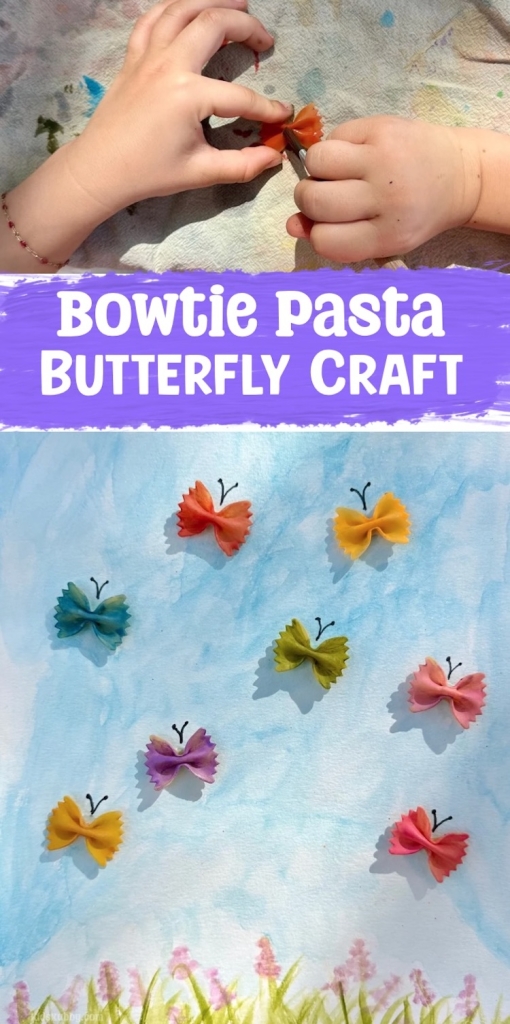
Hey there! Long time no see. After taking a bit of a hiatus from posting amazing and fun craft projects for kids, I’m ready to dive back in with a few Springtime craft ideas. I took my daughter to playgroup the other day and we made the world’s cutest butterfly craft that I just had to share! It’s cheap and easy to make with just a few craft supplies and all the kids loved it!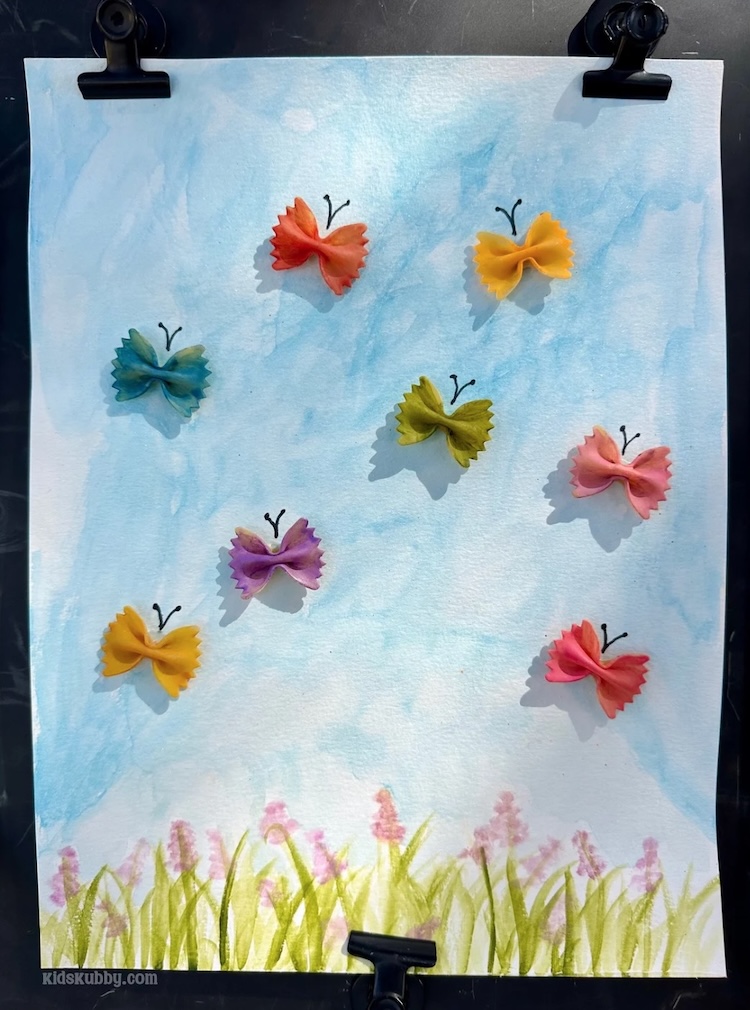
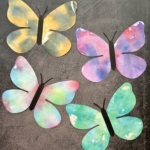
Butterfly crafts are my favorite! 🦋 Check out some of our other super cute butterfly art projects for kids. Tissue Paper Painted Butterfly Art | Pipe Cleaner Butterfly Rings | Cardboard Nature Butterflies | Beaded Pipe Cleaner Butterflies
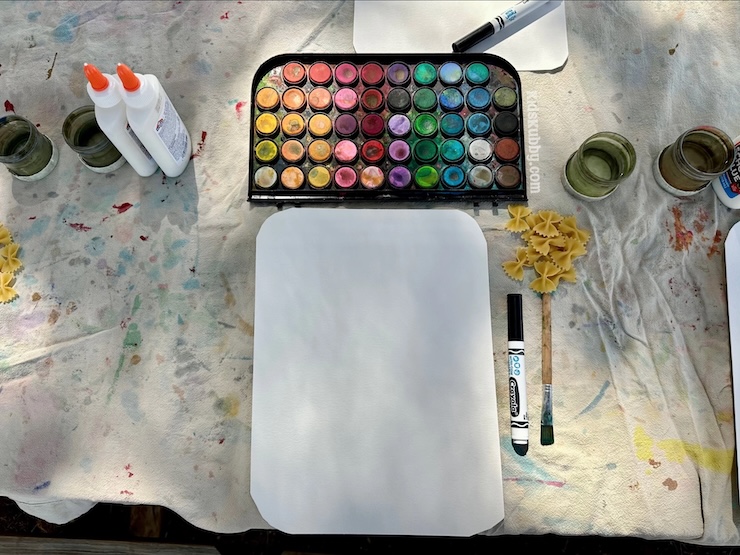
What You’ll Need
- Watercolor Paper (regular printer paper will also work)
- Watercolor Paint and a Paintbrush
- Bowtie Pasta (also called Farfalle pasta)
- Glue
- Black Marker
How To Make Bowtie Pasta Butterflies
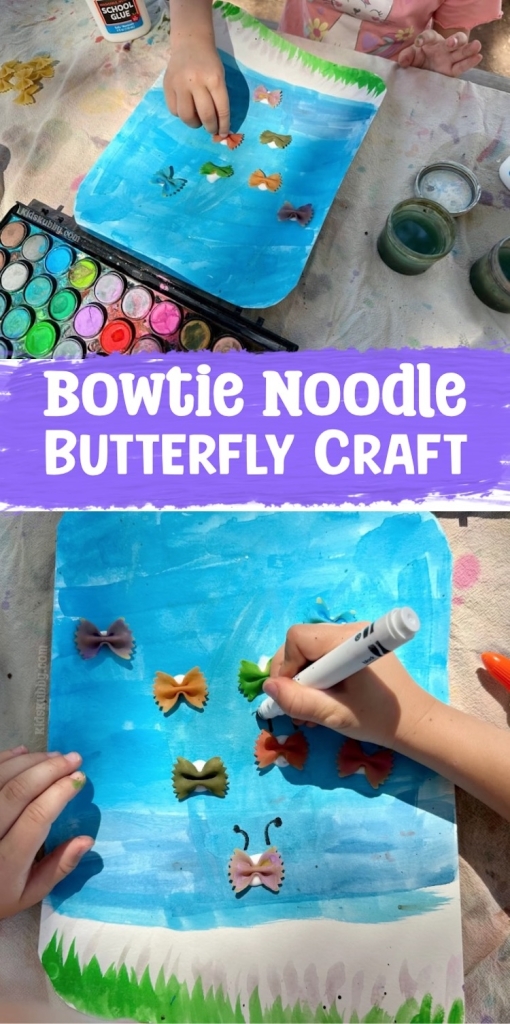
I highly recommend grabbing a few friends and heading outside like we did. This is a great outdoor craft on a beautiful Spring day. We had a mix of 4 to 6 year olds and they all love this butterfly art project.Step 1 – Create The Background
Time to grab a paint brush and get creative. This part can really be up to your artist. We painted a blue sky and some grass with pretty little flowers. Other kids painted a sunset or mountains.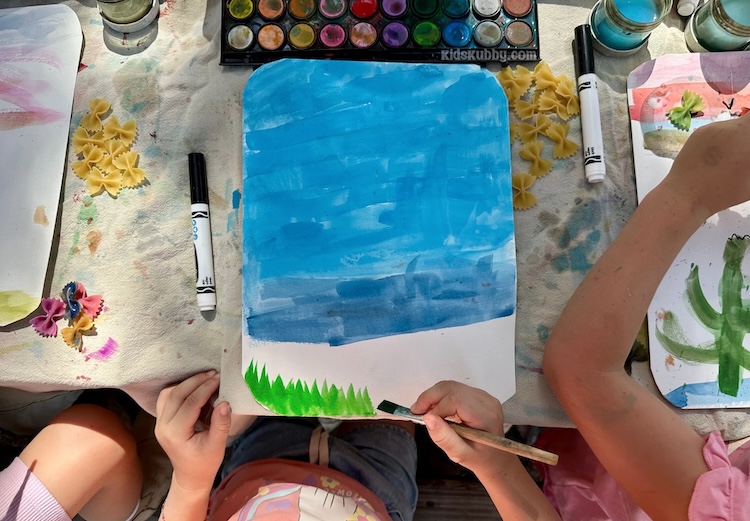
Step 2 – Paint The Butterflies
Take a few uncooked bowtie pastas and use watercolor paints to paint each one a different color. The colors will be subtle with water colors, so if you’d like more vibrant butterflies use tempura paint or something like Crayola Washable Paints! Set the painted butterflies to the side to dry.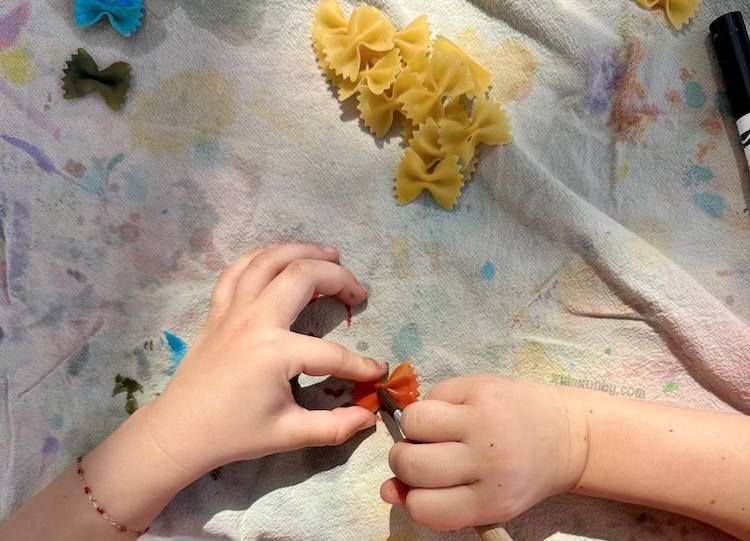
Step 3 – Glue The Butterflies
Once the paint has dried on the butterflies, grab some glue and start gluing the bowtie pasta butterflies to your paper. We used Elmer’s glue just to make it easy for the little kids, but you can use hot glue or craft glue if you’re working with older kids or adults. You’ll need a nice glob of glue for the butterflies to stick and make sure you let the glue dry before moving the art project.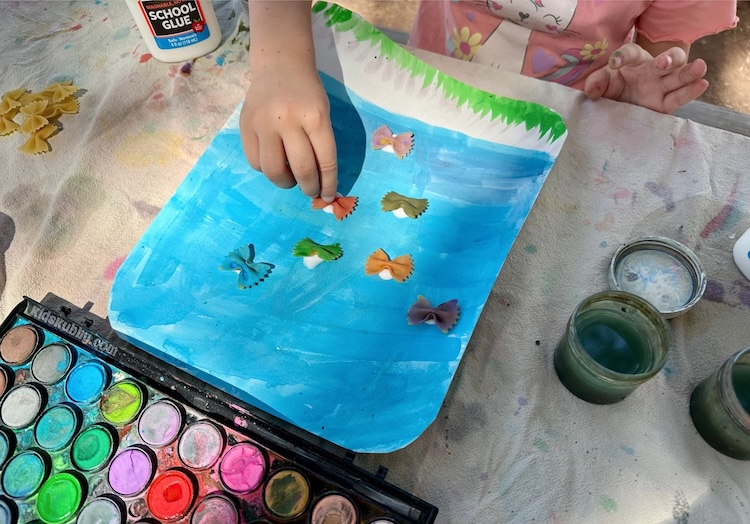
Step 4 – Add The Final Touches
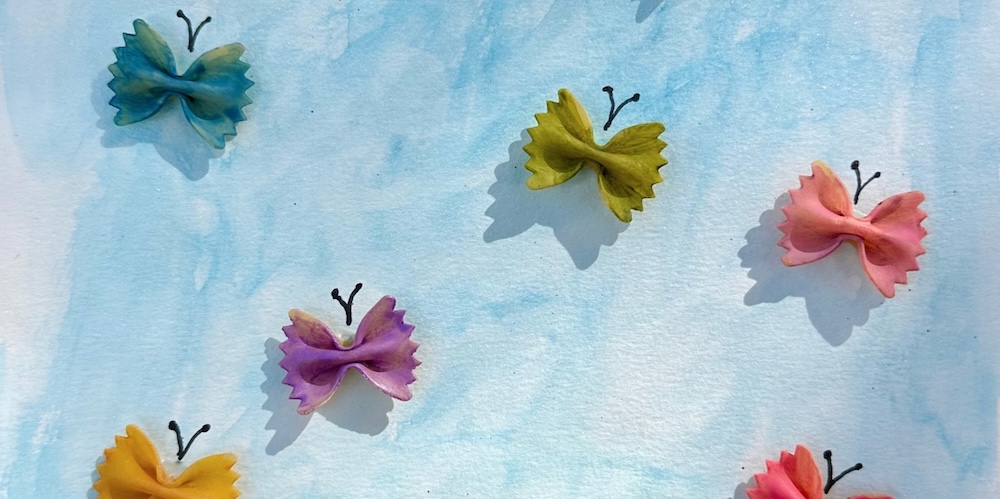
Once the glue has dried, you’re going to add antennas to the butterflies. Using a simple black marker, draw 2 curved lines coming out of the top of the butterflies. Let your kiddo get creative here. We had all different antennas and it was amazing!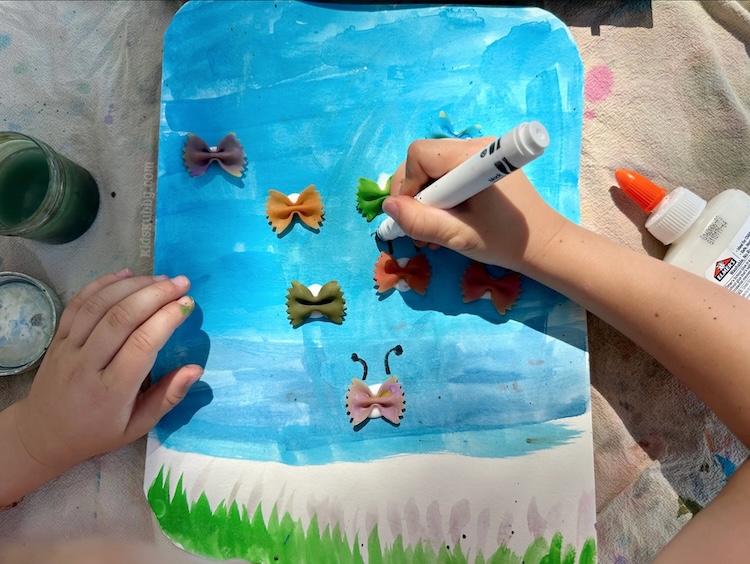 I mean… Can you even handle to cuteness of this butterfly craft?! I absolutely love the simplicity of this art project for kids. We also read a National Geographic’s butterfly book (like this one) to round out a day of crafting and play.
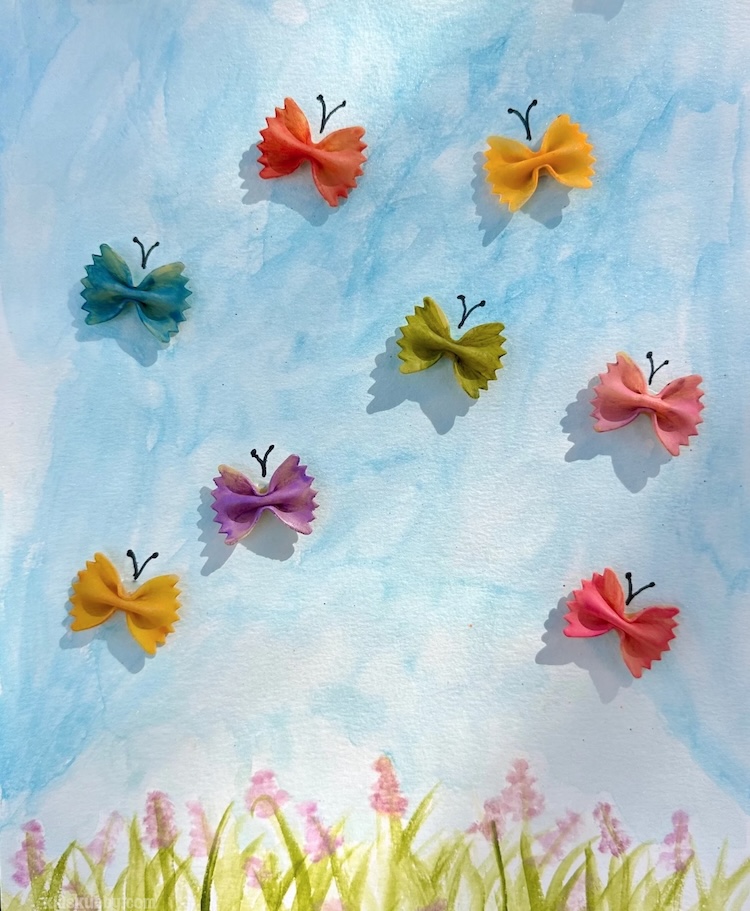 This butterfly craft would be perfect for classrooms and homeschool groups or just a boredom busting activity on those long afternoons inside. I hope your kiddos love this bowtie pasta butterfly art project as much as mine did.
Don’t forget to pin and save this easy craft for later!