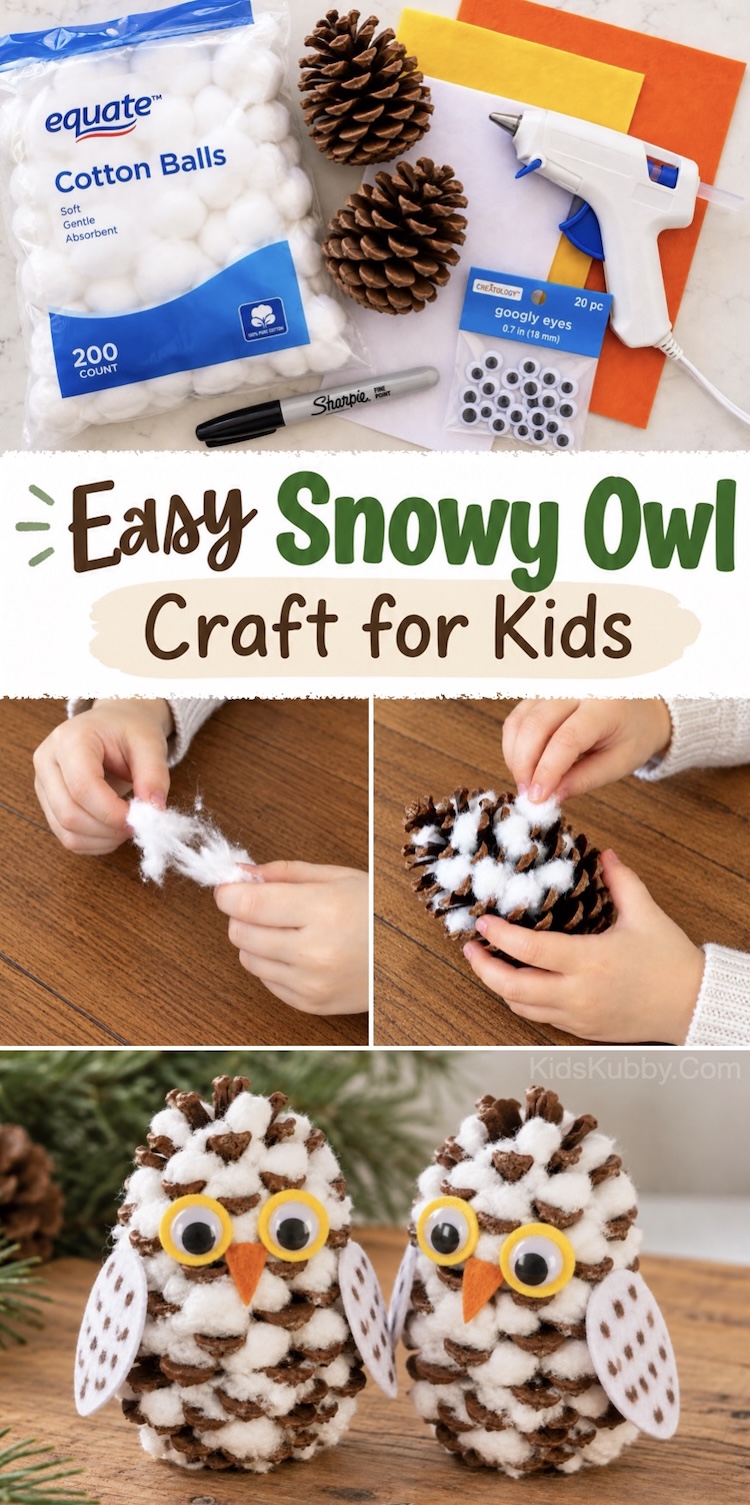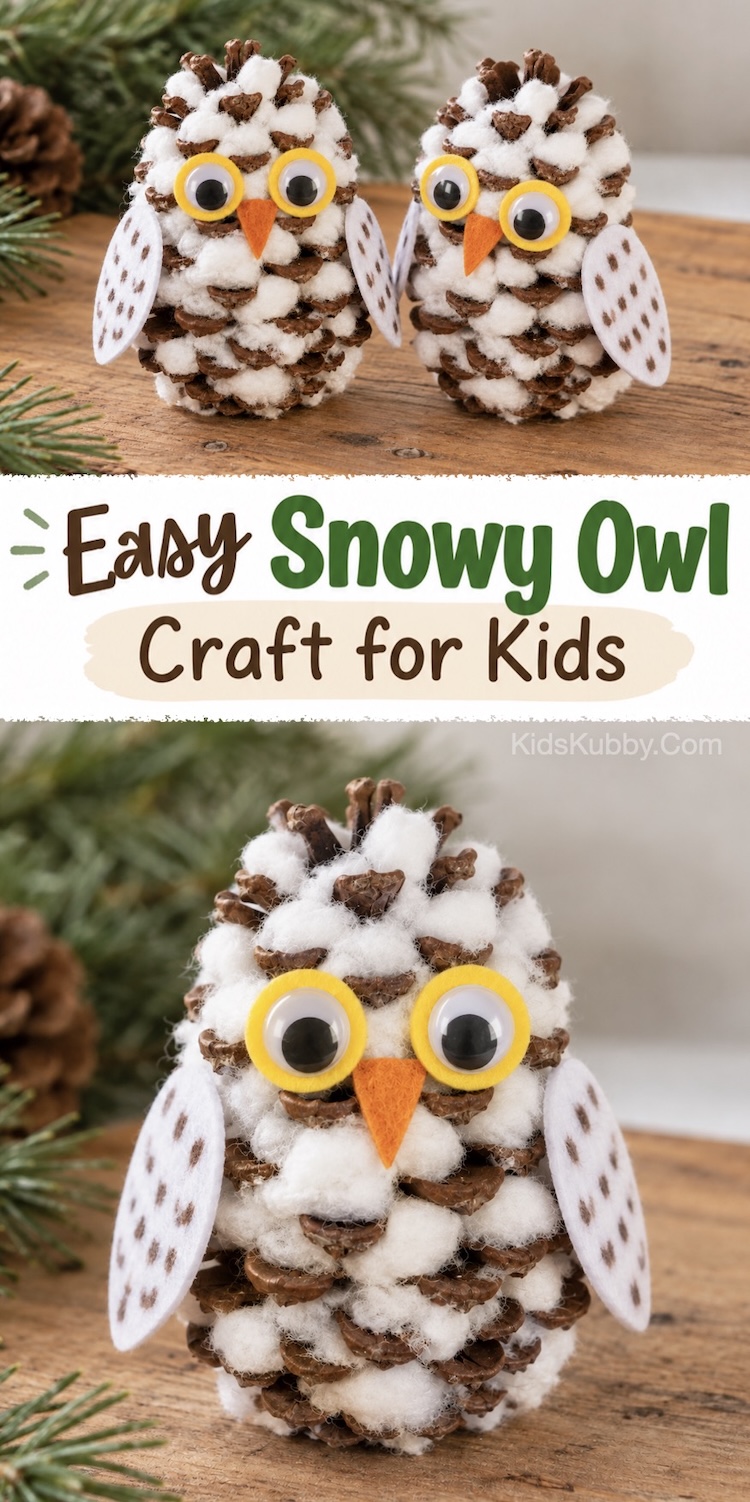
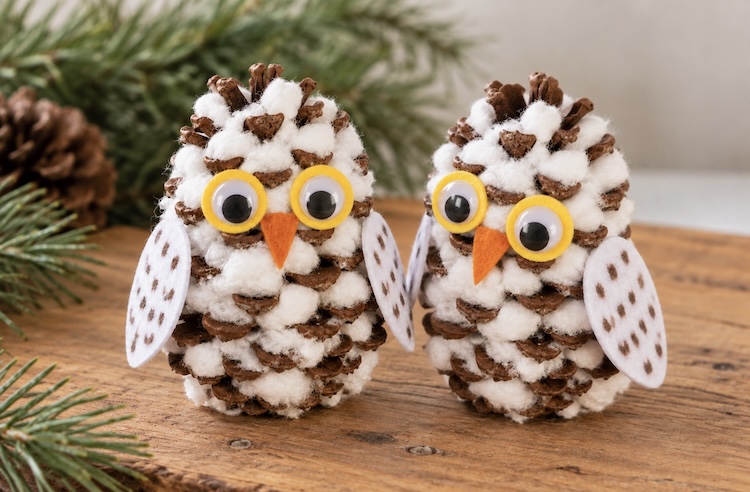

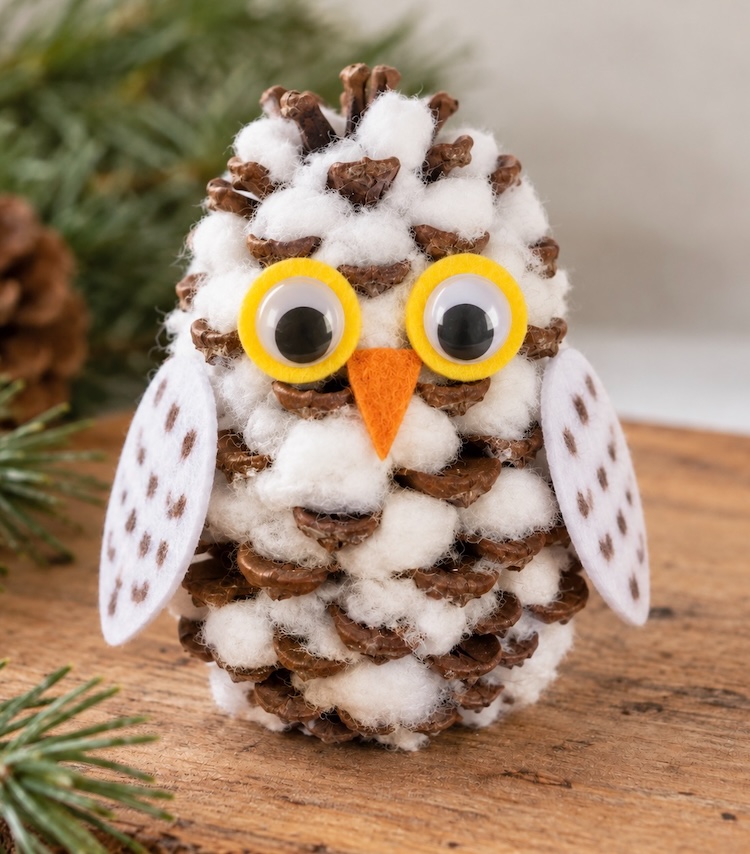
This adorable winter craft for kids is a fun way to get creative with nature, especially during the colder months when you’re looking for simple indoor activities. Just tuck small pieces of fluffy cotton balls between the pinecone scales to give your owls a snowy appearance, then bring them to life with big googly eyes, felt beaks, and cute little wings!
These DIY pinecone owls are a fun holiday craft for Thanksgiving, Christmas, or just a chilly winter afternoon at home. They’re inexpensive to make, require very little setup, and are surprisingly low mess. And the best part? These little guys are just as cute to display as they are to make! Set your finished snowy owls on a mantel, tuck them into your Christmas tree, use them as part of a holiday centerpiece, or display them on a shelf for some homemade winter decor.
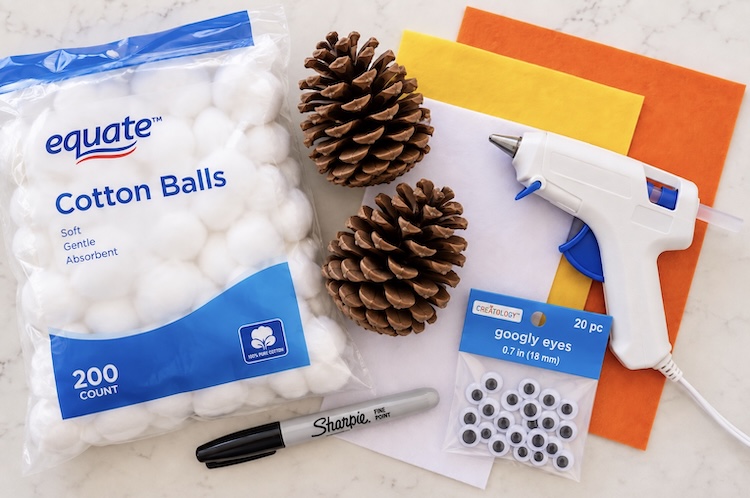
Supplies Needed
- medium to large size pinecone
- cotton balls
- felt
- small googly eyes
- permanent marker
- hot glue gun
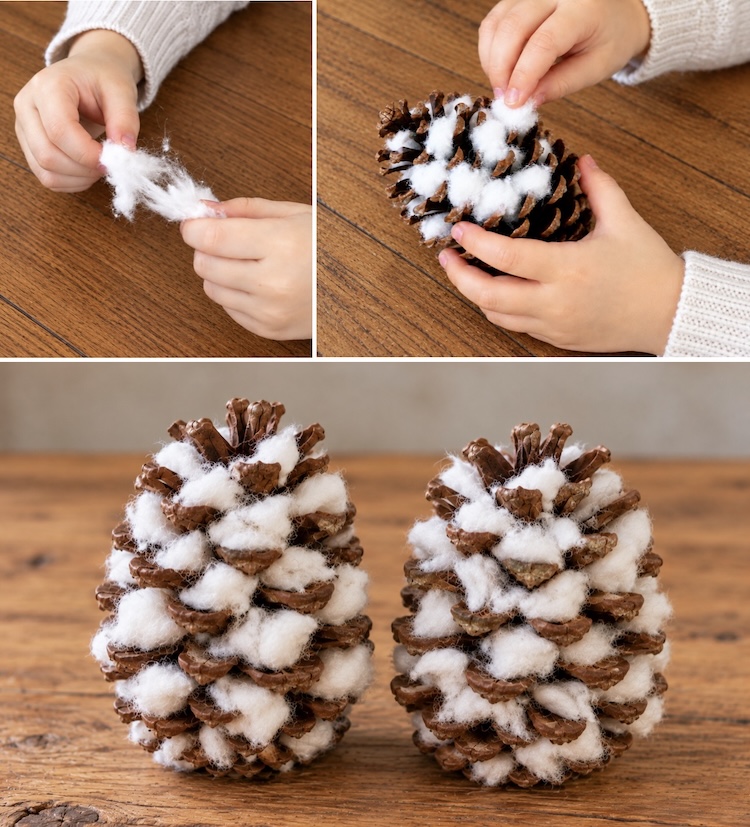
Step 1Tear each cotton ball into about 4 smaller pieces, or whatever size fits snugly between the pinecone scales. Gently tuck the pieces into all the little gaps until your pinecone looks like it’s covered in fluffy snow.
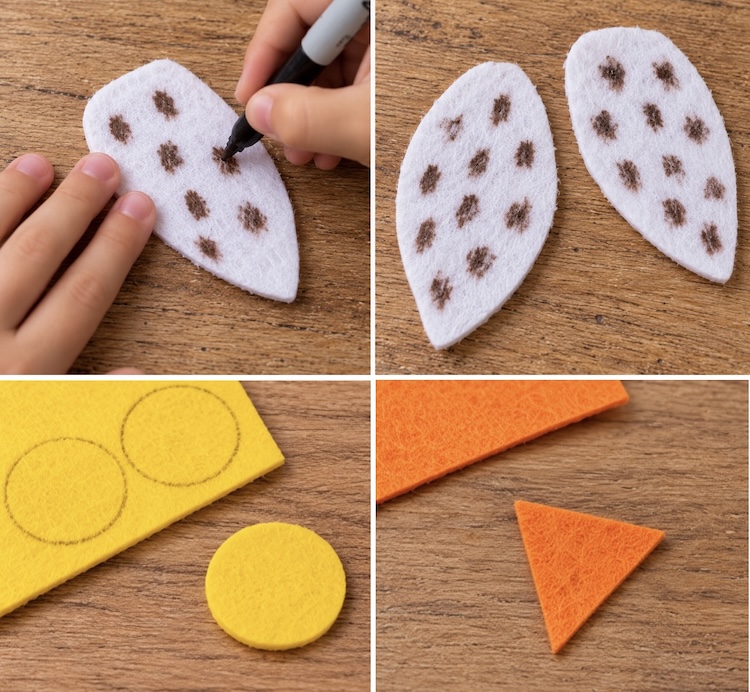
Step 2Trace and cut out your felt pieces to make the owl’s wings, beak, and eyes. We used a Sharpie to add little feather details to the wings and traced a penny onto yellow felt to create circles for the eyes. Just make sure your circles are slightly larger than your googly eyes! This makes the eyes pop.
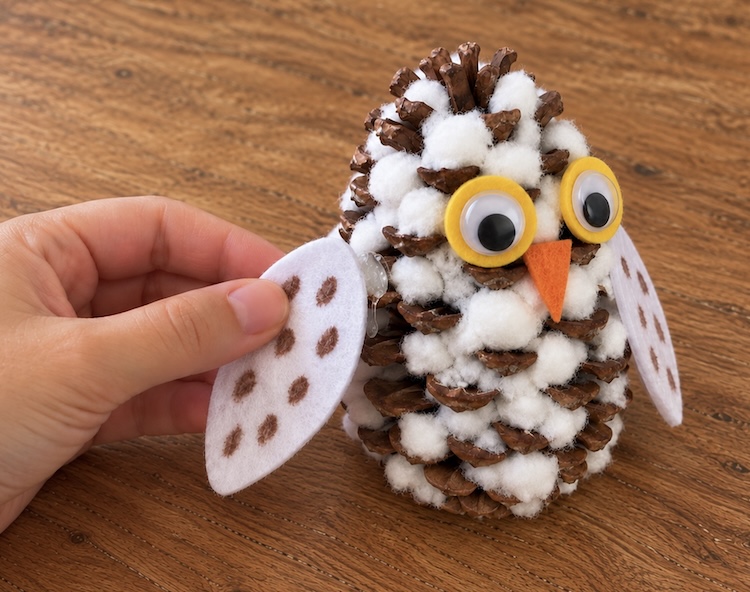
Step 3Once your felt pieces are ready, use hot glue to attach them to your snowy owl. Make sure the glue reaches the actual pinecone (not just the cotton) so everything stays securely in place.
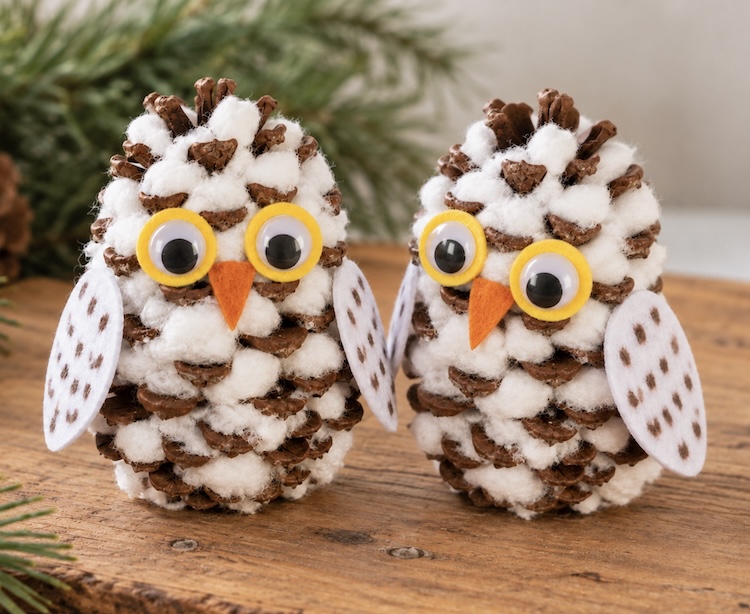
That’s it! Your adorable little snowy owl is ready to show off. Perch it on a shelf, tuck it into your Christmas tree, add it to a holiday centerpiece, or give it away as a sweet handmade gift. Better yet, make a whole family of owls so your little feathered friend doesn’t get lonely!
Helpful Tips
- If your pinecone won’t stand on its own, no worries! Hang it on the Christmas tree, lean it on a shelf, or hot glue a small piece of cardboard to the bottom for a sturdy base.
- If you collected your pinecones outdoors, bake them at 200°F for 30–60 minutes to remove any hidden bugs and excess moisture. This also helps the pinecones fully open up! Keep an eye on them while baking.
Who knew a few pinecones, cotton balls, and scraps of felt could turn into something so darn cute? The best part is that these little guys actually turn out impressive enough to use as holiday home decor! You could even hot glue some twine to the back and hang them on your tree.
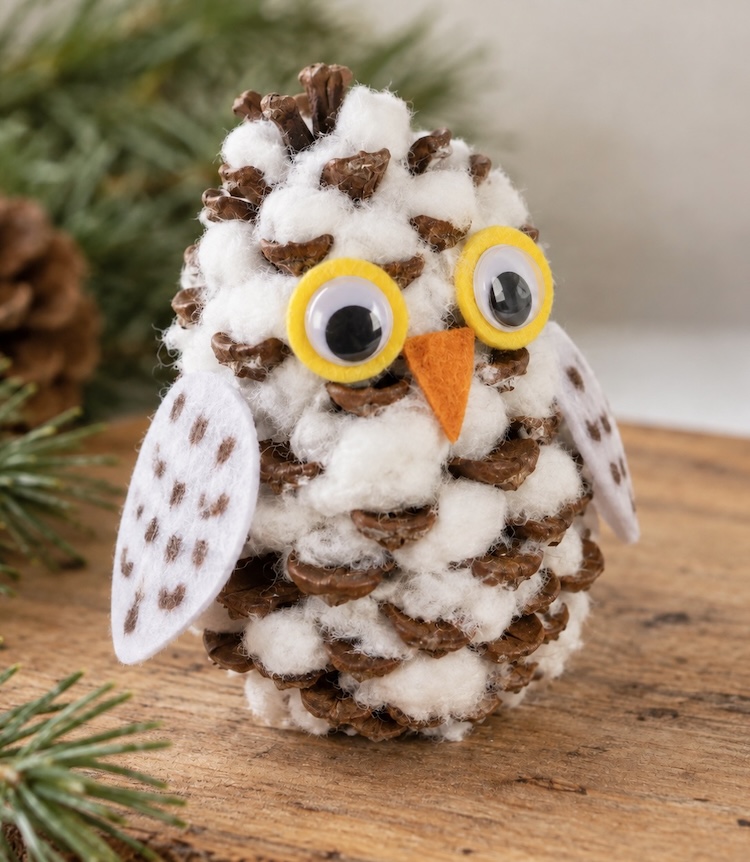
This is such a fun nature-inspired craft for kids of all ages, and they are so cheap to make with common supplies. Older kids can get creative cutting and decorating their own felt pieces, while preschoolers and younger children will have a blast stuffing the pinecones with fluffy cotton snow. Just be sure to have an adult help with the hot glue. Happy crafting!
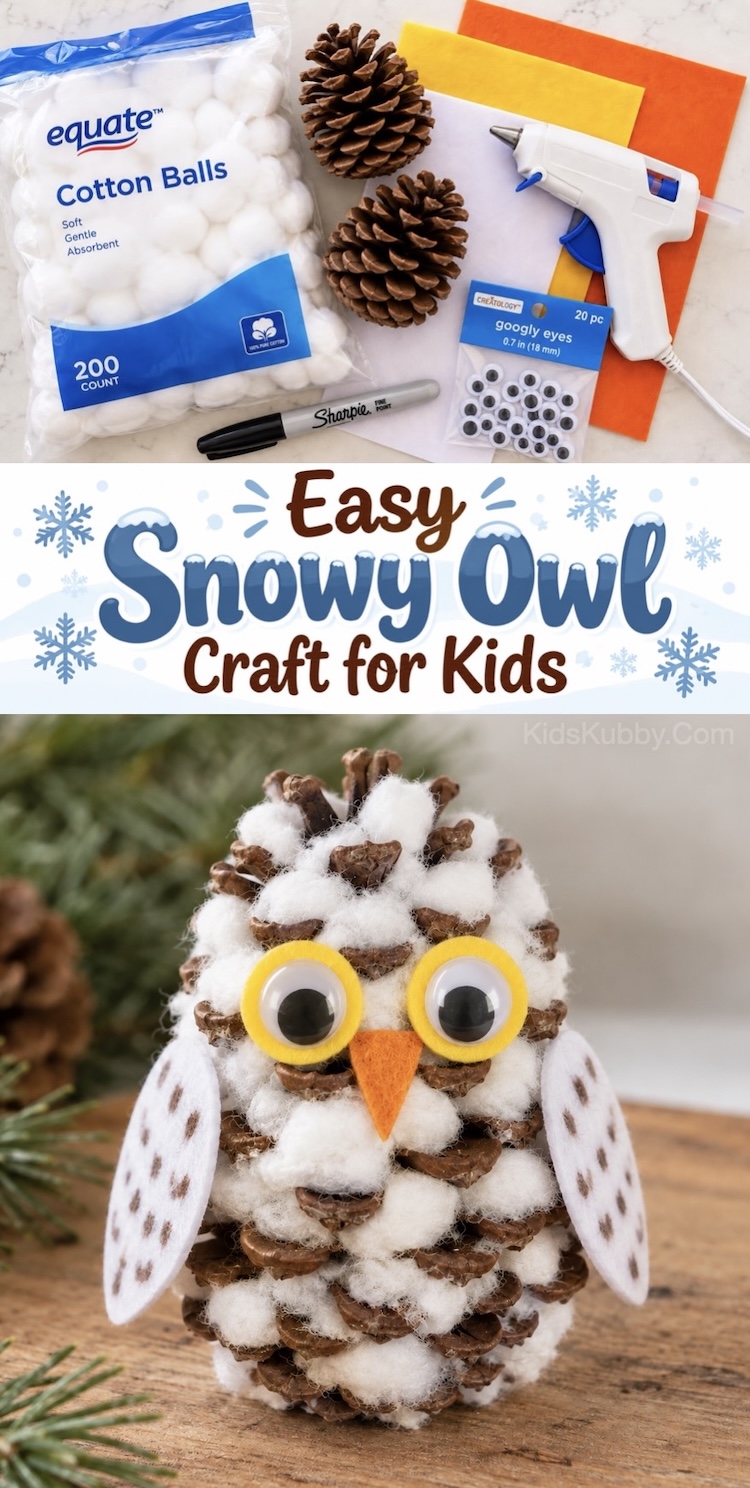
If you like this easy Christmas craft, check out these Adorable Popsicle Stick Snowmen! They’re made with the cutest little pipe cleaner hats.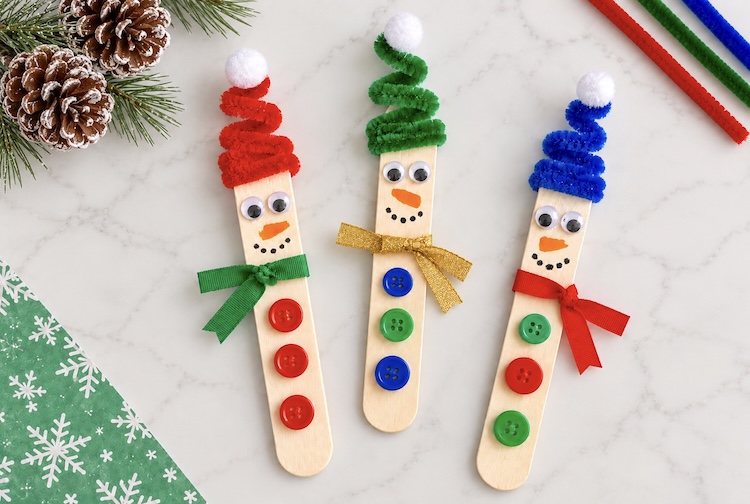
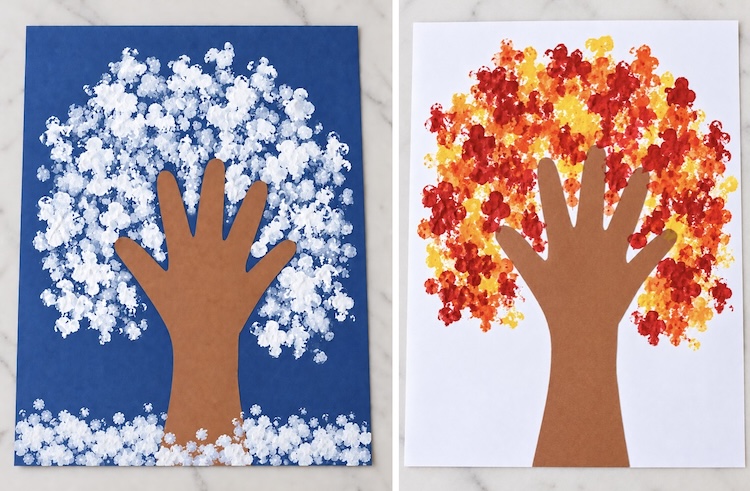
You might also like these Q-Tip Painted Handprint Trees that can be made for any season including a snowy winter tree.
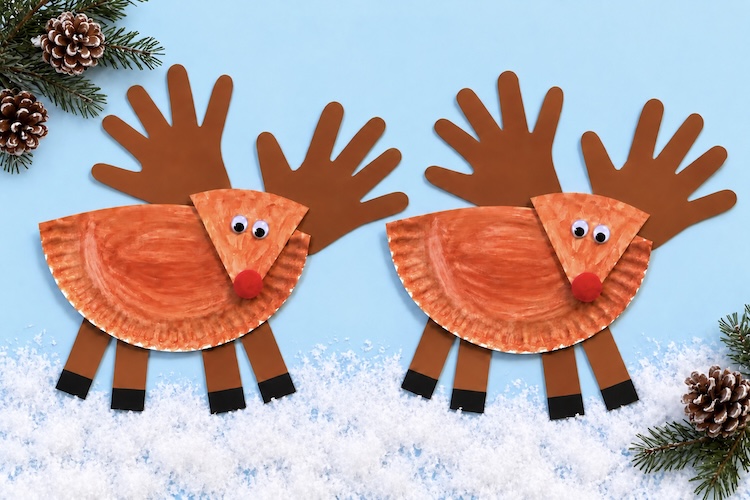
Or how about these fun little Paper Plate Reindeer! The antlers are made with clever handprint cut-outs using brown construction paper.
Follow us on Pinterest for more easy and fun craft tutorials like this!