The perfect, easy to make, pickle appetizer for your next party!
If you’re looking for an easy fried pickle recipe that is gluten free and keto friendly, these cheesy bacon fried pickles are so delicious. These fried pickles are so easy to make and only need 3 ingredients including cheese, bacon, and pickles! Simple and amazing!
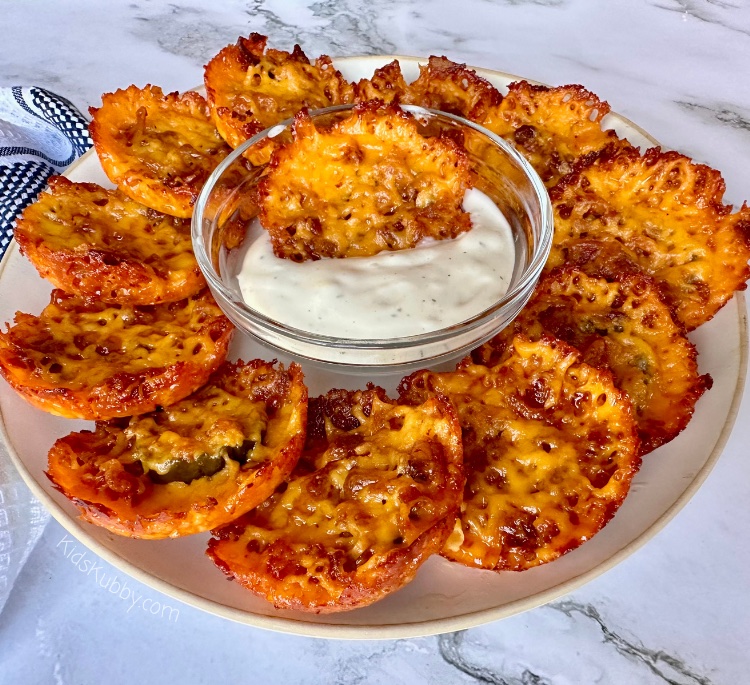
These Keto friendly fried pickles are the perfect appetizer for a party or a simple and easy midnight snack. Fried pickles are such a yummy comfort food especially when dipped in a thick and creamy ranch like this one from Instrupix!
Quick and Easy Way to Fry Pickles in Your Oven

Easy Oven Fried Cheesy Bacon Pickles
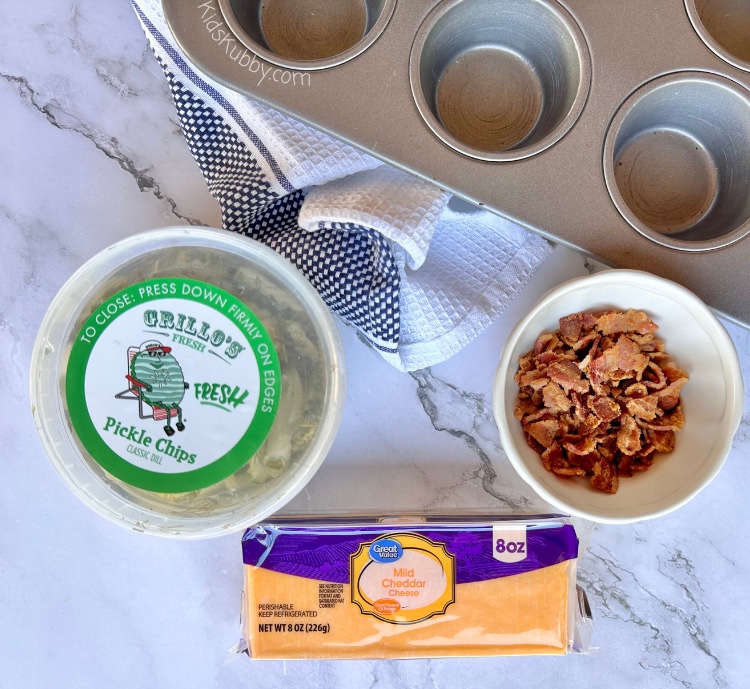
- 12 Pickles chips – I love Grillo’s Pickles
- ½ cup Bacon Bits – homemade or store bought
- 1 cup Shredded Cheese
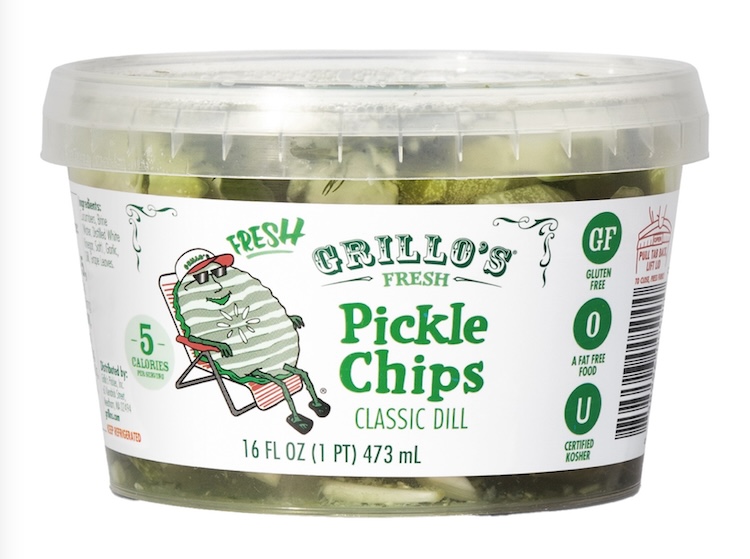
The Perfect Pickles Do Exist – The Best Pickles To Use For Your Fried Pickle Recipe
I’ve never been a huge pickle fan. That is until I found the most delicious pickles ever! Grillo’s Pickles can be found in the refrigerator section of most major grocery stores. My family can go through an entire container of these pickles in a day. I’ve even had to limit how many pickles we eat in one sitting. Sorry but we can’t spend $50 a week on pickles! But seriously, this brand is that good. I think the crispiness of the pickle makes a huge difference in this Cheesy Bacon Fried Pickle recipe. If you’re on the fence about this recipe, make it with Grillo’s Pickles and I promise you won’t be disappointed.
How To Make The Best Cheesy Bacon Fried Pickle Chips In The Oven
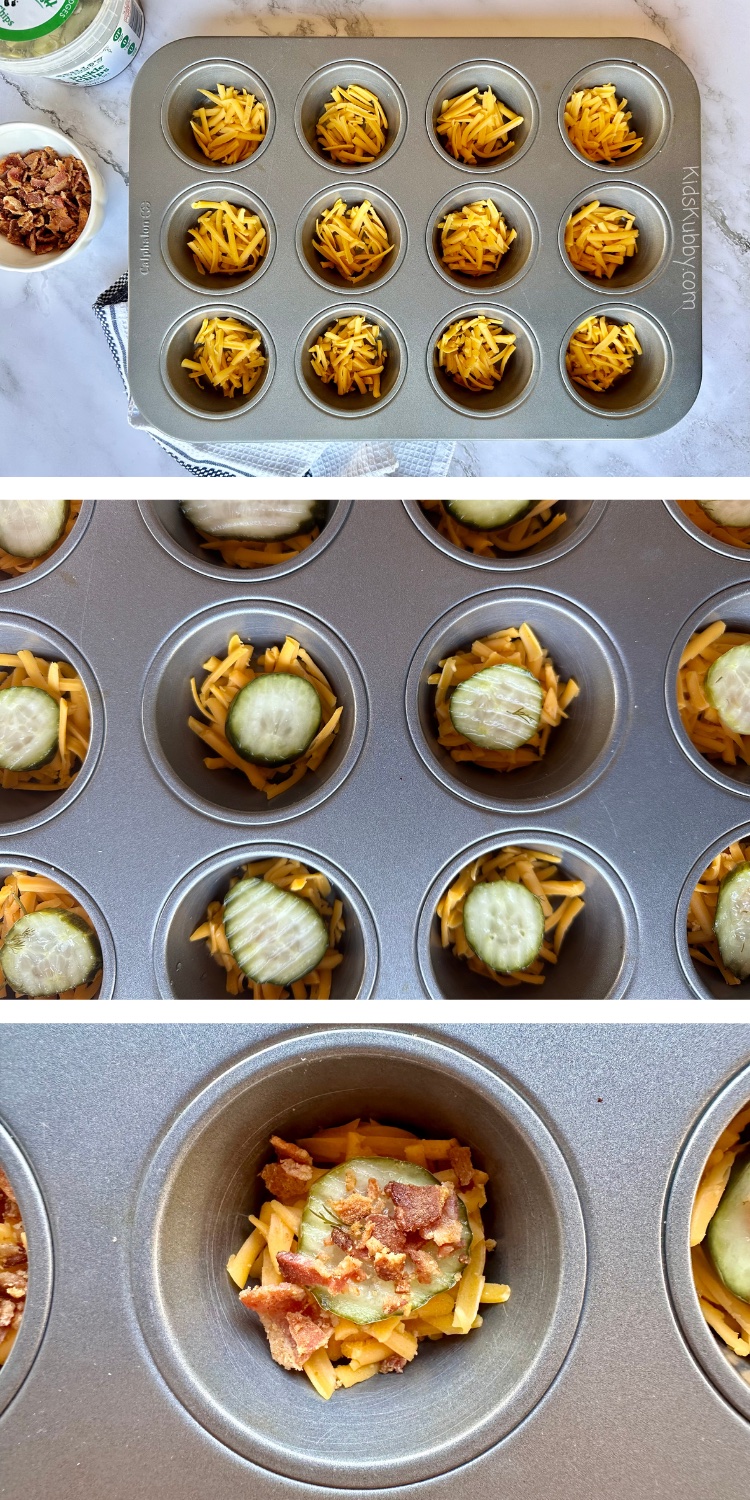
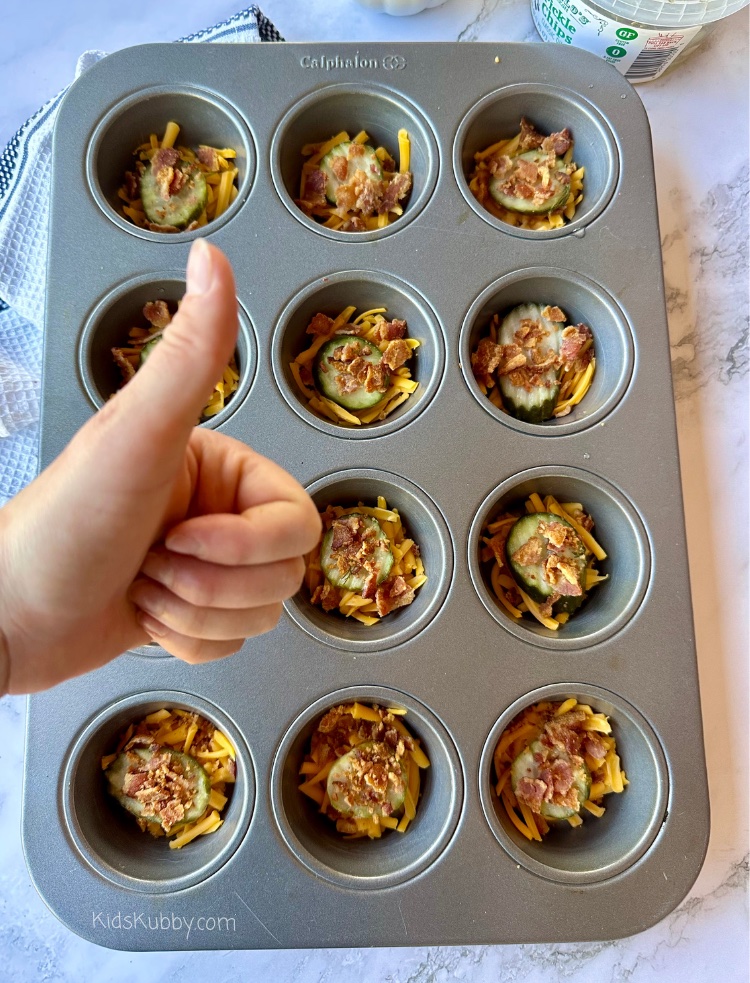
1. Preheat oven to 400 degrees and grease a muffin tin. I used a 12-cup muffin tin for this recipe.
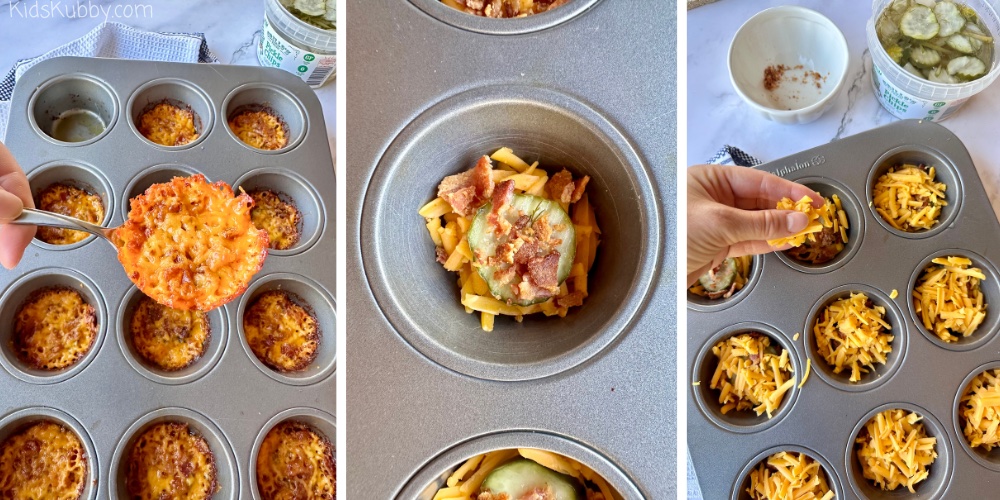
2. Sprinkle a thin layer of cheese on the bottom of each muffin cup.
3. Place 1 pickle in each muffin cup, spoon a few bacon bits on top of each pickle, and top with remaining cheese.
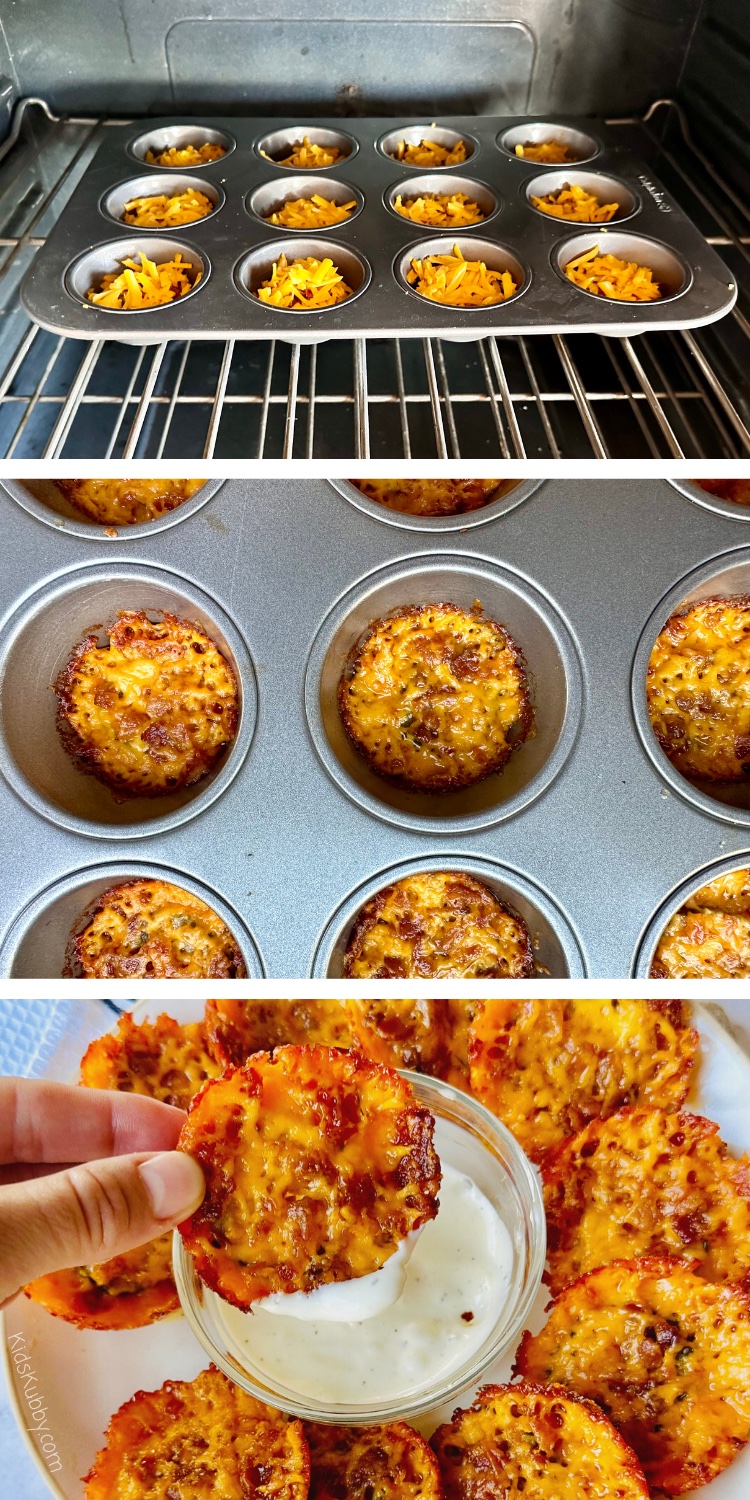
4. Bake for 15-20 minutes until the cheese is golden brown on top. After 10 minutes in the oven, check your fried pickles every 2 minutes to watch for over browning. Remember every oven is different. Your Pickle Poppers should look like the below picture when they are done baking.
5. Allow the Cheesy Bacon Fried Pickles to cool for approx. 5 minutes then pop out each one with a spoon.
6. Dip in ranch or a spicy sriracha aioli for a delicious tangy treat!
Reheating and Storage
- Once completely cool, you can store these amazing Cheesy Bacon Fried Pickles in an air tight container in the refrigerator for 2-3 days.
- My preferred method to reheat this delicious pickle recipe is to use an air frier. Air-Fry at 390 degrees for 2-3 minutes and your fried pickles will be warm and crisp again.
Helpful Tips
- I personally didn’t need to grease my pan since I was using a non-stick muffin tin and the cheese was nice and greasy. But if you think yours might stick then use a non-stick spray before adding the 1st layer of cheese.
- Cool the pickles about 5 minutes before you remove them from the pan. This allows the cheese to harden slightly so that you don’t have a mess on your hands!
- If you find that your cheesy bacon pickles are a bit greasy when you remove them from the pan, set them on a paper towel for a minute or so to soak up that extra grease. Just don’t let them cool too much! These fried pickles are best served warm!
- This is a great gluten free recipe for Fried Pickles!
Looking For More Easy Recipes – Check These Out!
Baked Sweet Potato Chicken Nuggets
Grilled Peanut Butter Banana Bacon Sandwich
Easy Baked Cinnamon Apple Chips
Cheesy Bacon Fried Pickles
Ingredients
- 12 Pickles
- 1/2 cup Bacon Bits Homemade or Store Bought
- 1 cup Shredded Cheese
Instructions
- Preheat oven to 400 degrees and grease a muffin tin. I used a 12-cup muffin tin for this recipe.
- Sprinkle a thin layer of cheese on the bottom of each muffin cup.
- Place 1 pickle in each muffin cup, spoon a few bacon bits on top of each pickle, and top with remaining cheese.
- Bake for 15-20 minutes until the cheese is golden brown on top.
- Allow the Cheesy Bacon Fried Pickles to cool for approx. 5 minutes then pop out each one with a spoon.
- Dip in ranch or a spicy siracha aioli for a delicious tangy treat!


